|
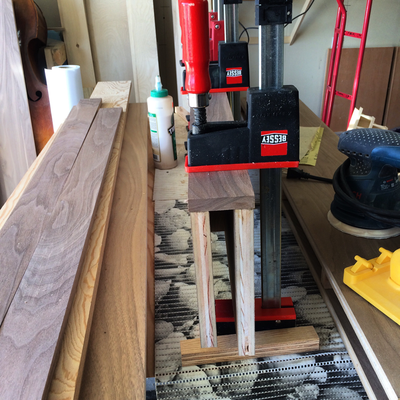
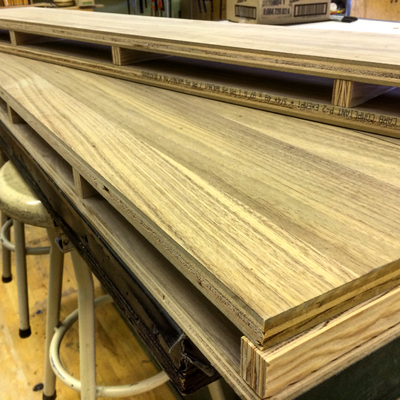
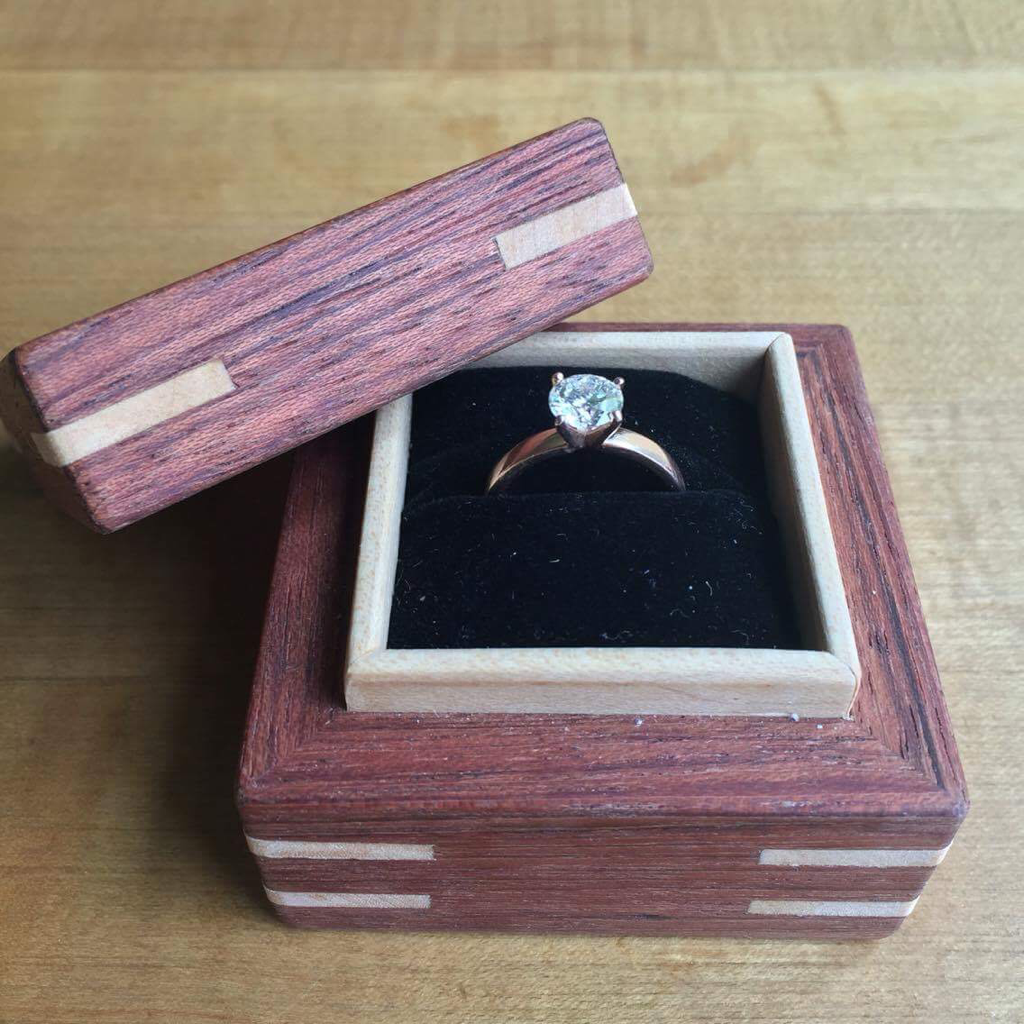
Hi Everyone! I feel like all of my posts must start with apologies for not posting as regularly as I would like to. Such is life I suppose when you do this work on the side and your family life and regular work need more focus and attention. On February 25, my wife gave birth to our second child! A baby boy named Gordon! We’re very excited to have him here with us now and boy, oh boy, has it been an adjustment for us, my daughter and our dog in particular. Every time Morgan, our dog, looks at us she appears to be asking why she hasn’t been fed this morning? Or, how is that baby more important than letting me? Haha. My wife and Gordon are doing well. He is now over 10 lbs and growing like a weed! Now, on to projects! Despite the lack of website updates, I’ve been working on projects like crazy and working to organize workflow in my garage shop. Below are some photos of project work I’ve done at work and at home: As always, if you have questions about the projects or are interested in something custom made, please shoot an email my way to inquire! I have some really cool project work coming up as well in the coming weeks! Be sure to follow my Instagram: @woodprojectsbybagel for much more regular project work updates!
Cheers everyone! Brad
2 Comments
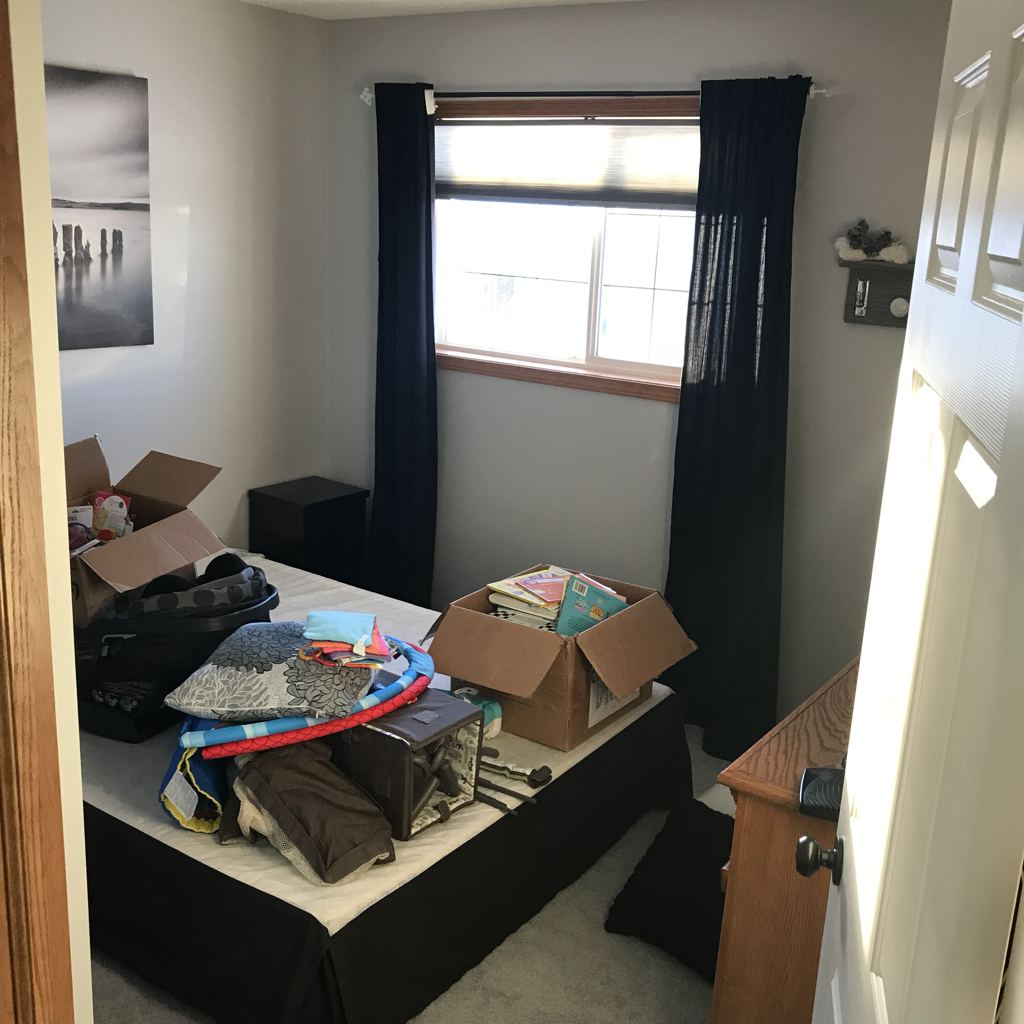
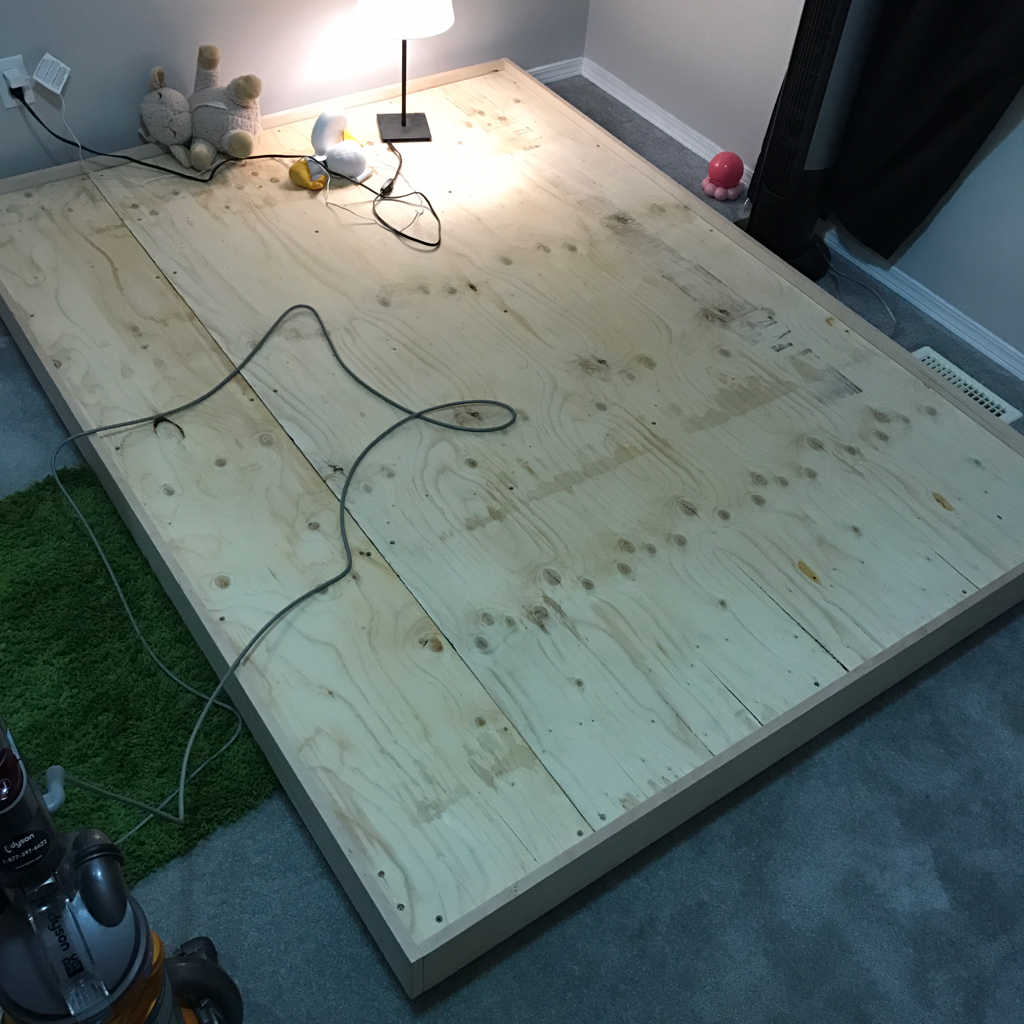
1/2/2018 1 Comment Happy New Year - 2018!Hi Everyone!! It’s been a really long time since I’ve posted. Sorry about that. One thing I’m learning about doing this work on the side, you can get pulled in many different directions and lose site of taking care of the stuff that really matters. Last year was a doozy for me but I did get lots of awesome projects finished. The biggest one was FINALLY finishing the Murphy bed project in our office on the main floor of my house. My wife and I are expecting our 2nd child due in March so getting the Murphy bed built and installed is important. With that finished, the next project is getting the 2nd upstairs bedroom transformed into a nursery! Here’s a before picture.. We moved the mattress out and I’ll start moving furniture out as time and energy allows. We decided not to know the sex of this baby so getting this nursery together with gender neutral colours is the name of the game here which should be fun!! We decided not to paint the room so I’ll be removing and painting all of the trim and baseboards white. This part hurts me to paint over the oak but the previous owners of my house painted some trim, but not all, white. They did a very sloppy job of it too. Unfortunately it would be too much work to try and scrape off the paint to get to the hardwood underneath which makes me sad. Oh well. Below is a small recap of the many different projects I did for myself and for clients over the last year. Enjoy! I’m working on making this website more of a priority over the course of 2018 and am looking forward to having you come along for the ride! Happy New Year to everyone and thanks again for following my work. I update my Instagram page regularly if you’re looking for what i’m working on in a more timely fashion so please do check out my feed there! Cheers! 3/15/2017 1 Comment Advent Calendars!Hi Everyone, Sorry for the post shortage. It appears that I have taken on too much between my regular work and home projects coupled with a now two year old daughter! No complaints on this end but it does make for a shortage of time to write blog posts. If you're following my instagram @woodprojectsbybagel, you will have seen a bunch of projects come and go over the Last couple of monthsand I've yet to write anything about them. I will endeavour to do so here and in the next few posts to get things caught up. Today I'll show off the advent calendars I built for this past Christmas season for some awesome customers! Some of you might remember the advent calendars that I made two Christmas seasons ago that I built by following the Wood Whisperer's plans. I adapted the plans to make each cubby of the advent calendars a drawer to put the days discovery inside as Christmas gets closer. I made these from 1/2" and 1/4" Baltic Birch plywood. I made 6 Advent calendars in the batch this year so i have 2 on hand to finish for next year and one I'll finish for my Daughter to use next Christmas. Below are photos over the course of the build. Please ask questions if you have anything from the process you'd like me to explain! Thanks for sticking with me during this crazy time! More project posts are coming soon! Be sure to check my instagram @woodprojectsbybagel for more up to date posts! See you in the next post!
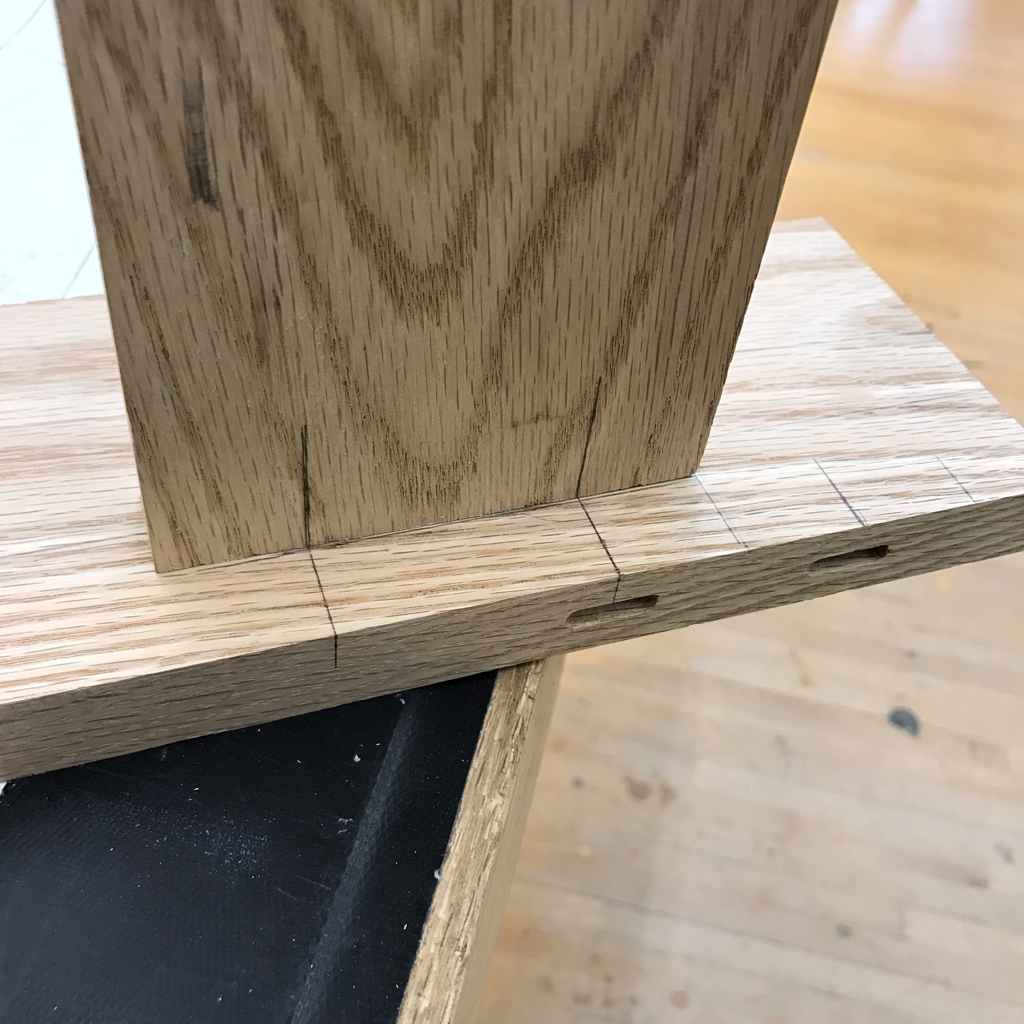
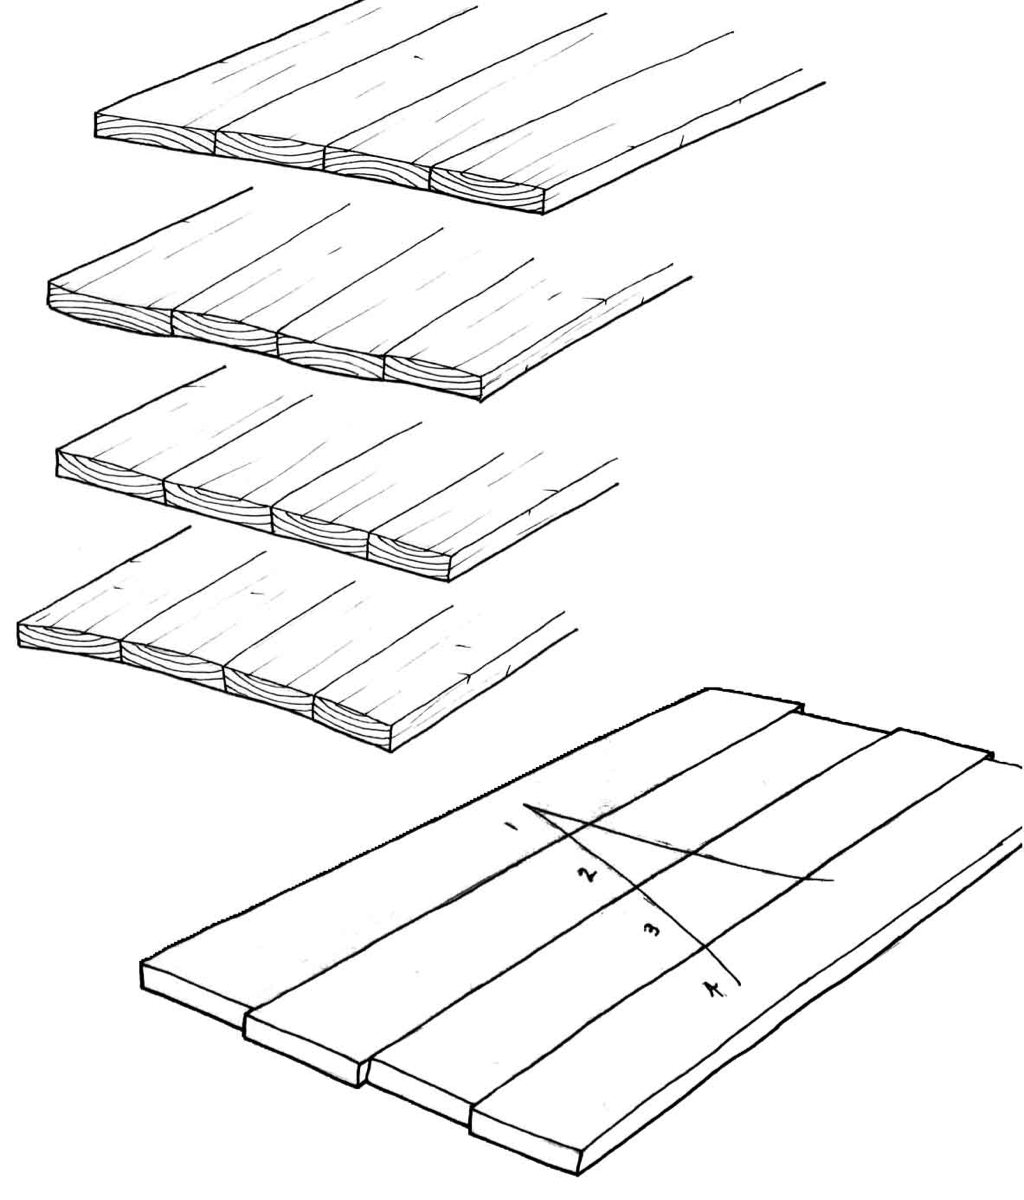
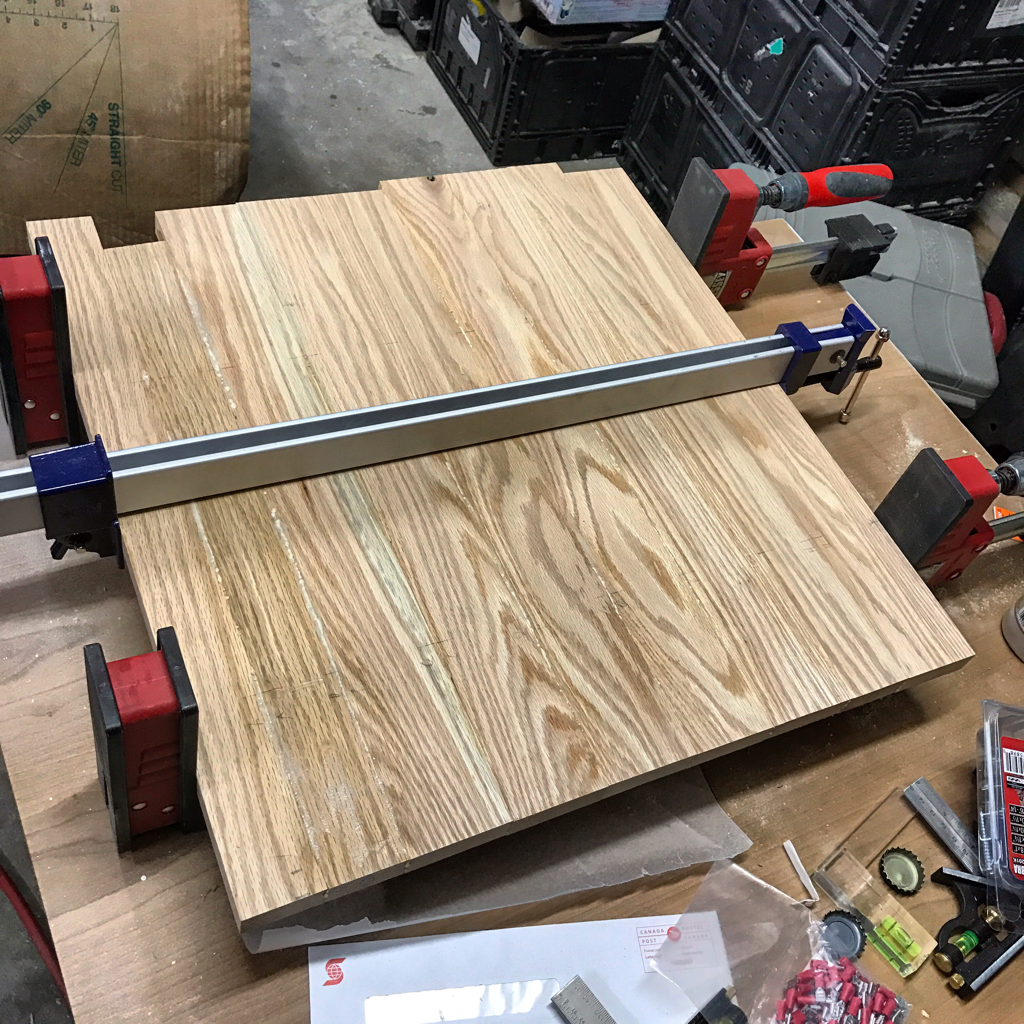
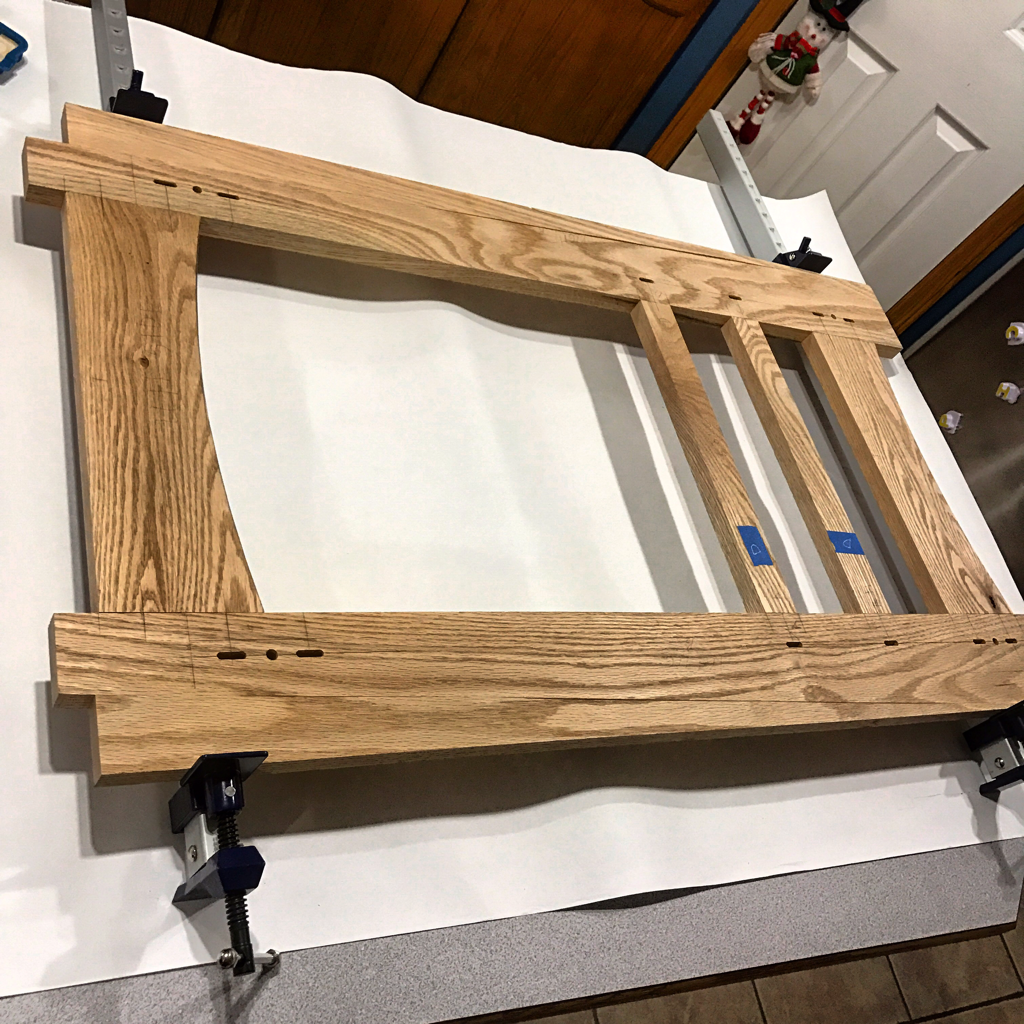
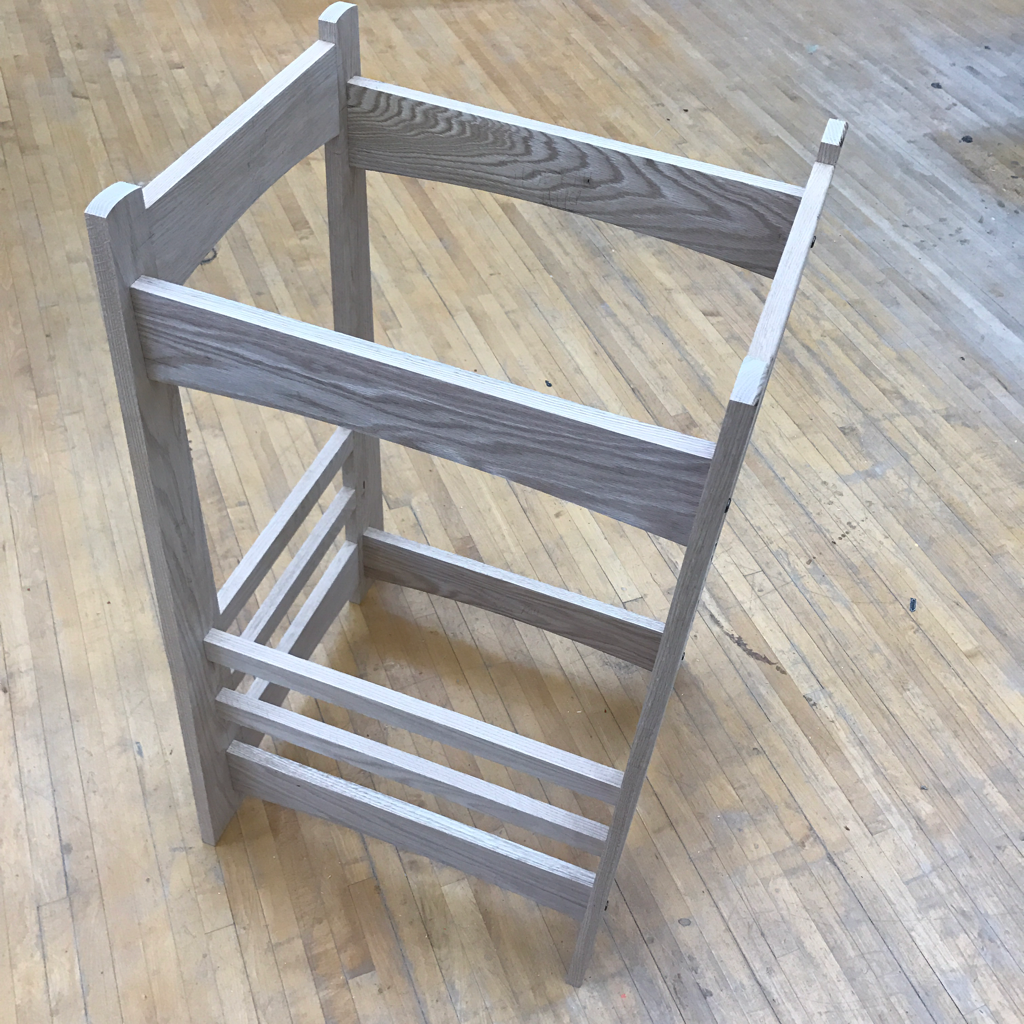
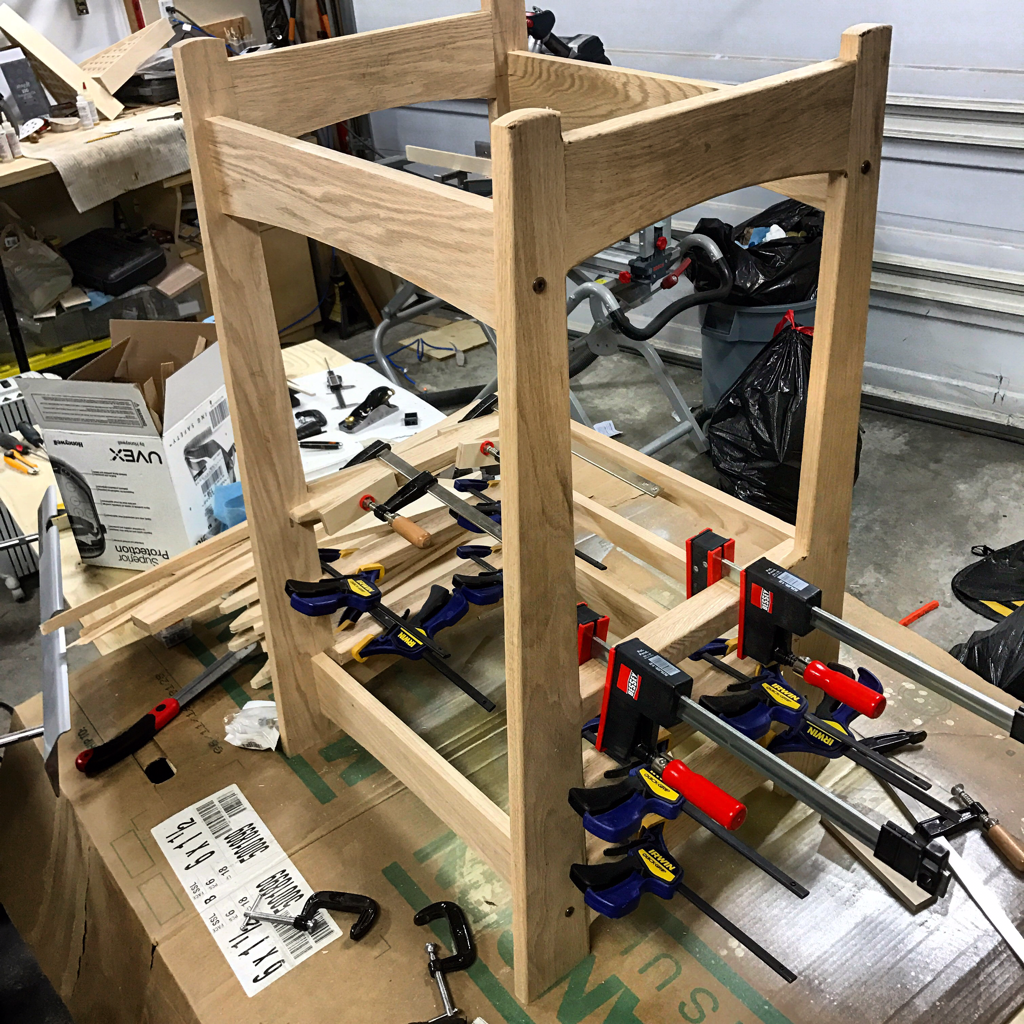
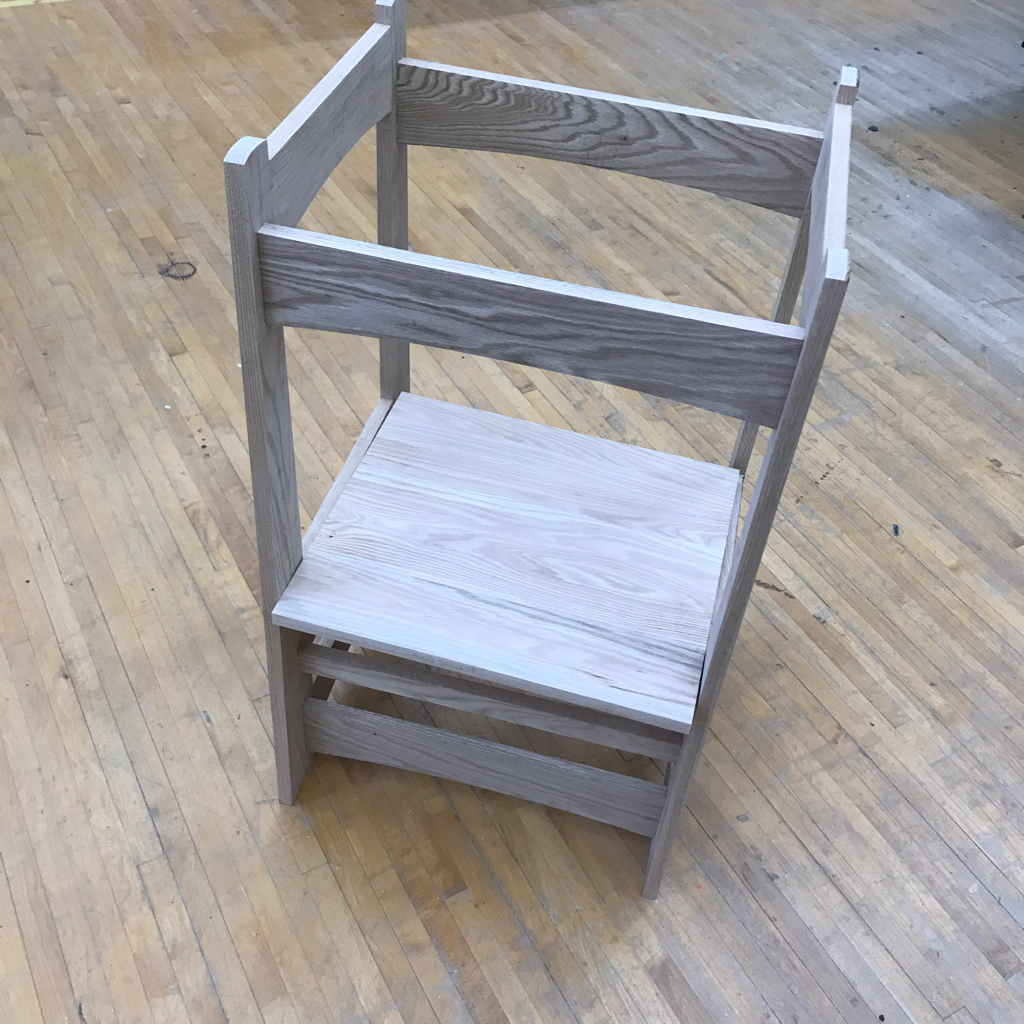
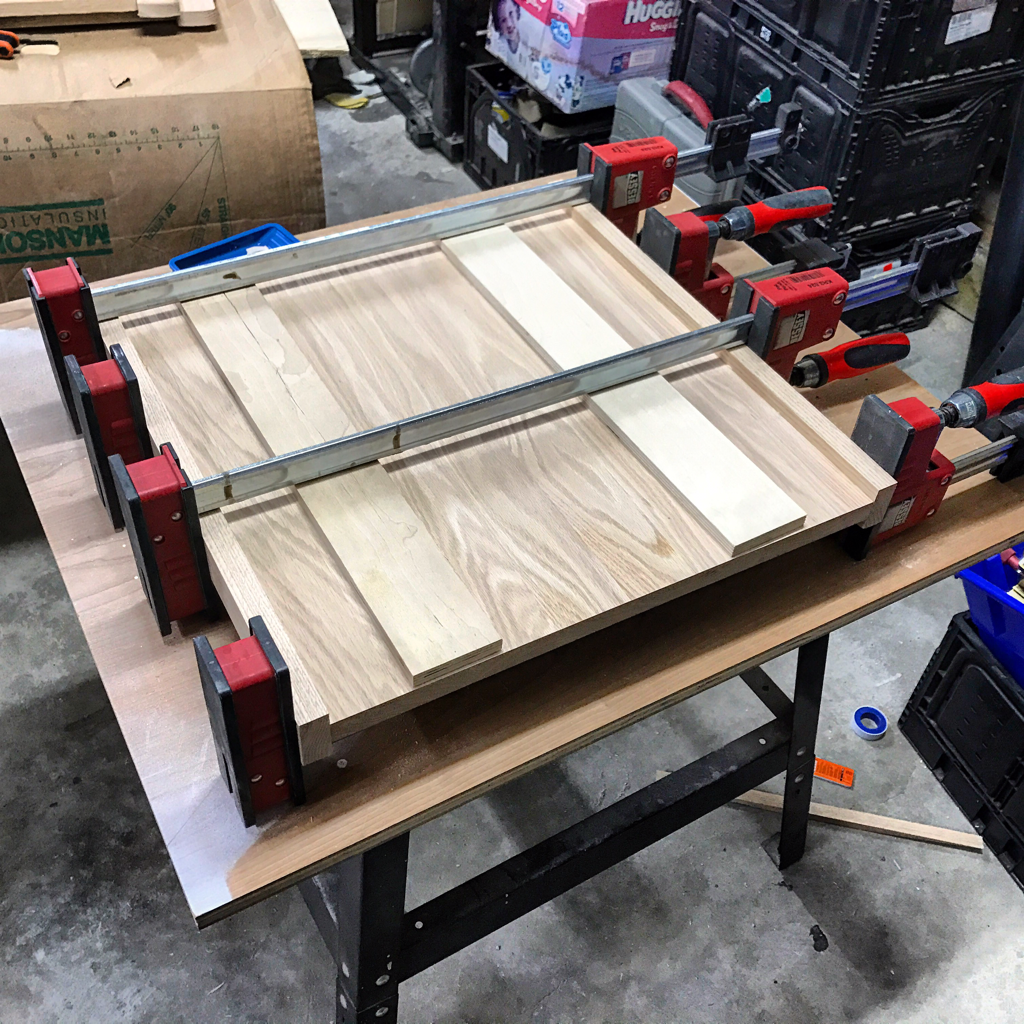
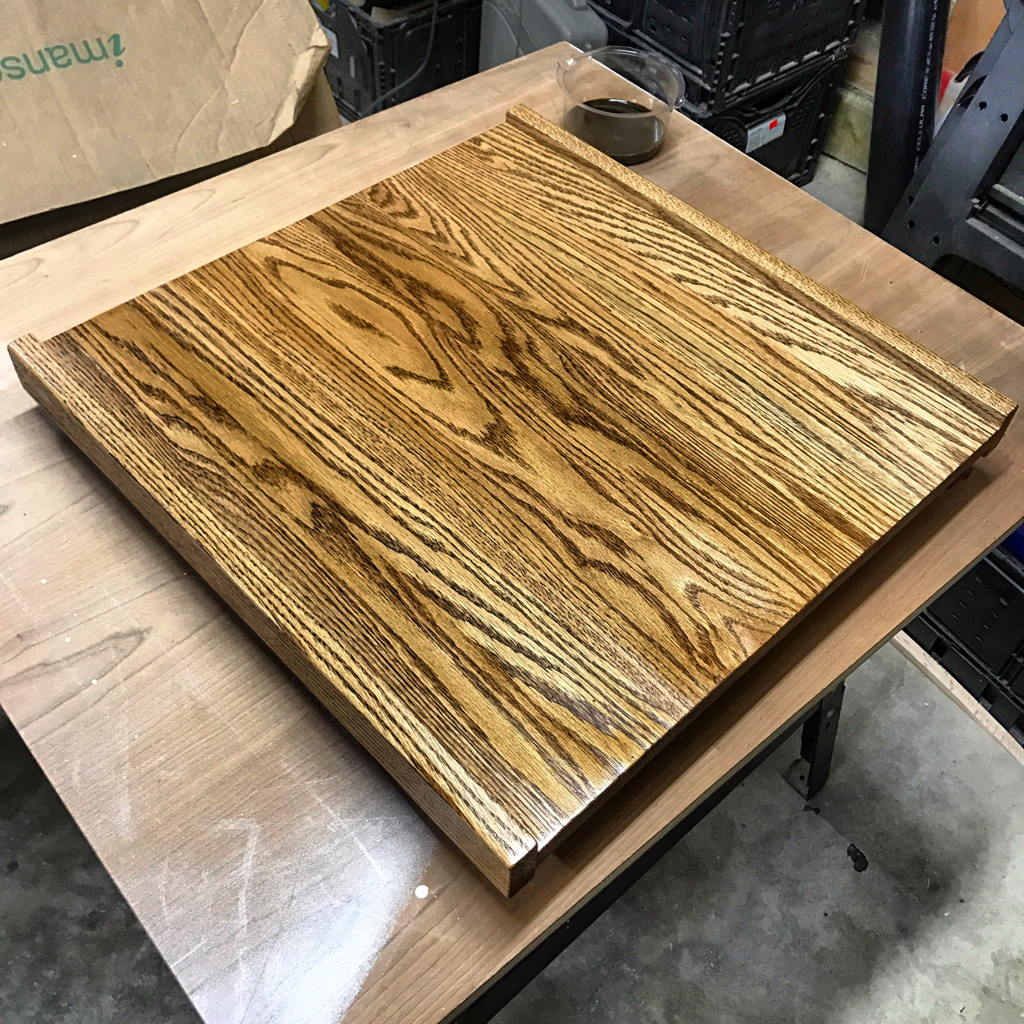
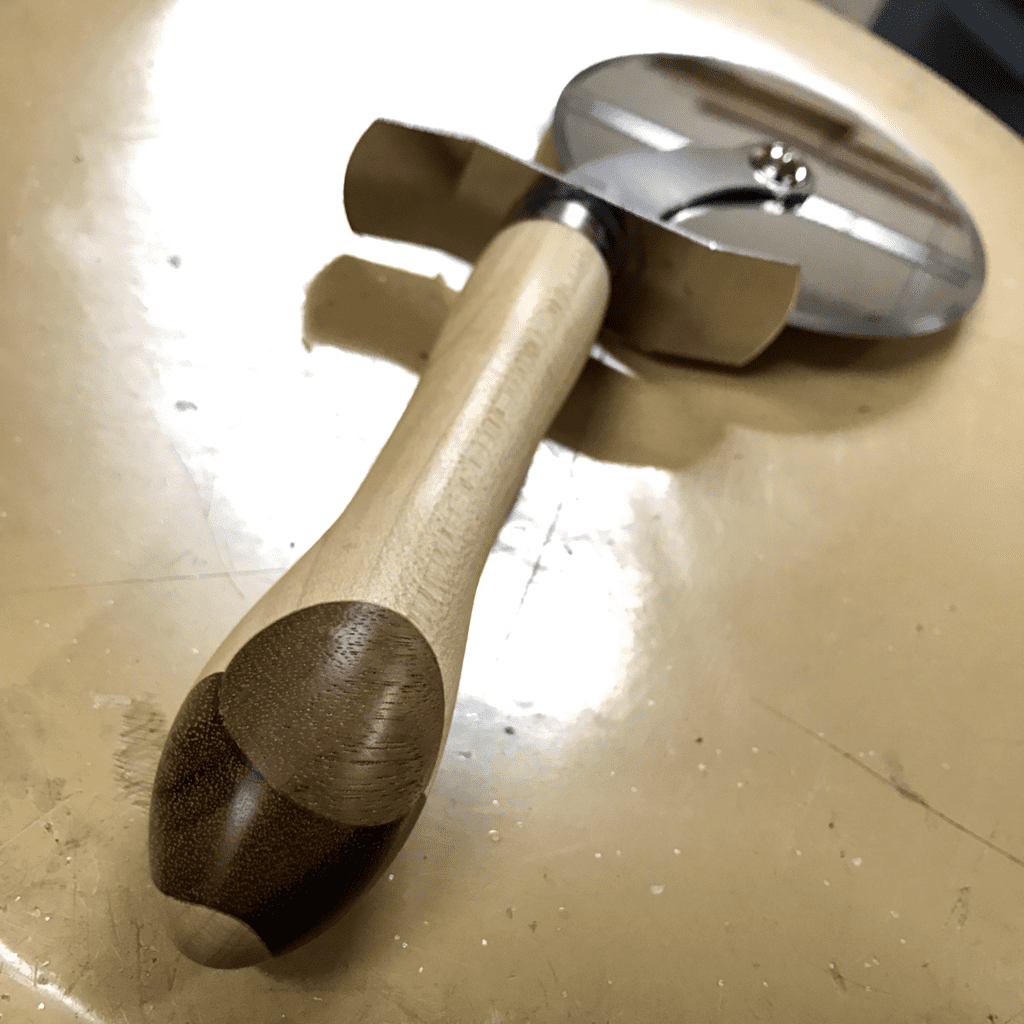
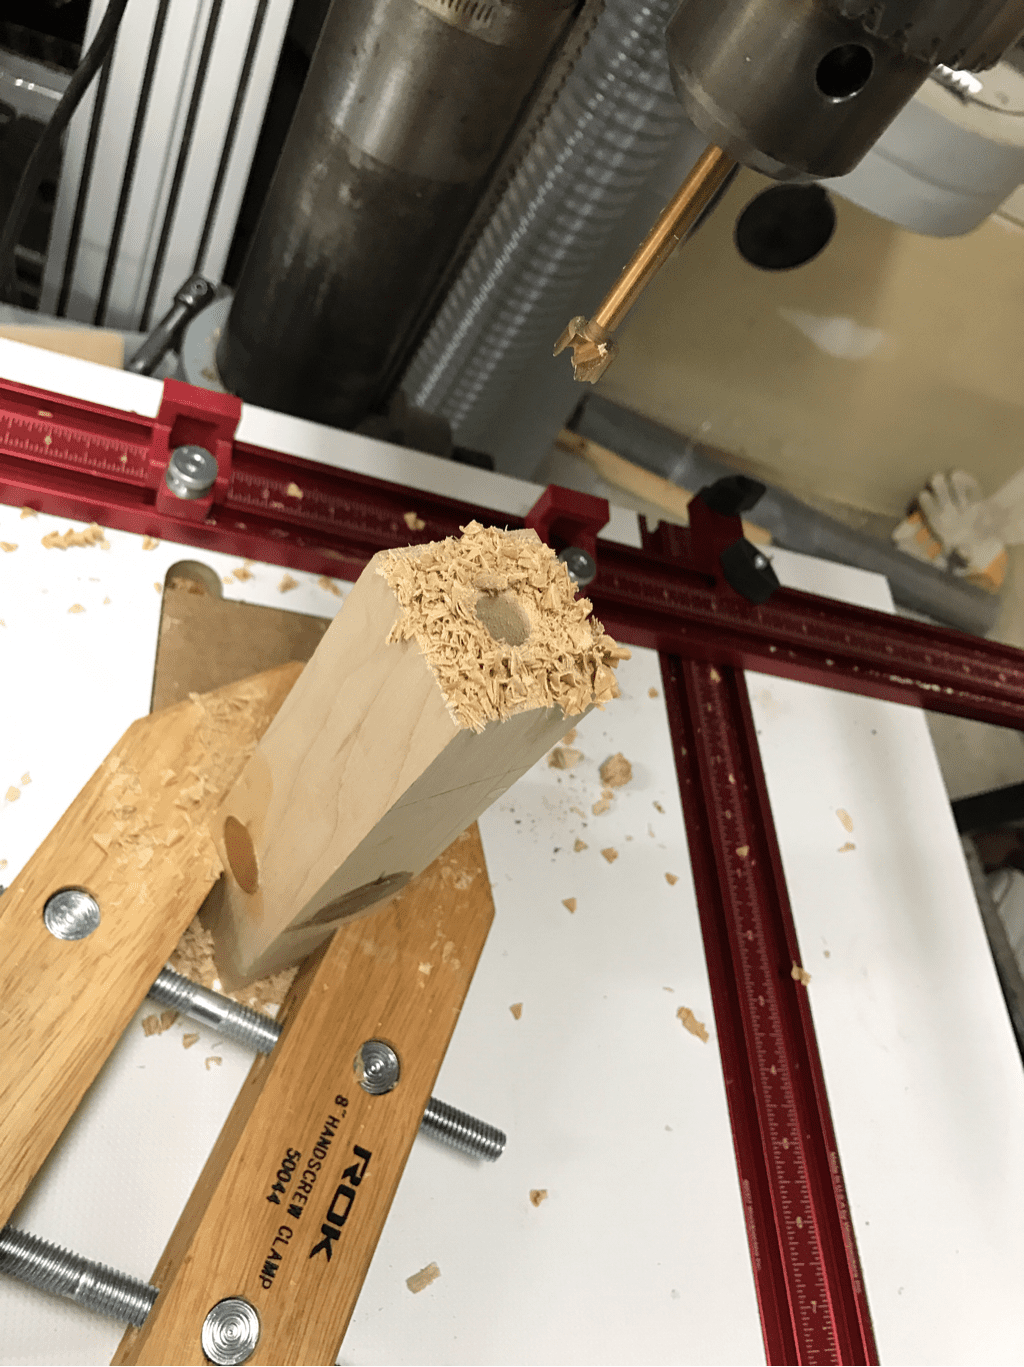
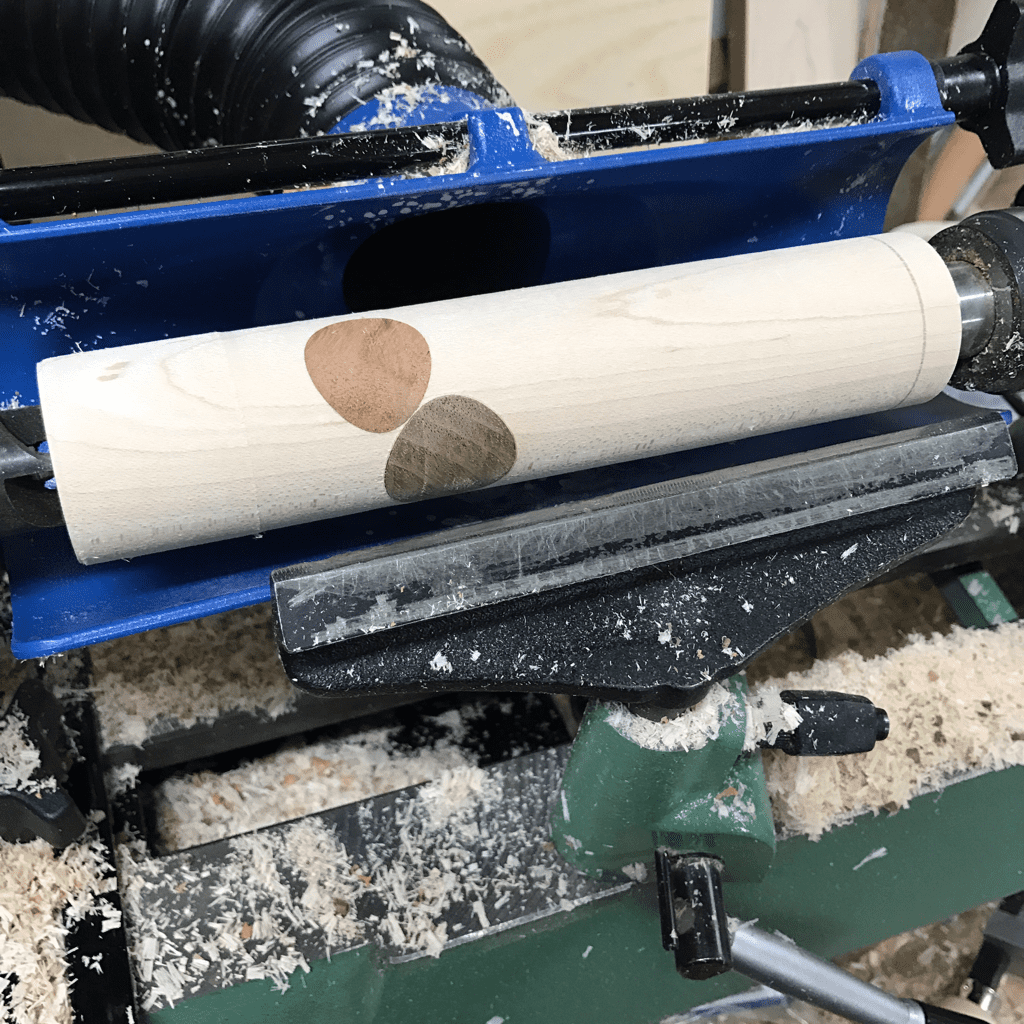
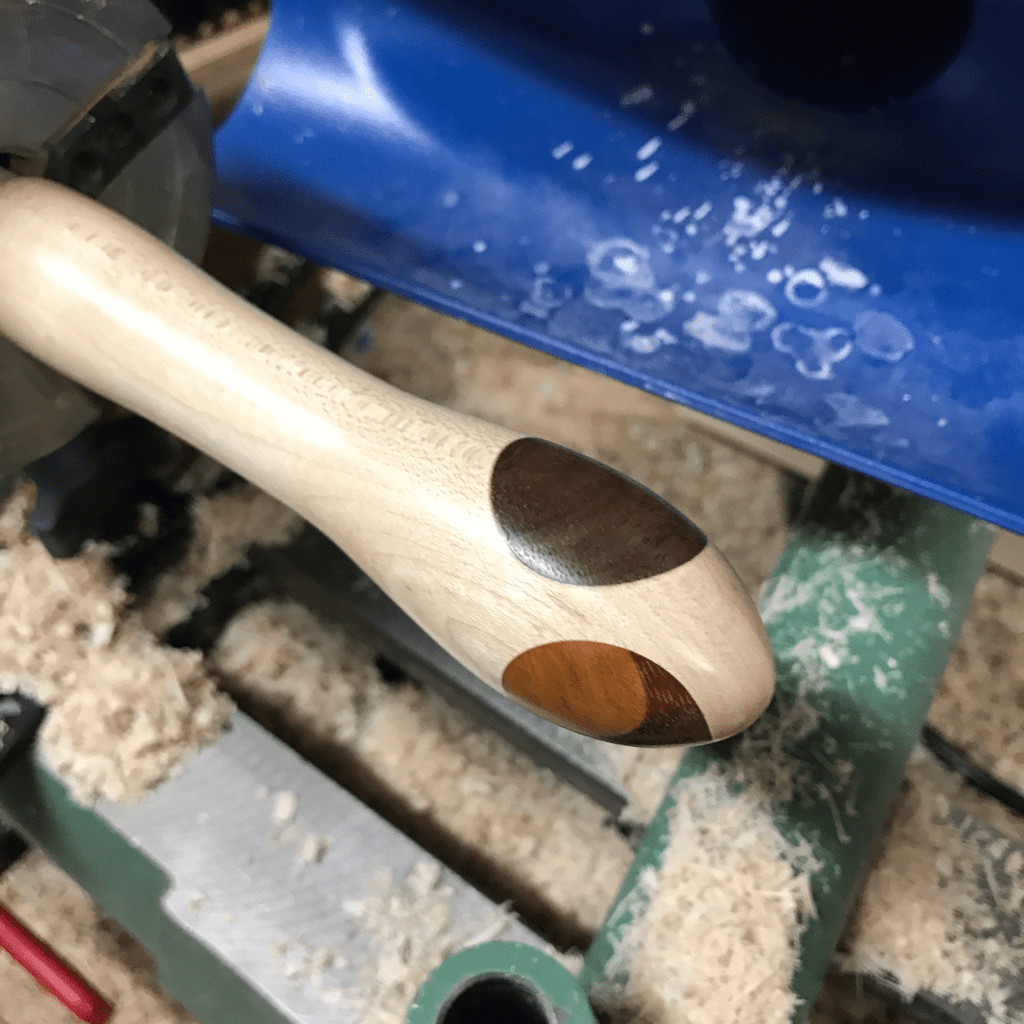
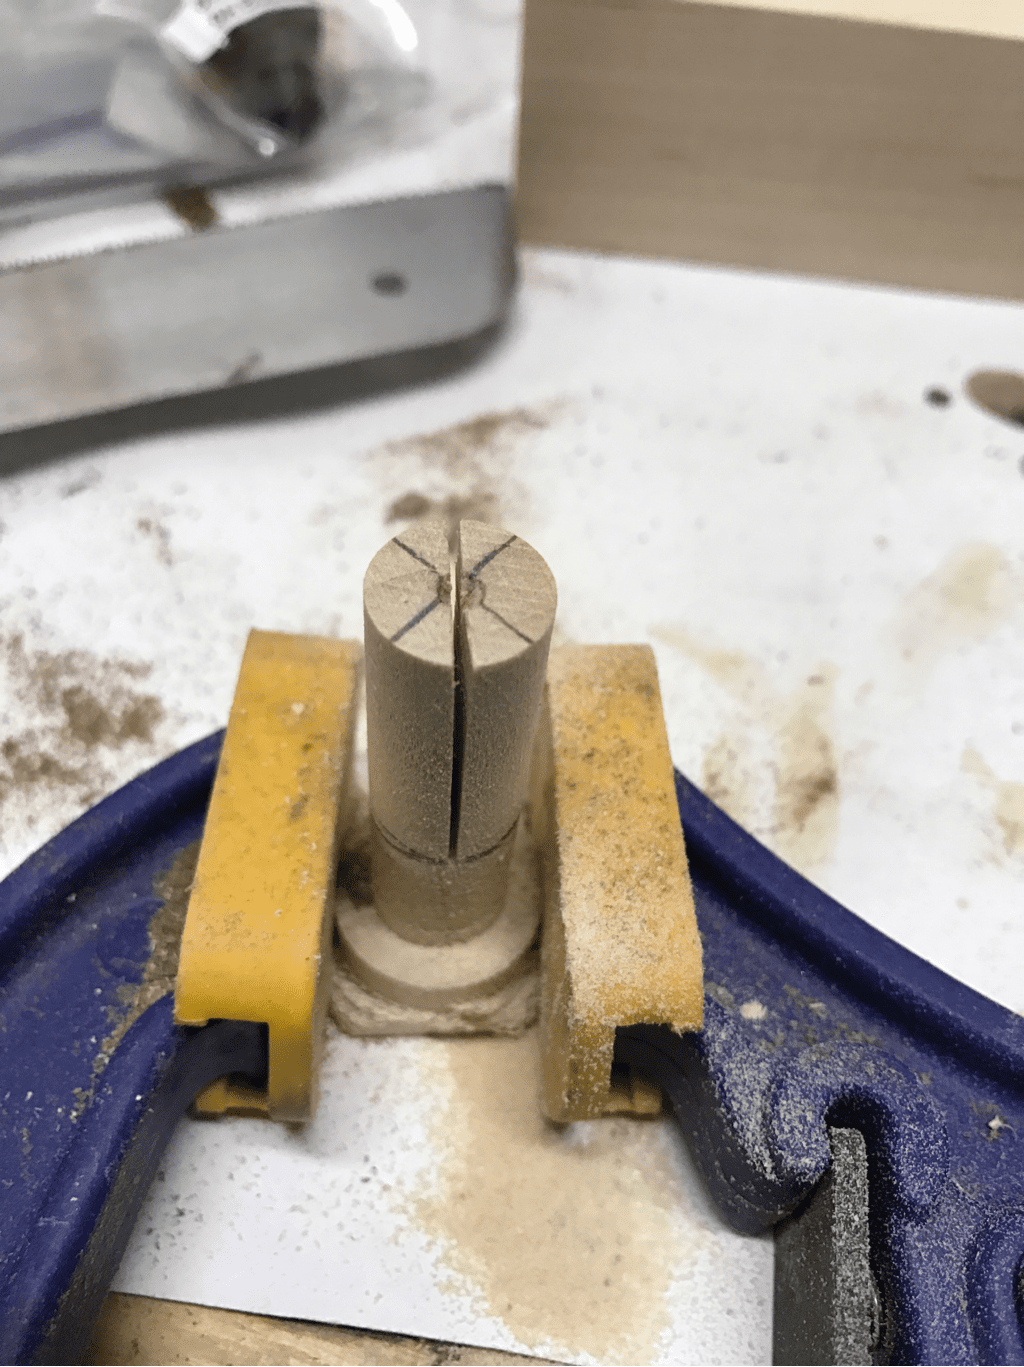
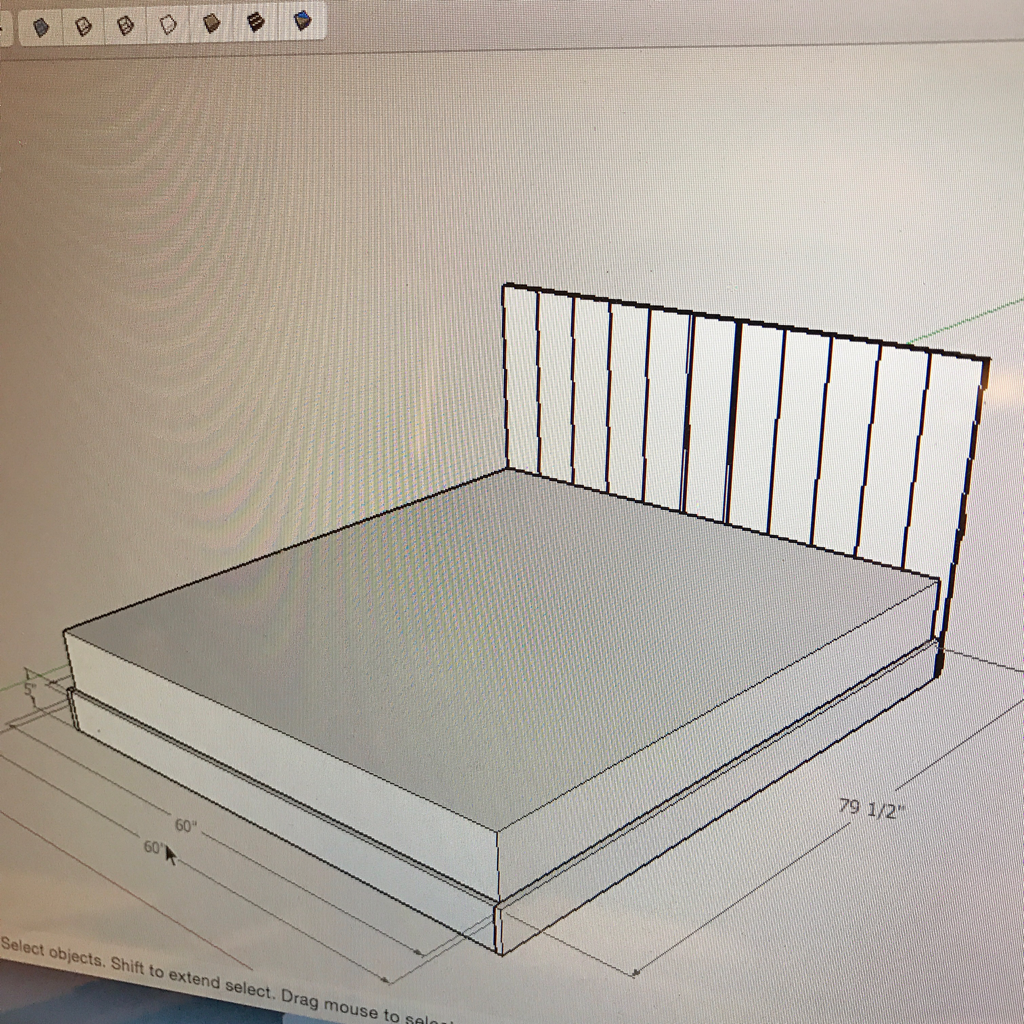
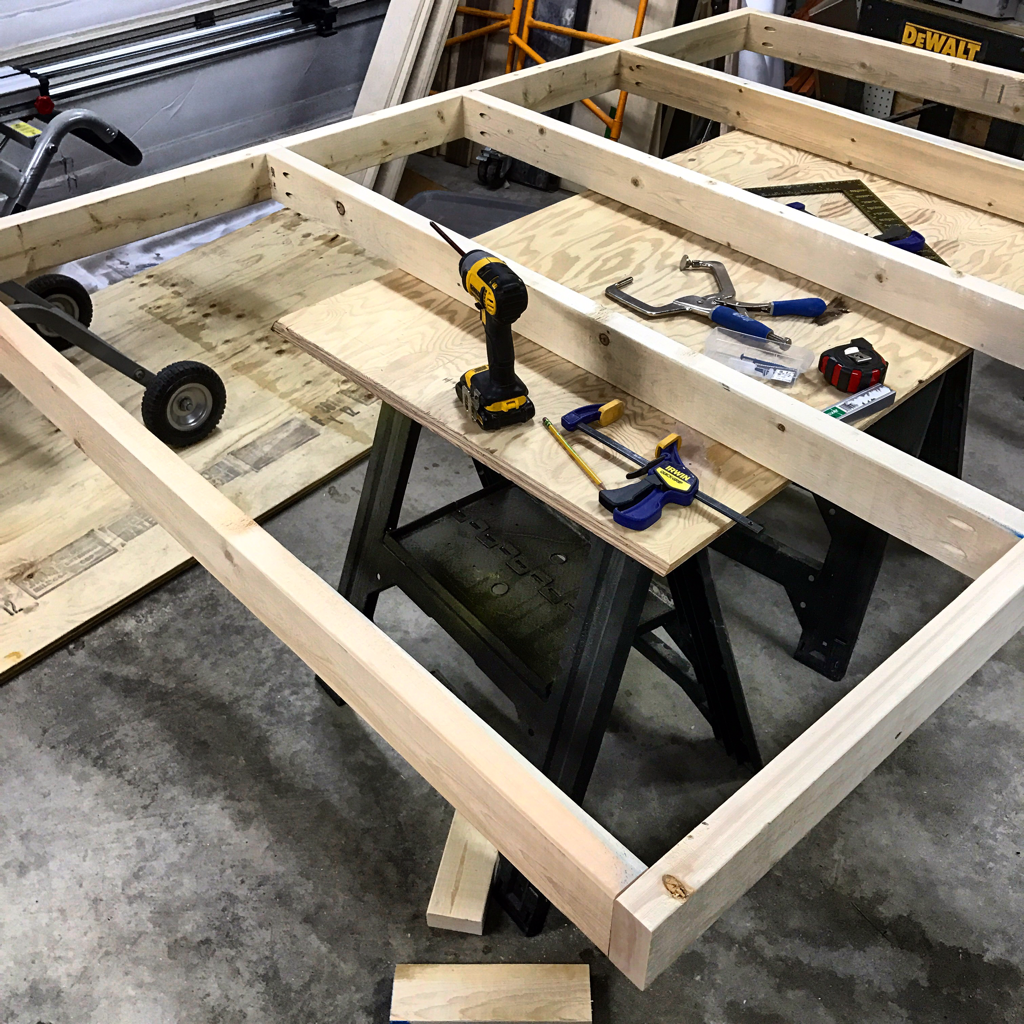
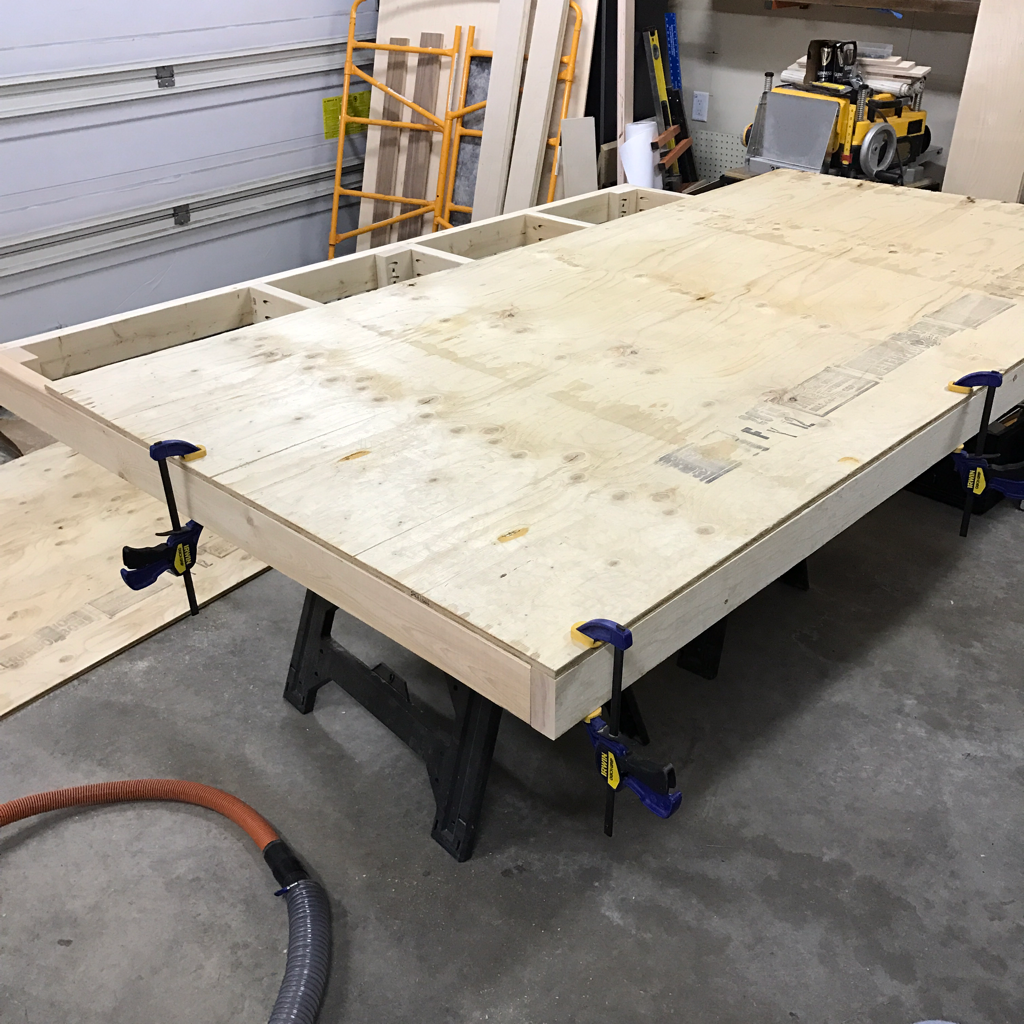
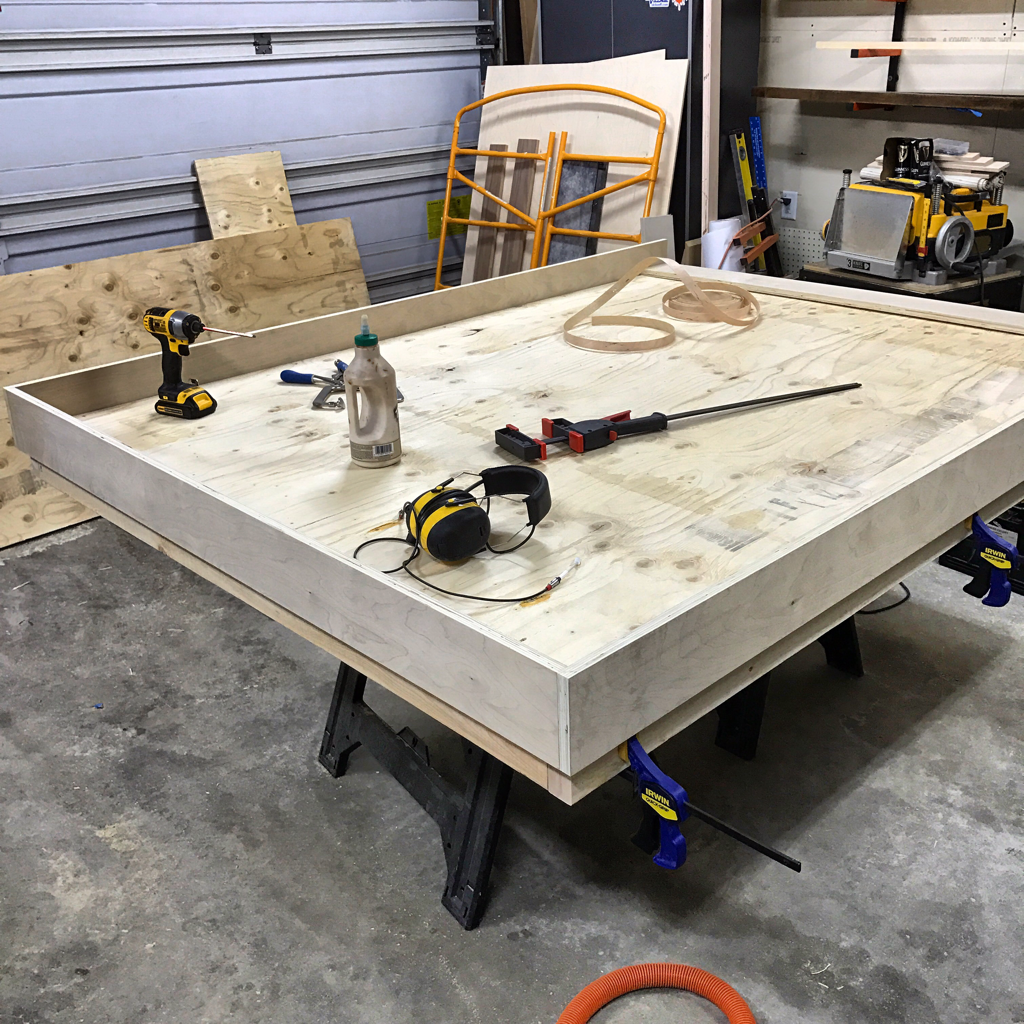
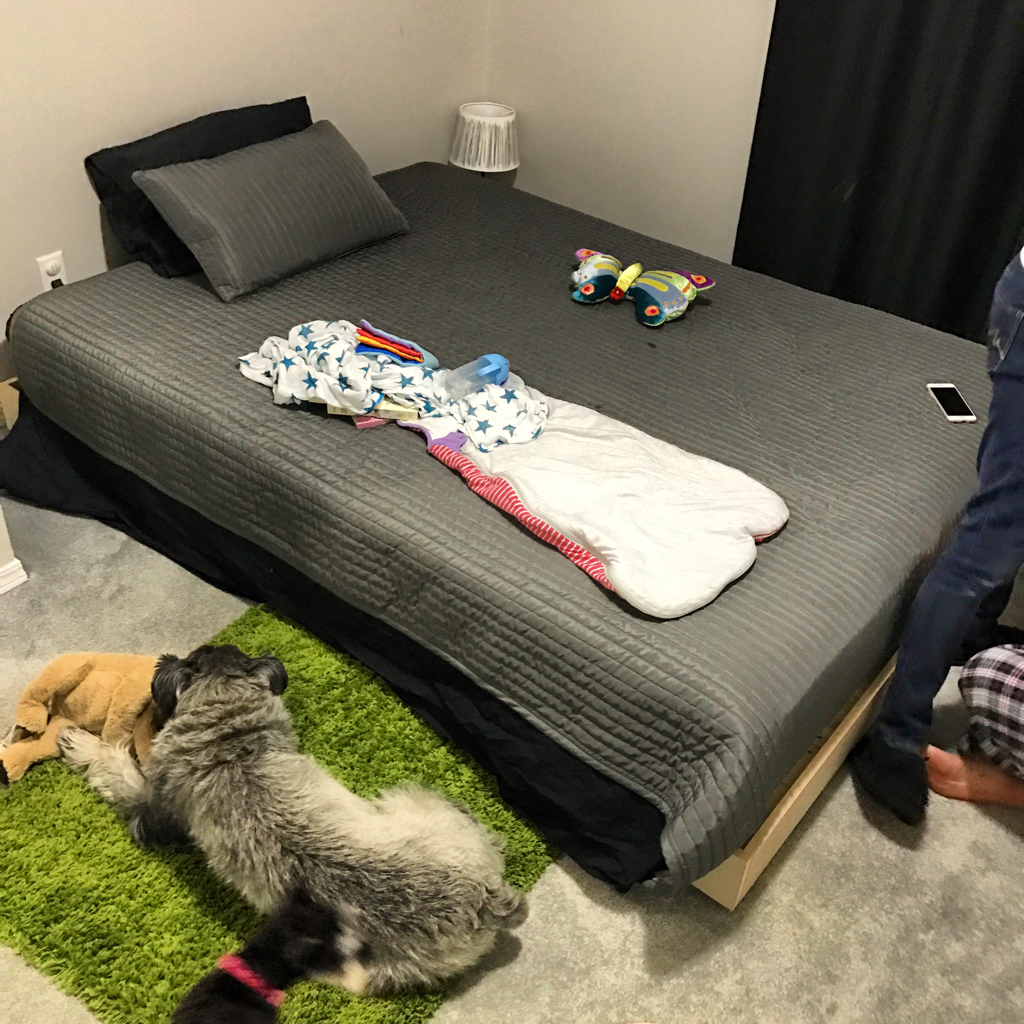
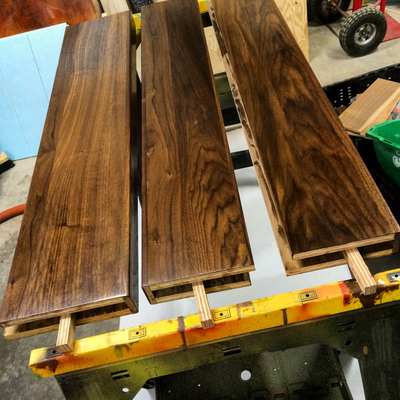
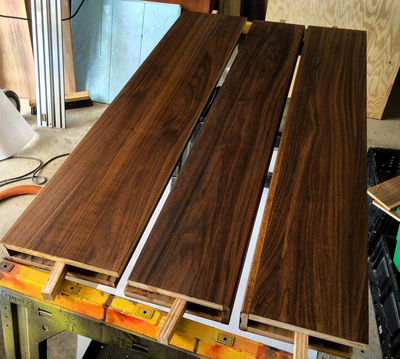
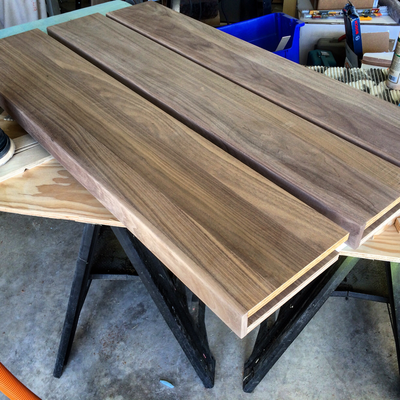
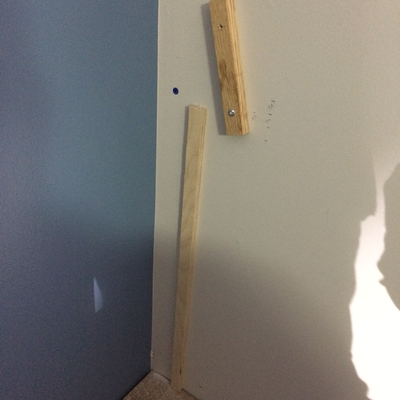
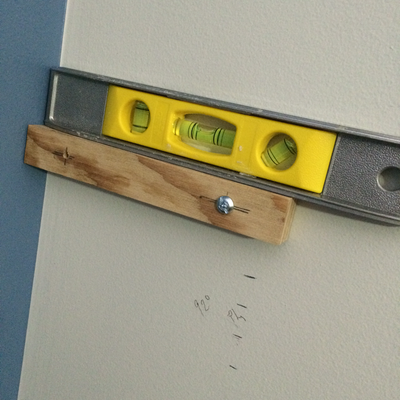
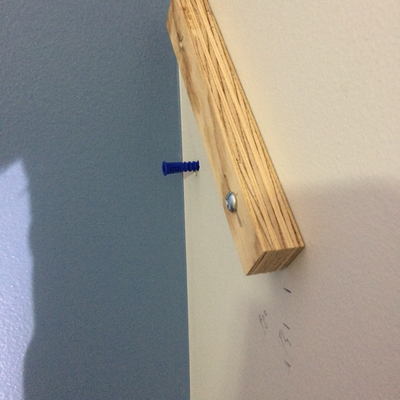
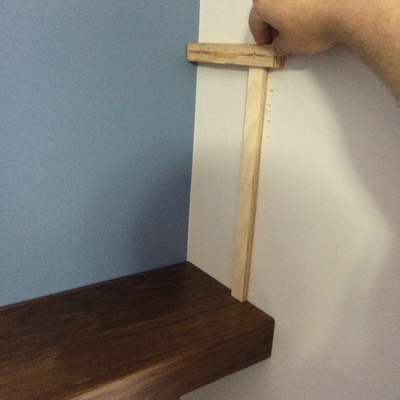
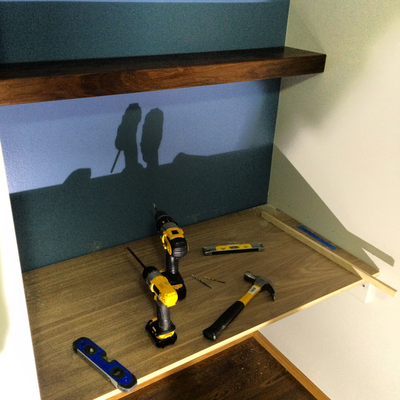
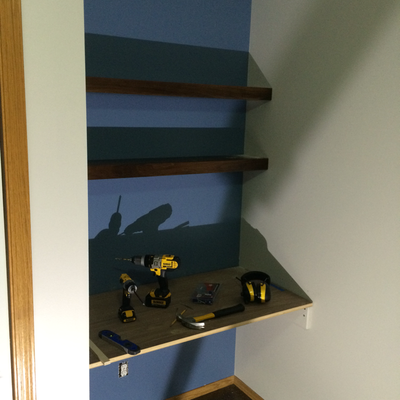
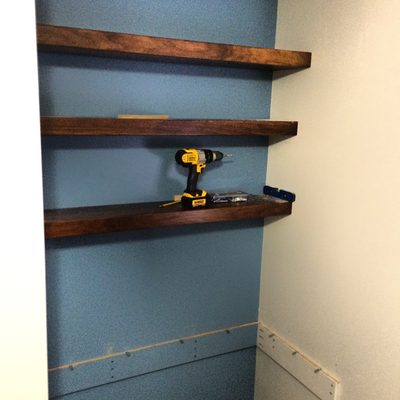
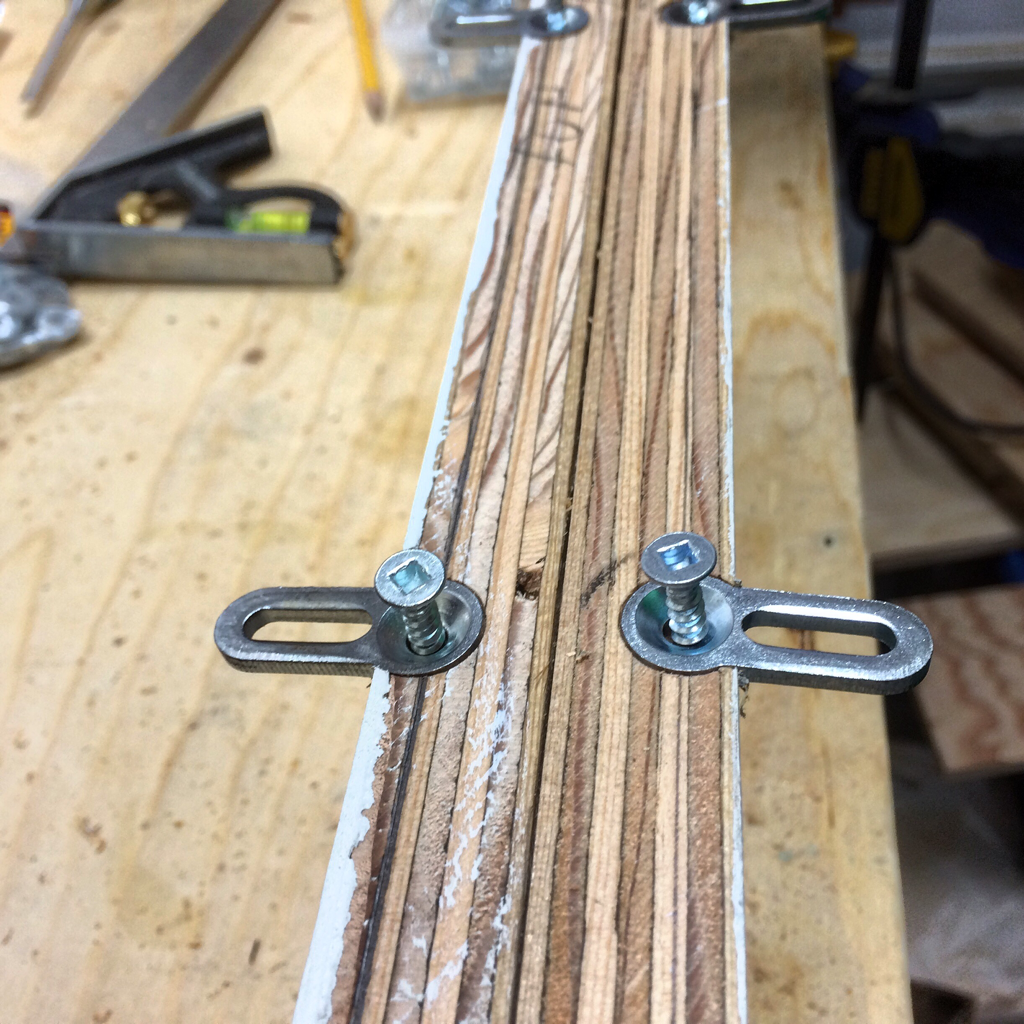
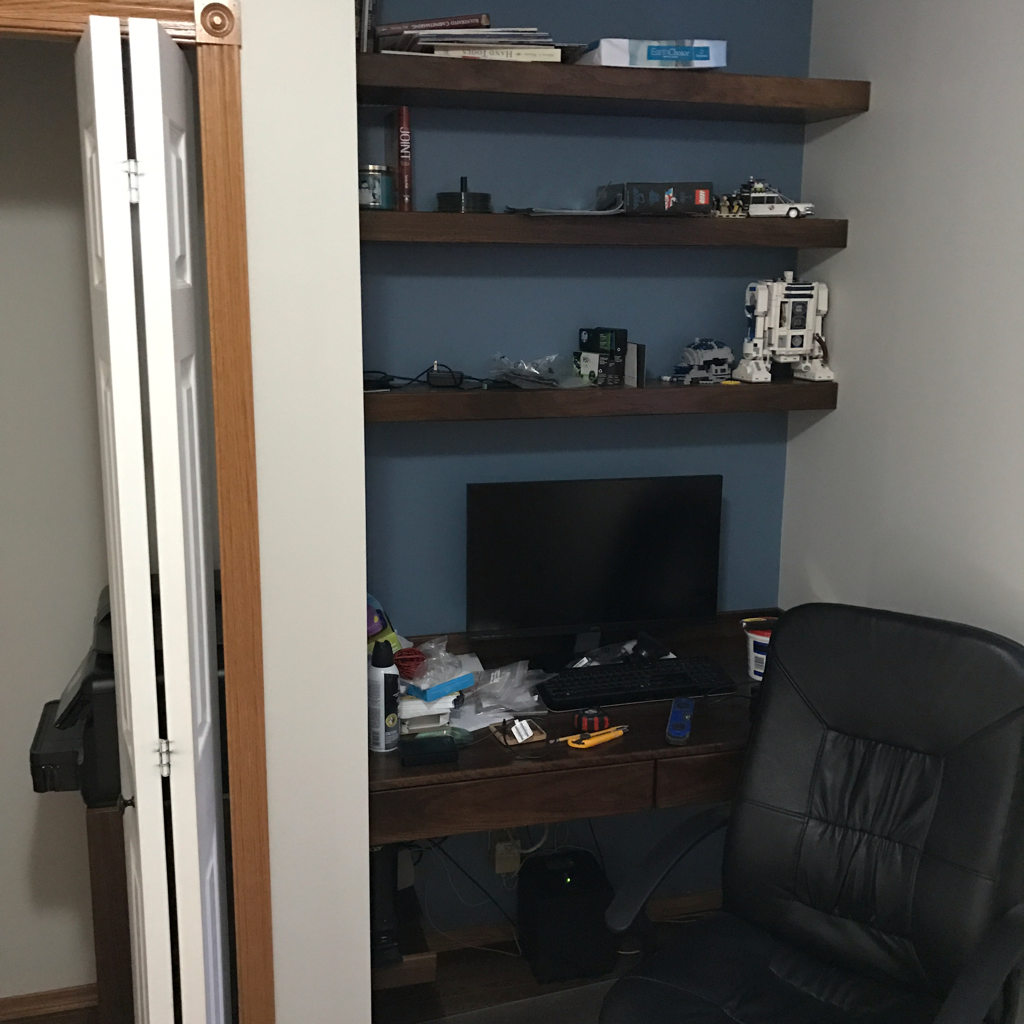
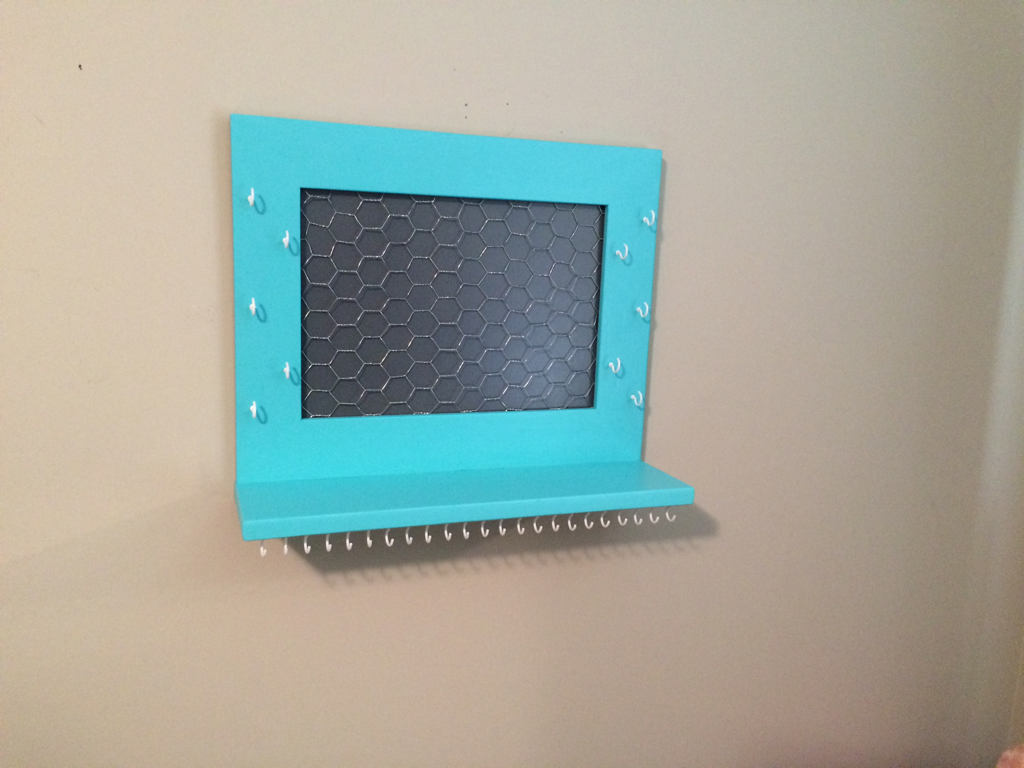
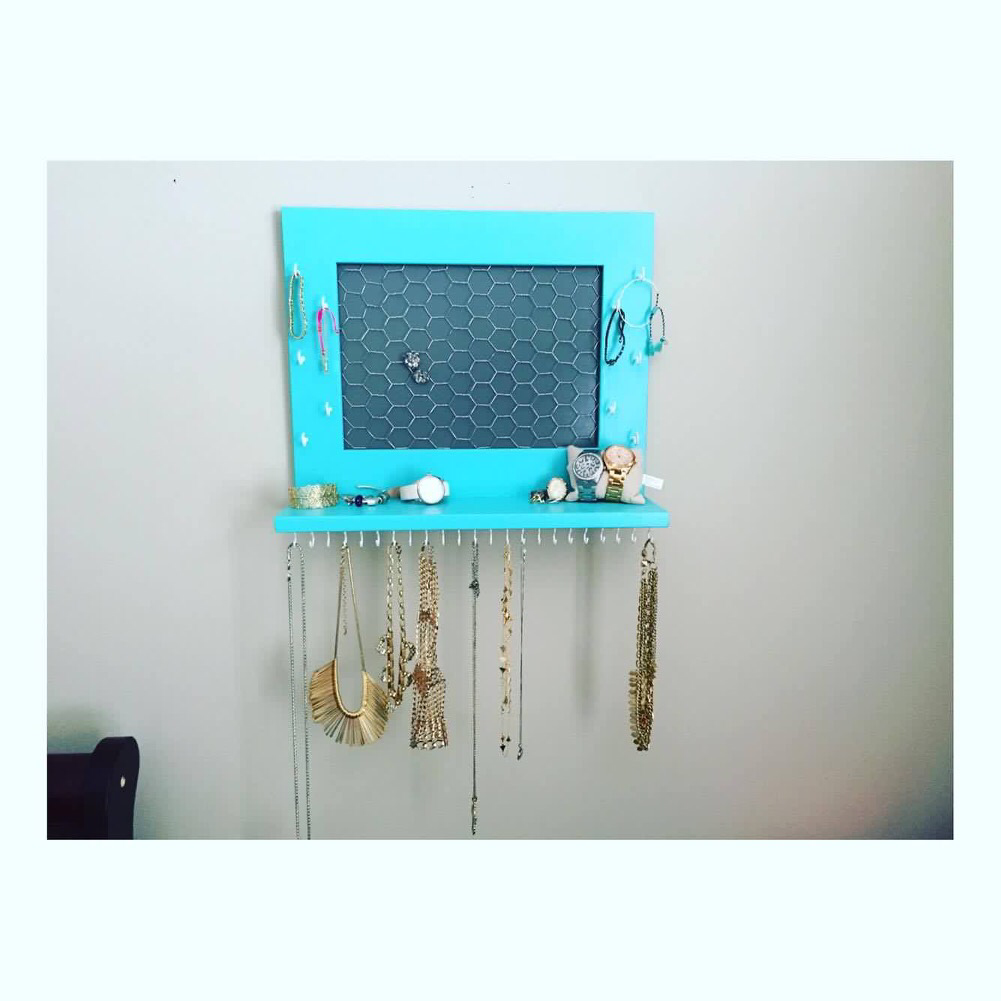
1/6/2017 1 Comment Kitchen Helper Stand Build!Happy 2017 Everyone! Here's one of Audrey's Christmas presents that I built for her in December! I followed the plans for this kitchen helper from the Wood Whisperer! Thanks Marc! Great plans and how to video! Like most kids Audrey's age, she loves to be with us when we are cooking in the kitchen. Audrey would drag a kitchen chair from the dining room to the counters so she could climb up and help with whatever was being made. This of course worked great until she fell off the chair a couple of times. Thus the kitchen helper needed to be built! I milled up my stock for the Kitchen Helper from a bunch of red oak I had left over from another project and had just enough to allow me not to have to glue up the wide leg boards which made me happy. This project uses mortise and tenon joinery to create the 4 side frames and it's screwed together using 8 brass hex screws which I'll show later. But the whole piece is really sturdy once put together. I followed Marc's plans and videos on YouTube which helped immensely to make this a fairly straight forward build. The key was getting all of the lumber flat and squared up before cutting out the angled areas. The frame stands about 37 inches tall and with the knockdown joinery, you can put this away for storage once your child is too big for it. I followed the plans for the dimensions of the frames and used the Festool domino to cut mortises in each mating surface. I did a dry fit of the dominos into the frames and made sure everything fit together first before moving onto the main panel for Audrey to stand on. The frame pieces were put aside as they needed some work on the bandsaw before gluing it all up. What I found really cool was that the main panel, on which your child stands on, can be moved to lower settings once your child grows! Gluing up the panel for Audrey to stand on was pretty simple. A tip when gluing up large panels it to make sure your wood strips are alternating the grain patter and to ensure your strips are no wider than 3 1/2" to ensure no warping due to wood movement through seasonal changes and expansion and contraction. Oak is very porous but extremely hard wood. It can move drastically if you don't account for movement in your project design. The diagram below came from a quick google search of panel glue ups. Click the photo to read more about panel gluing although I can't vouch for the accuracy of their content but the diagram shows what can happen to panels if glued with the wrong grain direction. It takes some practice but you'll get great results every time while the panel stays flat! PROTIP for PANEL GLUING: When applying glue, make sure that you have not dry areas where glue should be to ensure you have good adherence along each strip in the panel. When clamping pressure is applied, glue should squeeze out along the joint to show that you have have enough glue to bond the surfaces together. Another common mistake is when clamping, people apply too much clamping pressure thinking that the tighter the clamp, the stronger the joint, this is wrong! If you take the time to ensure your lumber is flat and square, your clamps are simply used to hold the mating surfaces together to allow the glue to dry and bond the surfaces together. Glue joints will be stronger than the fibres of the wood if completed properly. After about 1 hour, I used a paint scraper to remove the glue squeeze out and left the panel to dry overnight before sanding and cutting it to size once the rest of the helper frame was completed and assembled. I didn't take a bunch of photos of the build process as I was in the middle of a bunch of Christmas projects and figured I'd add links to Marc's page and videos here. After doing test fits of all the domino joints used to get the sides and cross rails together, I screwed the frame together using the threaded inserts into the cross rails. This took some learning to get the process done properly after I watched this video below on how to install brass threaded inserts: It took a bit of practice but I got each one in the correct spot. Which meant I could begin to draw out the curves and cut out the sides and angled areas according to the plans. I cut a close to my lines as possible and then used a spindle sander to do the finishing shaping and sanded the curved surfaces to 180 grit before gluing the side frames together. I used the angled cut offs from the outside edges to ensure I had good, even clamping pressure while the glue dried. After the glue dried, I put the frame back together to get the interior measurements for the panel I glued up earlier that Audrey would stand on and cut it to size. It's about 1/8"shorter than the inside measurements to ensure that the panel can easily slide in and out if adjustments needed to be made. I then clamped edge guides cut to the same width as the panel and glued them on with a 1/2" Baltic birch spacers so the lip will catch and keep the panel in place at each height setting. Once the panel dried, I rounded over all edges with a 1/8" round over bit in my router and then sanded all surfaces to 180 grit. I removed the sanding dust and prepped everything for finish. I used Watco Danish oil - medium walnut coloured stain & lacquer. It really brought out the medullary rays in the wood grain and darkened it nicely. It's a super easy finish to apply and requires 3 days to dry fully before you can apply and clear coats over the surfaces. The finish is darker than our cabinets but it matches well with our original oak kitchen but does look more up to date. I was thinking about getting other wood for this project but am glad my wife talked me into using the oak for this as it matches and is very durable for Audrey to use without worry of damage being visible readily. Using the danish oil is a durable finish as well but will require some upkeep as the surfaces are worn. I'll apply a few coats of polyurethane once I'm caught up with other projects. Here it is all finished: Thanks for checking out my work! There LOTS of changes happening to my workshop since 2017 started and I'm just getting back to updating regularly with the project work I finished over Christmas holidays. Below are links to the Wood Whisperer's build videos if you'd like to see what I used to build this project. Here's a link to the project plans as well. See you in the next post! Hi Everyone! Merry Christmas to all who celebrate and Happy Holidays to everyone else! I hope this season has been festive and enjoyable for you and all of your loved ones. Here's a gift I made for my wife. I turned a Pizza Cutter Handle on the lathe using a dowel inlay technique in the end of the handle. I'll explain below how I did it: I turned the handle out of a 1.5"X1.5"x7" long piece of maple hardwood. The inlay is really simple but required a few accessories for the drill press and really thick scrap pieces of hardwood to make. I started by resawing the blank to 1.5"X1.5" using a resaw blade on my bandsaw and chopping it to length at the mitre saw. Then drilled a 7/8" diameter hole about a third of the way up from one end of the blank through using a forstner bit. The hole is intentionally off centre. I then used a 7/8" dowel plug cutter to make a 7/8" dowel out of a small scrap of mahogany that I had laying around in my hardwood scraps. I cut the dowel out of the scraps using my resaw blade and fence on the bandsaw. I then glued the dowel into the blank and let it dry. I made two different diameter dowel plugs and wanted to cross them over. After the first dowel plug dried, I flipped the blank and drilled a 1" hole using a 1" forstner bit through the other plug. For some reason, I missed photographing the other plug but you'll see it below once I mounted it on the lathe. The 1" dowel was made from walnut. And glued it into the blank. I drilled a 1/2" diameter hole in the centre of one end of the blank 1 1/2" deep for the pizza cutter hardware later. next was mounting it on the lathe and starting to shape the blank into a handle! To mount it on the lathe, you need to use a spur centre and a live centre that has a taper on the end to hold the blank on the lathe and turn the blank into a cylinder. See the photo below: The line on the right hand side is 3/8" from the end to shape the tenon for the stainless steel tang cover that goes on the end of the pizza cutter when you're ready to assemble it. I used a straight cutter to shape the tenon and tested the fit of the tang cover before shaping the handle. Once I shaped and sanded the handle, I held the tenon side of the handle in my lathe using my lathe chuck to finish shaping and sanding the end of the handle. I applied finish (wipe on polyurethane, carnauba wax, and another coat of wipe on polyurethane) to the handle and let it dry before working on the tang assembly dowel. With the handle finished, I needed to turn a dowel that would fit in the 1/2" hole in the handle so I could epoxy the hardware into the handle and assemble the pizza cutter. This was easier than I thought it was going to be but required a slot to be cut into the dowel to wedge the tang into. PRO TIP, measure the thickness of the tang first and cut the slot so the whole tang can fit. I cut the slot too narrow initially and needed to widen it, once I did that, I forgot to check the length of the slot.. doh! It still worked out though. I cut the slot by hand using a pull saw initially then put the dowel in my coffin clamp to widen the slot. Remember to test your fit carefully so you can ensure that the dowel plug can be removed from the hand so it can be epoxied in place with the hardware. Due to epoxy curing in 5 minutes, I had to move quickly to assemble the pizza cutter so I missed getting photos of the assembly process. The slot was a bit too snug for the tang but everything glued into place properly which was relieving haha. With everything assembled and finished, I put it into my wife's stocking for Christmas! She loves making pizza and we've gone years without having a pizza cutter.. so now we have one! Merry Christmas to everyone! I hope you enjoy a restful holiday season and that 2017 is heart filled and prosperous for you. See you in the next post! 12/9/2016 1 Comment Audrey's Big Girl bed!ok, to start off, my daughter is not yet two but she's growing like crazy and out grew her crib much to our surprise. So, my wife asked me to build her a bed that would be closer to the ground and also would accommodate one of our several queen sized mattresses... wait. What? A QUEEN sized mattress for a toddler! Yeah. We didn't want to buy another mattress that would need to be swapped out again in a few years plus we already had the mattress so we were able to put only material cost into her bed. By the way, she LOVES the real estate! So, I started with a sketchup drawing to develop a style that would fit our needs and be close to my wife's Pinterest research. The design is simple but really sturdy. I built the base so my daughter could sleep on it right away - she was starting to try climbing out of the crib so it needed to be done. The frame is about 10" off the ground to allow for air flow under the bed but no stubbed toes and things being lost underneath it. The build took me a weekend to build while my wife cleared out Audrey's room to prepare for the new bed. I started with the 2x4 frame and used pocket holes to assemble the cross rails and frame together. I built the frame to match the perimeter of the mattress first. Then I sheathed the top with some 1/2" construction grade plywood and screwed it to the frame. I cut the sheathing slightly oversized and then flush trim routed it it match the frame exactly which worked really well. i built the frame out of some left over maple plywood I had from the Murphy bed build. I assembled the corners using pocket holes which made for a really flimsy frame so I needed to be careful when clamping and assembling it around the bed frame. The clamps are holding the casing up so I could screw it all together. I edge banded the plywood to cover all of the plies and sanded all surfaces smooth to remove sharp edges. I think at a later time once I build the headboard, I will round over all the corners with a router. Next was taking the whole bed apart and getting it into Audrey's room! Everything screwed back together and sitting in the feet I installed, this bed frame is rock solid! I walked all over it and jumped on it, not a squeak, shift or crack. Which impressed me! My wife and I put the mattress on the frame and we made her bed. And there it is! Now, personally, I'm not a fan of how low it is to the floor. But, I'm 6'4" so anything is pretty much too low for me haha! The best part is that once Audrey saw the bed, she loved it! Every night since she started sleeping in her big girl bed, she is happy and plays catch me on a whole lot of space while we try to get her ready for bed and dressed in the morning. Her smiles are totally worth it! After I get the next couple of commissions out of the way, I'll build her head board and get it installed which shouldn't be too much trouble. And it will really pull the room together while removing a gap from the wall that Audrey likes to climb into at the head of the bed when she wakes up early some mornings. I'm getting caught up with posts! Thanks for sticking with me and for checking out my work! Email me or message me for custom work you'd like to have done! See you in the next post! 11/17/2016 0 Comments Jord Watch Holiday Giveaway!Hi everyone, I was was contacted recently to see if I would be interested in partnering with the hardwood watch manufacturer: Jord They have been watching my work for awhile and they offered to send me one of their watches to write a review about it. Boy am I glad they did! I ordered the Dover watch made from the hardwood: ebony and copper. The watch is AMAZING! The craftsmanship that went into the watch is very evident and I love the ability to see through the copper watch face to see all of the different gears and time keeping components working. The watch comes sized for your wrist using their sizing guide and is shipped in a nifty box with a care cloth, user guide and care instructions. The care needed for this watch is minimal but a necessary read to go through. It only takes about 5 minutes. Here are some photos of my opening the watch up and putting it on this week: I couldn't wait to put it on and forgot the tag was still on the watch after I took the photo. It fits amazingly! They send you a couple of extra wristband links if you need to adjust the watch size as well! This particular watch is motion powered which is awesome knowing that I won't have to change the battery in it. The adjustment knob feels really sturdy and isn't in a spot that could get caught easily. All in all, I highly recommend this company for their watches they make a wide variety of unique watches for men and women! Check them out! All in all just a cool watch! Now onto the cooler stuff for you! The staff at Jord are going to do a watch giveaway to one of my awesome followers! Click here to enter! Everyone who enters the giveaway will instantly be emailed a $25 coupon code, and will run until 12/18. The code will expire on 2/28/2017! These watches make great Christmas gifts for that special someone in your life! 'Tis the season! Be merry! More project work is coming shortly! Thank you Jord Watches! 10/4/2016 0 Comments Built in desk project!Hi Everyone! I'm alive and back with project updates!! It's been a crazy busy time at work these last couple of months but I have some awesome commissions and projects for home coming up! I realize it's mid way through November which just goes to show that spending time on website updates takes away from projects building time. I am making up for it now! Over the course of this summer I've been renovating our office space on the main floor of our house to better utilize the space and add another bed for guests to stay. I finished installing a built in desk with walnut that has two drawers and three new walnut slab-type shelves above the desk. Here's some photos of the work: I painted the room and decided on having the contrasting blue for the back wall behind the desk to use up some paint left over from my kitchen renovations. The desk was installed using cleats that I painted to match the wall colours. Next was figuring out the shelves and the attachment method for mounting them on the wall. iI glued two pieces of left over walnut plywood to some frame spacers I put in between the plywood pieces to make thick, slab like shelves. I installed some scrap solid walnut to the front edge of the shelf frame the flush trimmed and rounded the edges over with a router. The design is really simple and strong. I got the idea from Bob Clagett from I Like to Make stuff: www.iliketomakestuff.com/make-builtin-floating-shelves/ I used heavy duty wall anchors to attach cleats to the walls that the shelves would slide over when installed. I used a piece of plywood as a spacer to make sure each clearly would be installed parallel to the desk surface. Once the cleats were installed, I trimmed the first shelf to match the one 92 degree corner on the right wall and then slid it over the cleats. Then rinse and repeat the same steps for the second and third shelves by trimming the spacing plywood and installing the remaining cleats. The top shelf was a bear to install so I kept some extra drywall patch material and touch up paint on hand after I got that shelf installed. It was 2 inches wider than the previous two making it that much heavier to slide onto the cleats. The next step was applying the finish to the desktop and getting it installed. I used a middle support to allow for two drawers to be installed. I used this cool product from fastcap called izzy skirt washers to fasten the desktop to the support cleats which worked out really well! They were expensive to get delivered to Canada, but they do make fastening solid wood table tops to frames that will allow for the table top to expand and contract with seasonal changes which really attracted me to that product. I will definitely be using these skirt washers in future projects.. The drawers were a lot more finicky than I thought they were going to be simply due to the one corner wall not being 90 degrees which caused me to play with the action of the drawer slides more than I really should have. The left drawer went in smoothly and without issue. Then the second drawer on the right side is what really gave me grief and my OCD tendencies caused a great deal of headaches all over the drawer sticking out by almost 1/4". I didn't take many photos of that process because of the headaches it gave me. But here's what I have of that part: I built the drawers using floating mortise and tenons and cut a rabbet in the bottom of the drawer for the drawer bottom. It's not the strongest assembly method but the glue made these drawers rock solid and plenty strong enough for the stuff I plan to put into them at the desk. The drawer slides are full extension slides and I chose the 18" slides to allow for space behind the drawers to run the wiring up through the desktop for power and lighting. I'll do a separate post for the lighting idea I have in mind. All shelf and desk surfaces were stained with danish oil medium walnut finish and clear coated with 3 coats of wipe on polyurethane for the shelves and 5 coats for the desk top and drawer surfaces. After some significant fudging around with the alignment of the drawers, I was able to get them installed square and moving correctly. I really like the way the full extension slides work. To install them on the drawer boxes, I saw a drawer slide jig idea that was made by John Heisz from www.ibuildit.ca where he took a piece of scrap plywood and drove the screws through the board where the drawer slides needed the screws for support. That idea worked incredibly well! What didn't work for me was the fact that the frat right corner of the room is 92 degrees and not 90 like the corner on the left. The left drawer went in like a breeze. The right drawer really began to test my patience as it was out just slightly which meant the drawer fronts would not sit flush. I needed a break at that point in the project and whipped up a quick slab shelf for my desktop computer tower and to run cables through the left wall to run my printer and power for it. The printer shelf will be a different post. When I got back to the drawers I figured out my issues and needed to trim the edges of the drawer to taper it slightly and allow the drawer to slide. It took a couple of hours and a LOT of sanding but it worked and I was really relieved. The drawer fronts I aligned and used turners tape to install them with screws through the drawer into the drawer fronts which worked really well. To space them from the underside of the desktop, I used a 1/8" piece of scrap hardboard to ensure that the top edge of both drawers would not run into the desk with possible seasonal movement in the wood/desk. The drawer fronts were resawn so the wood grain makes an oval when the drawers are closed. And here's where I got to on this built in desk project. I'm really happy with the workspace but I do need to spend some time working on the shelf arrangement for my fine woodworking collection and woodworking library that seems to keep growing! Sorry for the long delay between posts. More are coming soon including my daughter's big girl bed build, a nursery bookshelf, and of course, the Murphy bed. It's almost finished I swear! Thanks for checking out my work. Talk to you soon! 9/4/2016 0 Comments Jewelry Shelf version 2.0!Hi everyone! It appears that I have fallen behind on blog posts and project updates. I'm working now to catch back up on them and show you some of the cool project work I've done this summer! A cool customer contacted me to build her a version of the jewelry shelf I built awhile back but with a few tweaks. Mainly color. And it turned out awesome!! After installing it at her house, she immediately started arranging her jewelry and necklaces. The color of the frame and backboard really accentuates her jewelry making each item pretty easy to find. Look at me talking about jewelry like I know what I'm talking about haha.. Anyway, onto photos! When the time to paint came, I needed to apply a few coats of the teal color to the frame which appeared more greenish in the light. Then, I ran out of that paint and couldn't find it from my regular supplier. So, I picked up a new real color that in the end looked WAY better if I do say so myself. My cool customer agreed too. After the frame was assembled and ready for delivery, I used these awesome hangman hangers to hang the shelf on her wall when I delivered it. And with that, this project was finished and another happy customer was very satisfied! Overall, this project turned out great! The dimensions for the frame were 14" tall x 18" wide which makes for ample storage for a budding jewelry collection. The frame is built with mitre joints and pocket holes. Thanks Phyllis! It was a great experience working on this project for you. Enjoy. Thanks everyone for checking out my work! I have some really big project work coming. Cheers! Hey Everyone, it's official! Adam and Sydney are now Mr. & Mrs!! Congratulations you two and thank you for the opportunity to be part of your big day in a small way! Congratulations!! You and your bride look stunning! I'm sure it was an awesome day for you, your families and friends!! On on another note, I'm a bit behind on posts but be sure to follow my Instagram for regular updates as I'm working on a bunch of projects for awesome customers just like Adam and Sydney! Thanks for checking out my work! |
AuthorWelcome to WoodProjectsbyBagel! Archives
March 2018
|




 RSS Feed
