|
1/30/2016 0 Comments Projects are coming!Hey Everyone! Projects are coming along very well. I'll have some more posts coming up soon. Things have been really crazy at work these last couple of weeks. Thanks for checking out my work though! Very much appreciated! If you could be so kind as to spend a minute or two clicking on some of the ad links on my site, it would definitely help to keep my site running! I hope 2016 has been treating you well so far! Thanks for the orders, referrals, kind words and encouragement! I've got lots of ideas coming up to implement here soon!!
0 Comments
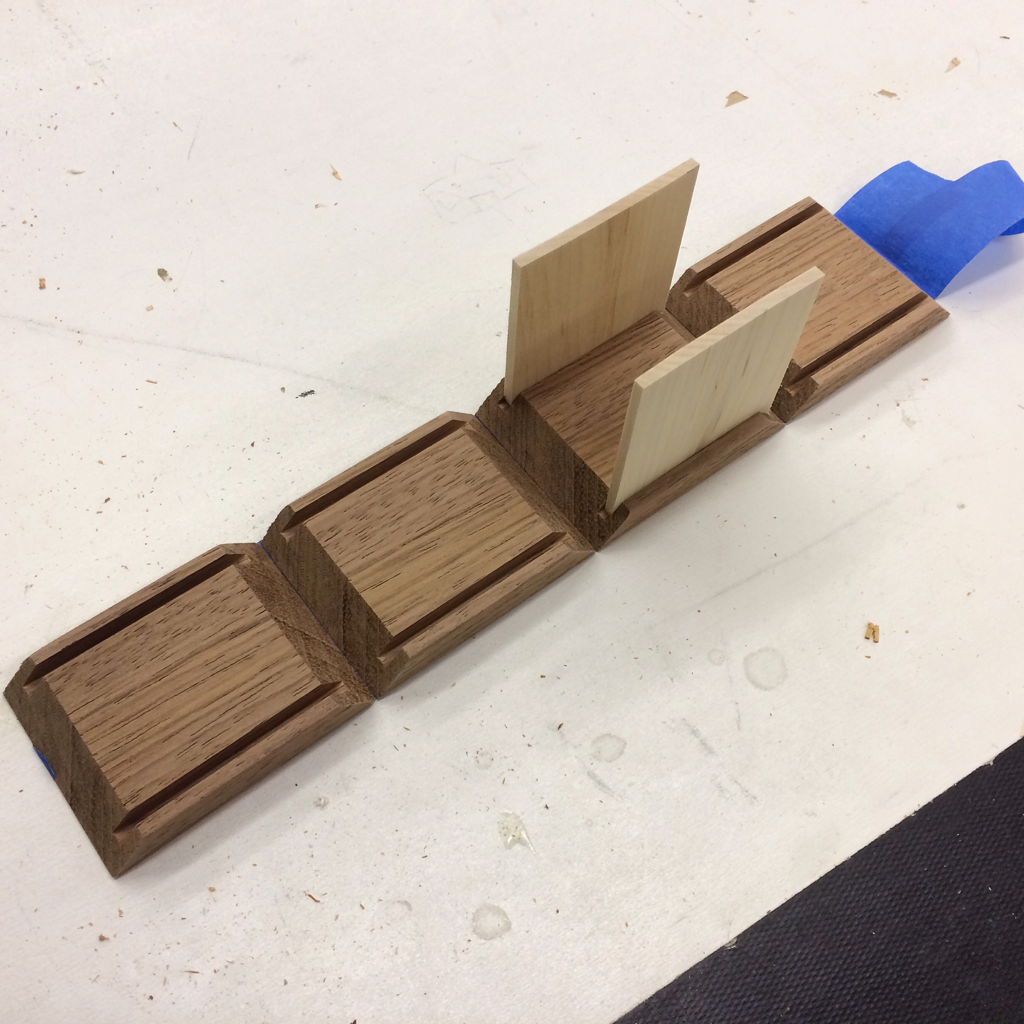
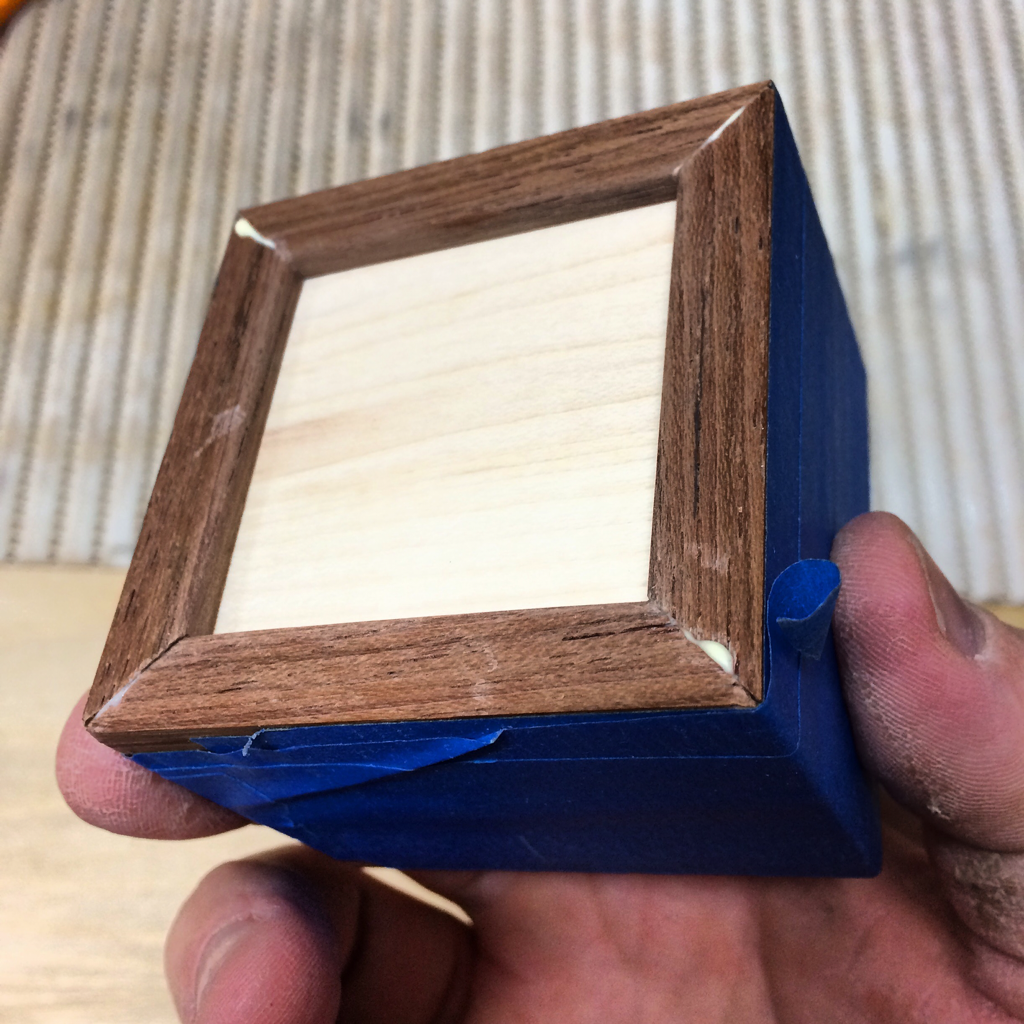
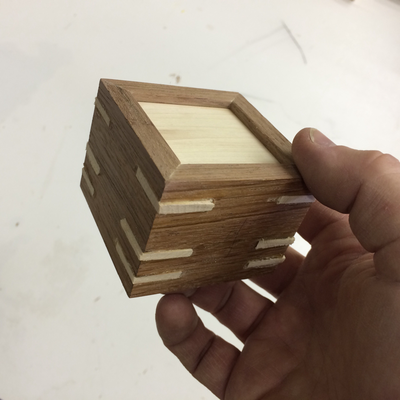
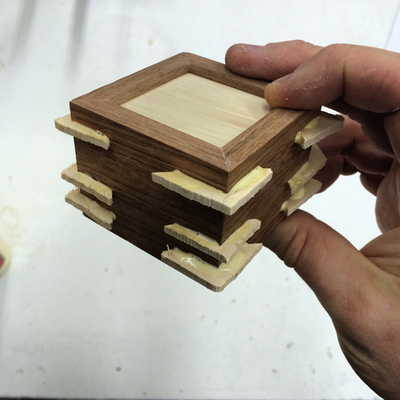
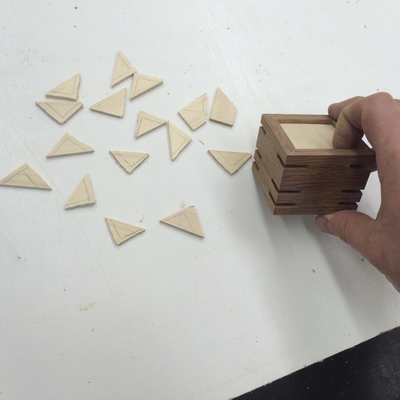
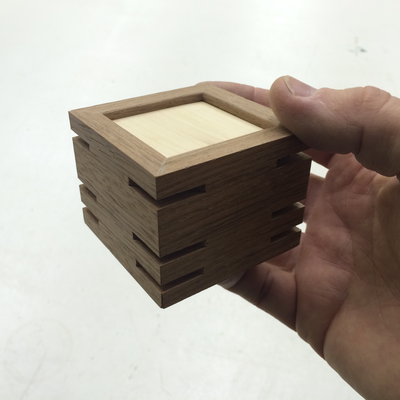
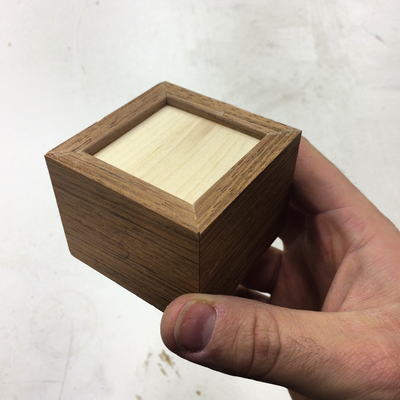
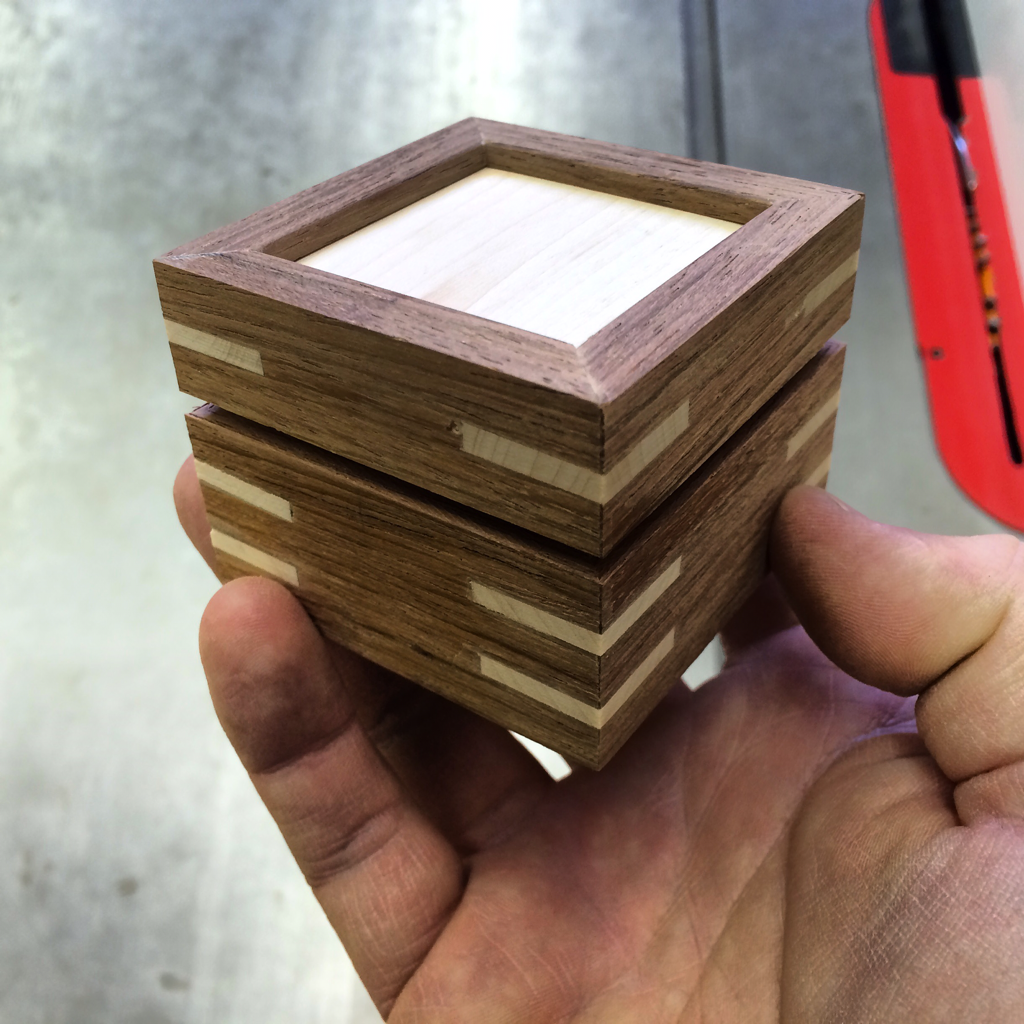
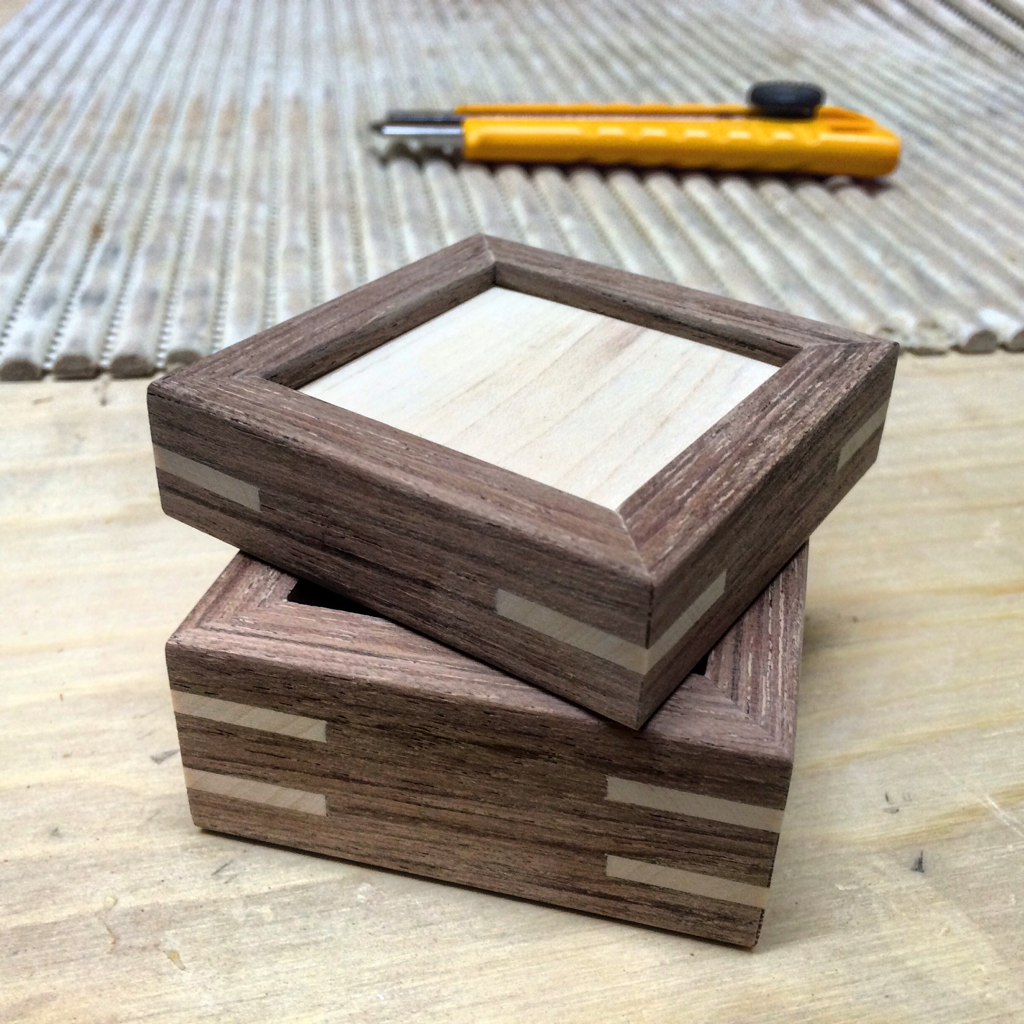
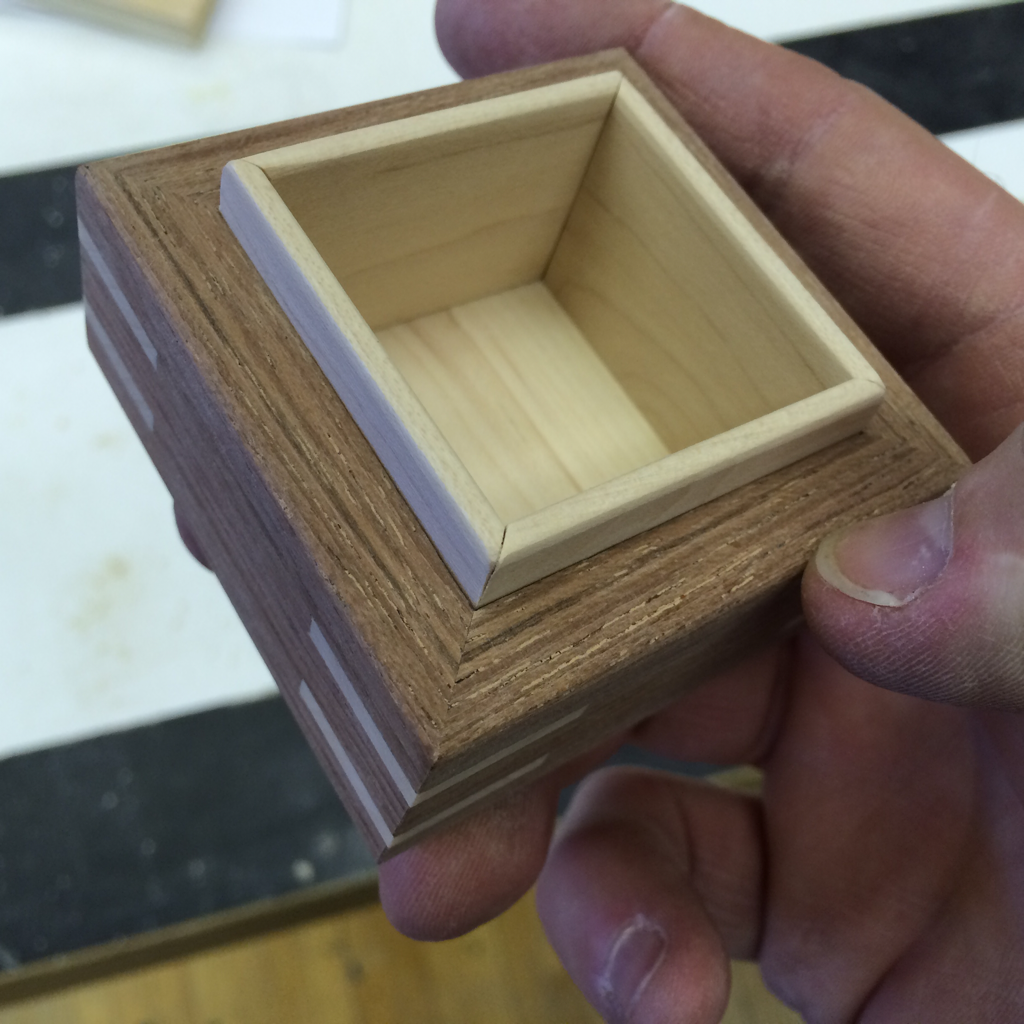
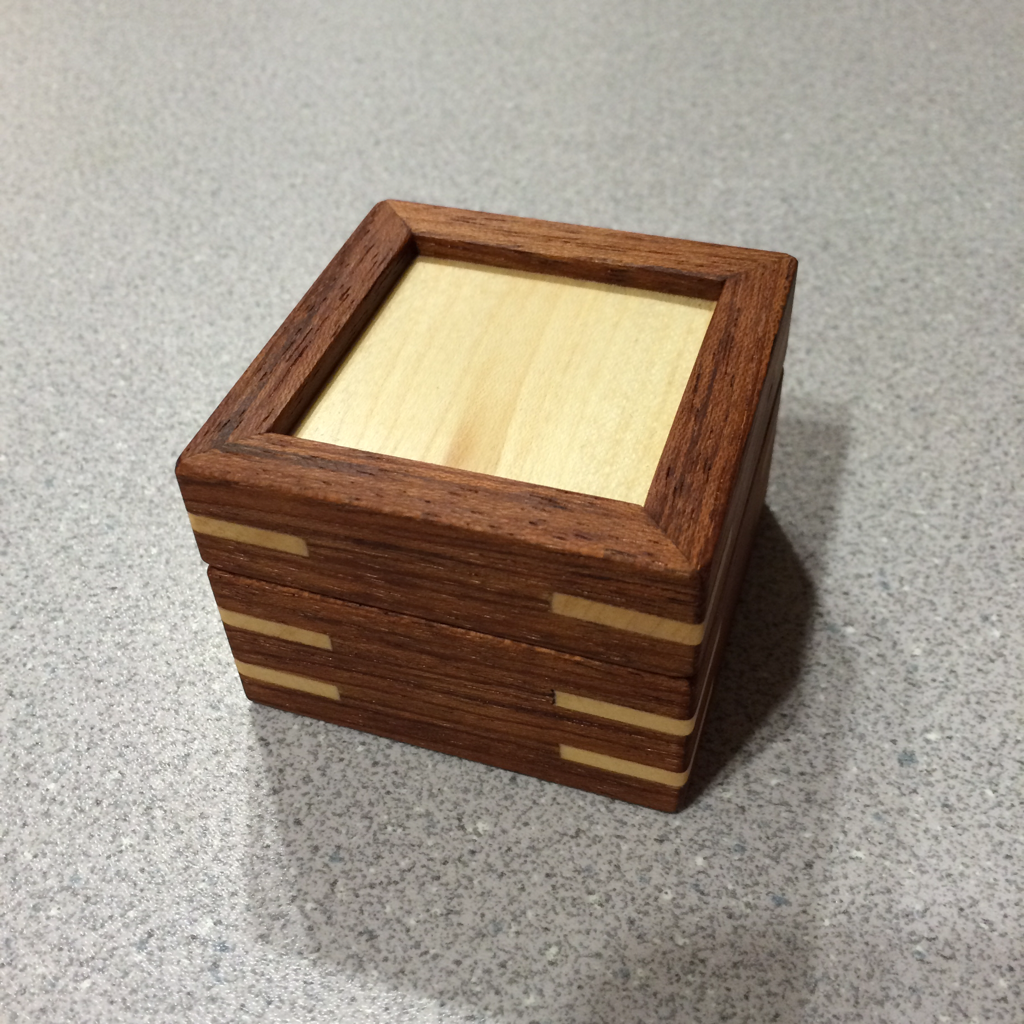
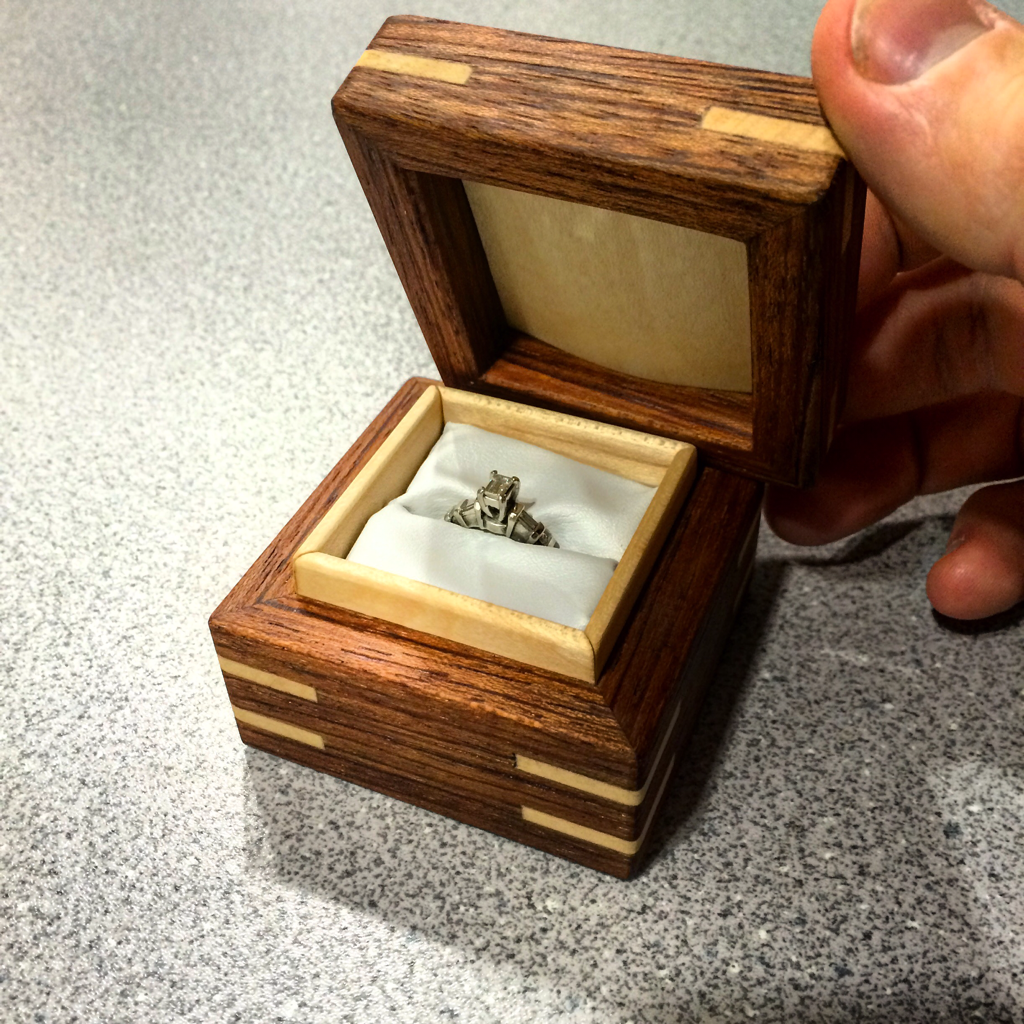
1/16/2016 0 Comments Engagement Ring Box!Hi Everyone, I was commissioned to do my first ever Instagram order from a customer in Iowa, USA! Adam, the customer loved the design of a box that I built and donated to a charity auction in December of last year. He contacted me through Instagram to build him a versions of the same box sized for him to propose to his girlfriend! Of course I jumped at the chance to build this project for him!! This box is built out of Ipe Hardwood with maple top and bottom panels and splines. This box is about as small as I can do safely as I would rather not donate my finger tips to the table saw. I used a mitre jig to cut the corners of the box which worked out really well. A really great tip to use to glue the mitred corners together and keep each corner square is to use tape. The tape will allow you to align the box sides together and keep the surfaces tight while the glue dries. You don't apply glue into the dados for the top and bottom panels as they should be able to expand and contract with changing moisture conditions. Mitre joints by themselves are really weak joints so they need reinforcement to be able to last. There are a few ways to do this but recently my favorite process is using spline cuts in each of the corners once the glue is dry. I use a spline jig that I built to cut a slot in each corner in a few areas to then glue the spline keys (the little triangle pieces of maple) in each of the slots. The keys will expand the glued surface area and really reinforces the mitered corners to prevent cracking due to moisture and temperature changes. Glue is quite possibly the best invention in woodworking ever! once I decided where to cut the lid off, I made a scoring cut around 1/16" short of cutting through the walls all the way around the perimeter of the box. Then I used an exacto knife to score the remaining material and cut the lid off of the box. I used sand paper to smooth the rough edges left by the knife. Next up was the box liner on the inside to allow the lid to fasten to the base without hinges! I cut pieces of the maple box liner and sanded the corners to make the mitres. It took a little while to sand them to fit properly but in the end it worked out great! The lid fits snugly and works great! For the lid, I cut a piece of maple veneer to make a contoured top and to cover up my logo. The customer wanted the piece to be removable so friends could see who made it after proposing. I really like that detail and even though the box is beautiful, I don't suspect the beauty of the ring he's going to put in there will diminish what-so-ever! Below are images of the finished product! I used Tung oil for the finish on this box as it dries to a hardened matte finish and doesn't take long to dry! My wife graciously donated her ring for the photo to check and make sure everything fit properly. What's even better is upon doing this, she said she would marry me again! Even after 5 years! Sweet! January is starting off fairly romantic I would say and I'm really excited for Adam and his Girlfriend to get hitched in the near future. Good luck Adam! Thanks to everyone else for checking out ny work! More projects are coming soon! Stay frosted and/or check out my project progress on Instagram @woodprojectsbybagel. 1/3/2016 2 Comments Night Before Christmas BoxHey Everyone! Happy New year!! Things are picking up crazily already for me with project work. So, that means I'll have more posts but they're starting to stack up as I'll building a lot! All good things and I'll do my best to keep up to date. I just noticed that my last post was #100!! There's going to be more to come. It's a cool feeling that out of all the posts, most of them are about separate projects. Super cool! This project, I made for a really cool customer that knows my wife. I was commissioned to make a "Night Before Christmas Box." The box is used to pack all of the cool night-before-Christmas gifts you want to photograph your kids opening before Santa comes. My parents had the same tradition and I was stoked to build an heirloom box to allow another family to establish this tradition as well! This box was built out of sapele hardwood with maple top and bottle panels that I hand carved the lettering in the lid with. The wood joinery is mitered corners with maple splines. I LOVE the way the box finished off. The woodgrain is reflective on the light which really showcases the color of the wood. The contrast of the sapele with the maple is an excellent choice if I do say so myself. Can you tell I'm proud of this project?! I hope so. Anyway, here's photos of it. my wife loved the idea so much that she had me build one for our daughter as well! Her Night before Christmas box was build using Baltic birch plywood. It has different details that I was experimenting with but unfortunately I ran out of time to finish all of the details I wanted to put into it. I suppose I have until next Christmas to finish it now eh? Haha We had a great first Christmas with our daughter. I hope your holiday season was memorable like ours was. Thanks so much for checking out and supporting my work! It's really awesome to build awesome projects for even more awesome people! 2016 is going to a busy year for me any this business. Thanks for following me! |
AuthorWelcome to WoodProjectsbyBagel! Archives
March 2018
|

 RSS Feed
