|
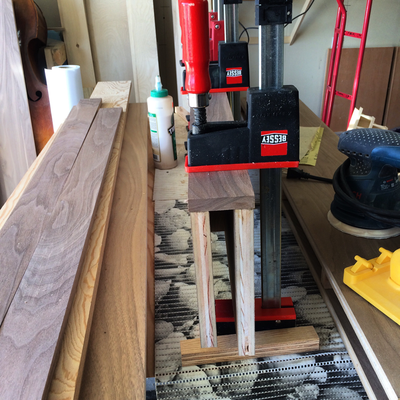
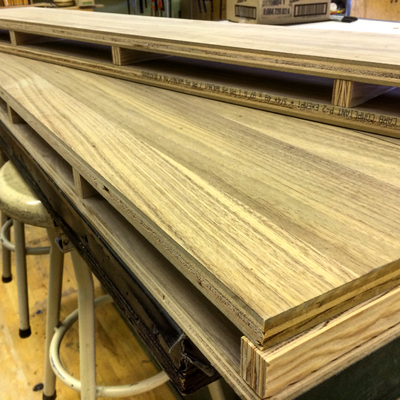
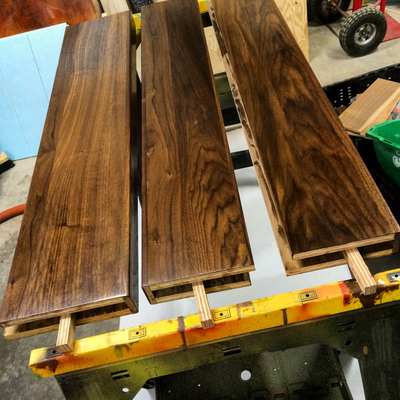
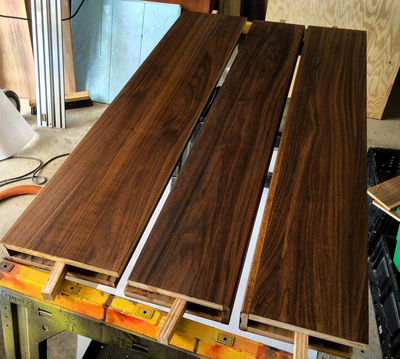
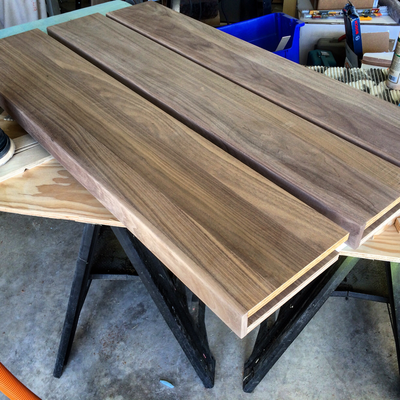
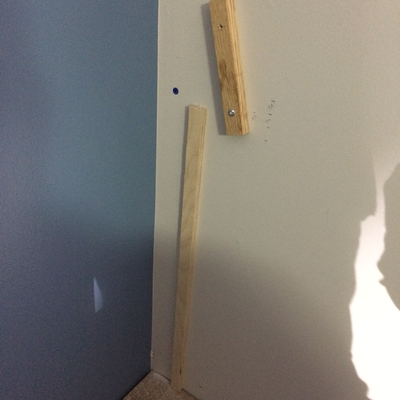
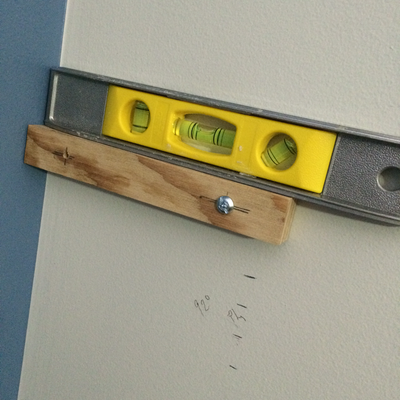
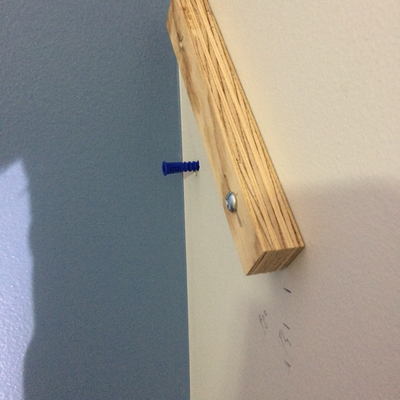
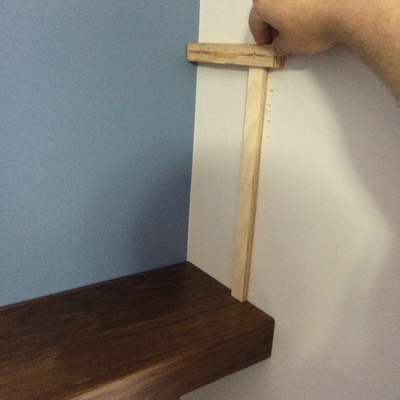
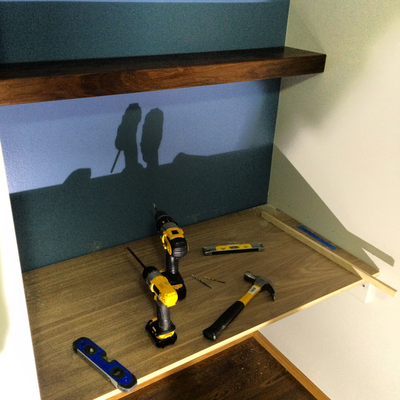
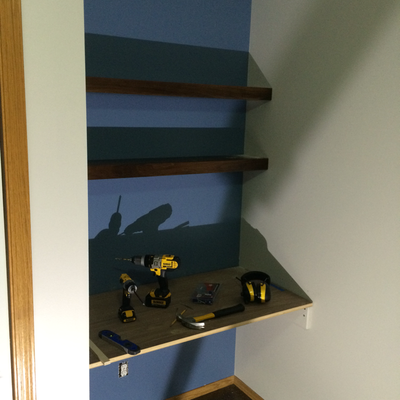
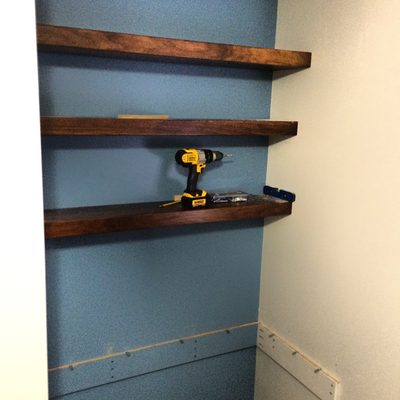
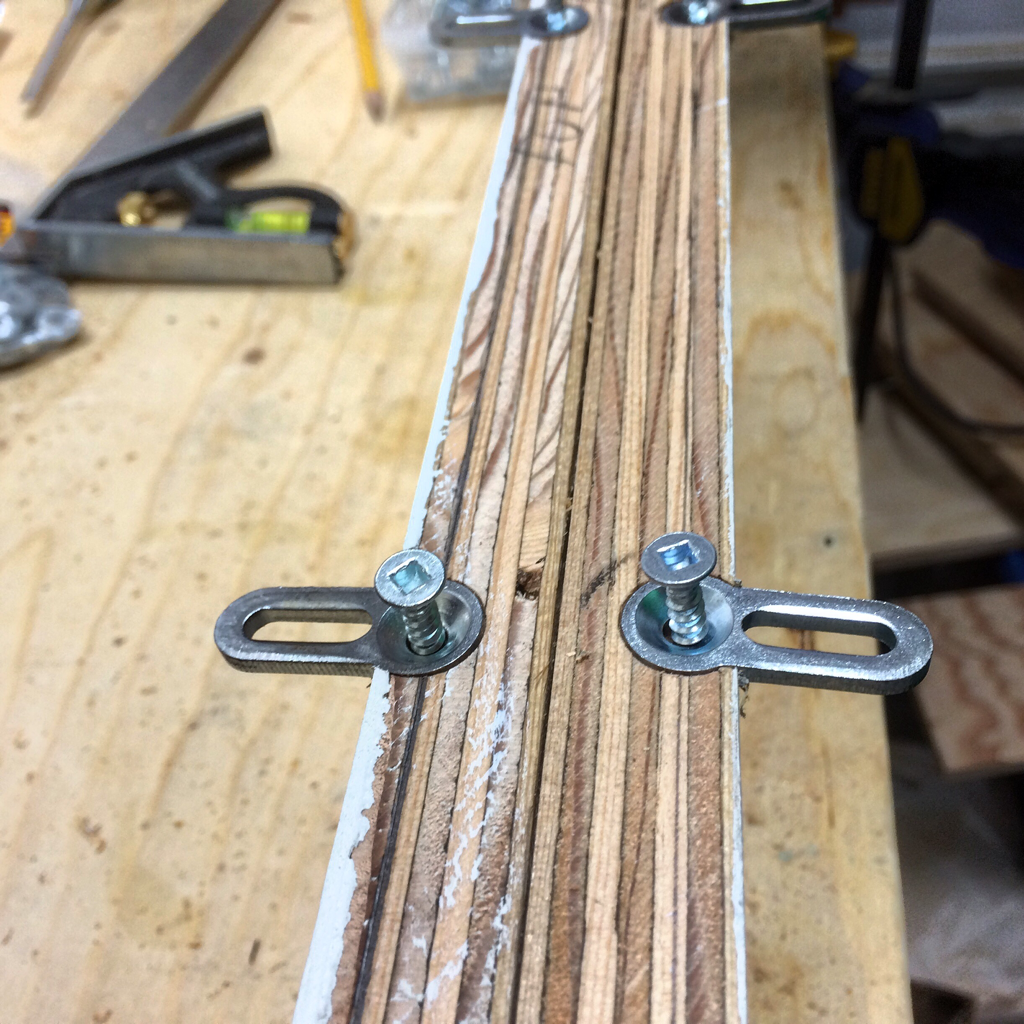
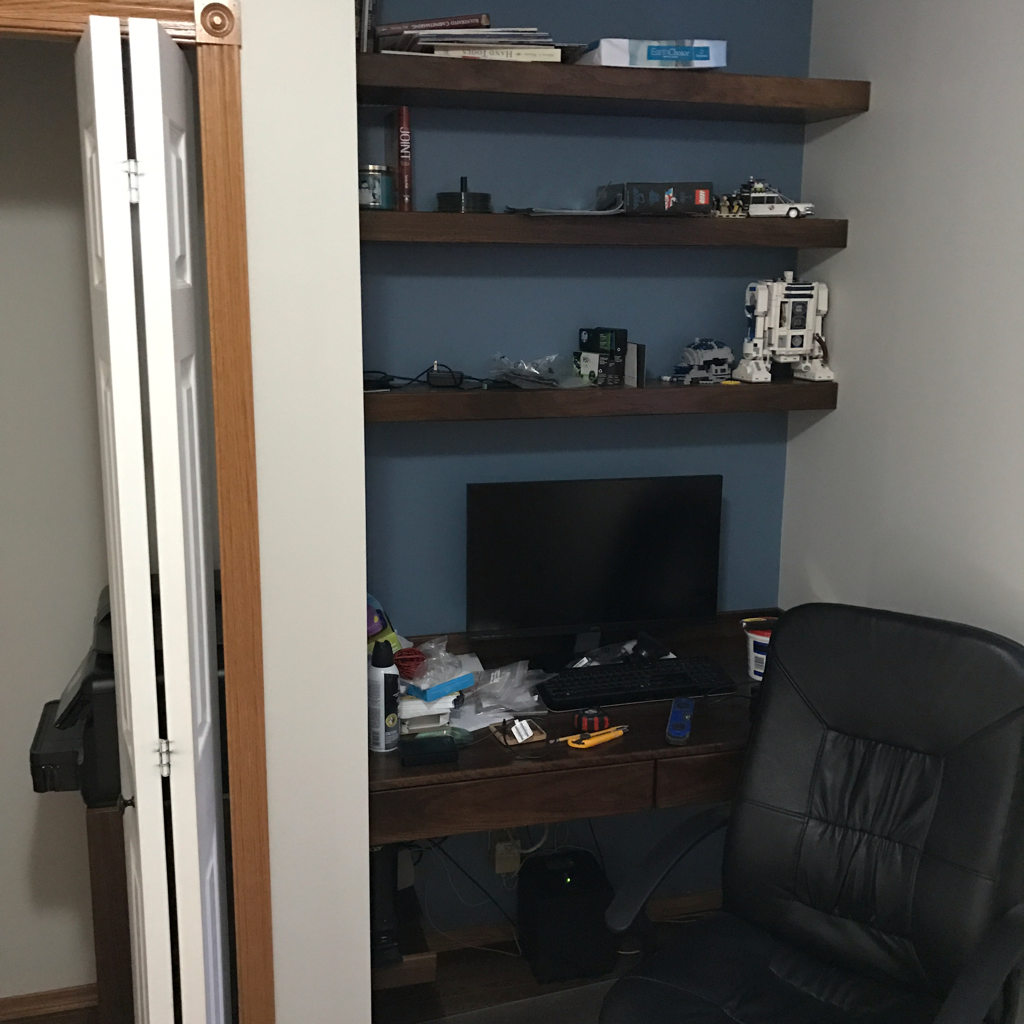
10/4/2016 0 Comments Built in desk project!Hi Everyone! I'm alive and back with project updates!! It's been a crazy busy time at work these last couple of months but I have some awesome commissions and projects for home coming up! I realize it's mid way through November which just goes to show that spending time on website updates takes away from projects building time. I am making up for it now! Over the course of this summer I've been renovating our office space on the main floor of our house to better utilize the space and add another bed for guests to stay. I finished installing a built in desk with walnut that has two drawers and three new walnut slab-type shelves above the desk. Here's some photos of the work: I painted the room and decided on having the contrasting blue for the back wall behind the desk to use up some paint left over from my kitchen renovations. The desk was installed using cleats that I painted to match the wall colours. Next was figuring out the shelves and the attachment method for mounting them on the wall. iI glued two pieces of left over walnut plywood to some frame spacers I put in between the plywood pieces to make thick, slab like shelves. I installed some scrap solid walnut to the front edge of the shelf frame the flush trimmed and rounded the edges over with a router. The design is really simple and strong. I got the idea from Bob Clagett from I Like to Make stuff: www.iliketomakestuff.com/make-builtin-floating-shelves/ I used heavy duty wall anchors to attach cleats to the walls that the shelves would slide over when installed. I used a piece of plywood as a spacer to make sure each clearly would be installed parallel to the desk surface. Once the cleats were installed, I trimmed the first shelf to match the one 92 degree corner on the right wall and then slid it over the cleats. Then rinse and repeat the same steps for the second and third shelves by trimming the spacing plywood and installing the remaining cleats. The top shelf was a bear to install so I kept some extra drywall patch material and touch up paint on hand after I got that shelf installed. It was 2 inches wider than the previous two making it that much heavier to slide onto the cleats. The next step was applying the finish to the desktop and getting it installed. I used a middle support to allow for two drawers to be installed. I used this cool product from fastcap called izzy skirt washers to fasten the desktop to the support cleats which worked out really well! They were expensive to get delivered to Canada, but they do make fastening solid wood table tops to frames that will allow for the table top to expand and contract with seasonal changes which really attracted me to that product. I will definitely be using these skirt washers in future projects.. The drawers were a lot more finicky than I thought they were going to be simply due to the one corner wall not being 90 degrees which caused me to play with the action of the drawer slides more than I really should have. The left drawer went in smoothly and without issue. Then the second drawer on the right side is what really gave me grief and my OCD tendencies caused a great deal of headaches all over the drawer sticking out by almost 1/4". I didn't take many photos of that process because of the headaches it gave me. But here's what I have of that part: I built the drawers using floating mortise and tenons and cut a rabbet in the bottom of the drawer for the drawer bottom. It's not the strongest assembly method but the glue made these drawers rock solid and plenty strong enough for the stuff I plan to put into them at the desk. The drawer slides are full extension slides and I chose the 18" slides to allow for space behind the drawers to run the wiring up through the desktop for power and lighting. I'll do a separate post for the lighting idea I have in mind. All shelf and desk surfaces were stained with danish oil medium walnut finish and clear coated with 3 coats of wipe on polyurethane for the shelves and 5 coats for the desk top and drawer surfaces. After some significant fudging around with the alignment of the drawers, I was able to get them installed square and moving correctly. I really like the way the full extension slides work. To install them on the drawer boxes, I saw a drawer slide jig idea that was made by John Heisz from www.ibuildit.ca where he took a piece of scrap plywood and drove the screws through the board where the drawer slides needed the screws for support. That idea worked incredibly well! What didn't work for me was the fact that the frat right corner of the room is 92 degrees and not 90 like the corner on the left. The left drawer went in like a breeze. The right drawer really began to test my patience as it was out just slightly which meant the drawer fronts would not sit flush. I needed a break at that point in the project and whipped up a quick slab shelf for my desktop computer tower and to run cables through the left wall to run my printer and power for it. The printer shelf will be a different post. When I got back to the drawers I figured out my issues and needed to trim the edges of the drawer to taper it slightly and allow the drawer to slide. It took a couple of hours and a LOT of sanding but it worked and I was really relieved. The drawer fronts I aligned and used turners tape to install them with screws through the drawer into the drawer fronts which worked really well. To space them from the underside of the desktop, I used a 1/8" piece of scrap hardboard to ensure that the top edge of both drawers would not run into the desk with possible seasonal movement in the wood/desk. The drawer fronts were resawn so the wood grain makes an oval when the drawers are closed. And here's where I got to on this built in desk project. I'm really happy with the workspace but I do need to spend some time working on the shelf arrangement for my fine woodworking collection and woodworking library that seems to keep growing! Sorry for the long delay between posts. More are coming soon including my daughter's big girl bed build, a nursery bookshelf, and of course, the Murphy bed. It's almost finished I swear! Thanks for checking out my work. Talk to you soon!
0 Comments
|
AuthorWelcome to WoodProjectsbyBagel! Archives
March 2018
|

 RSS Feed
