|
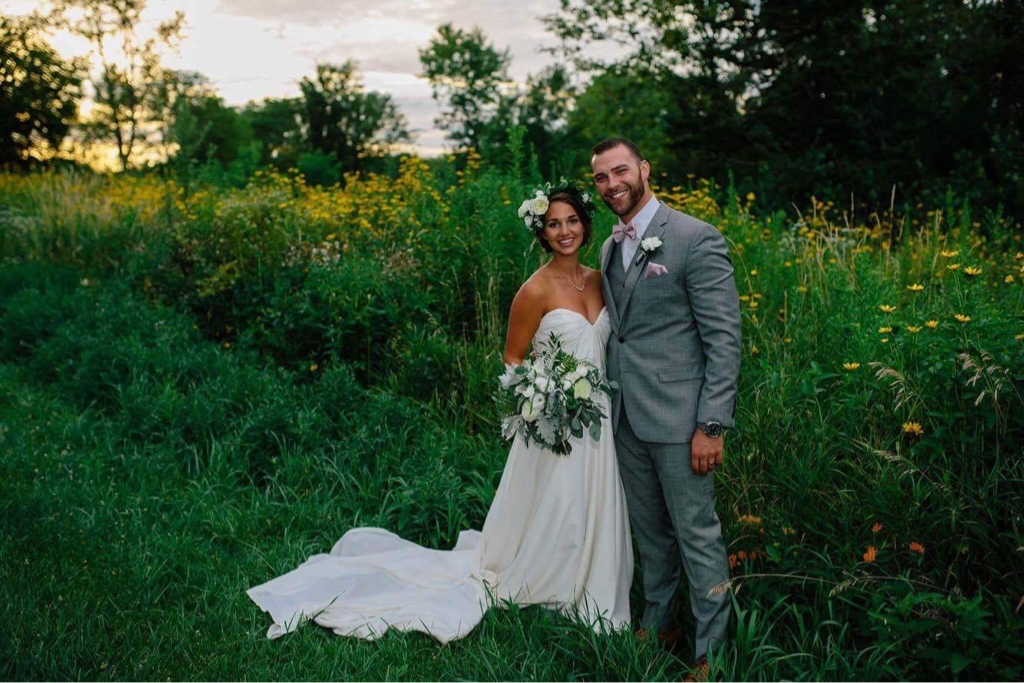
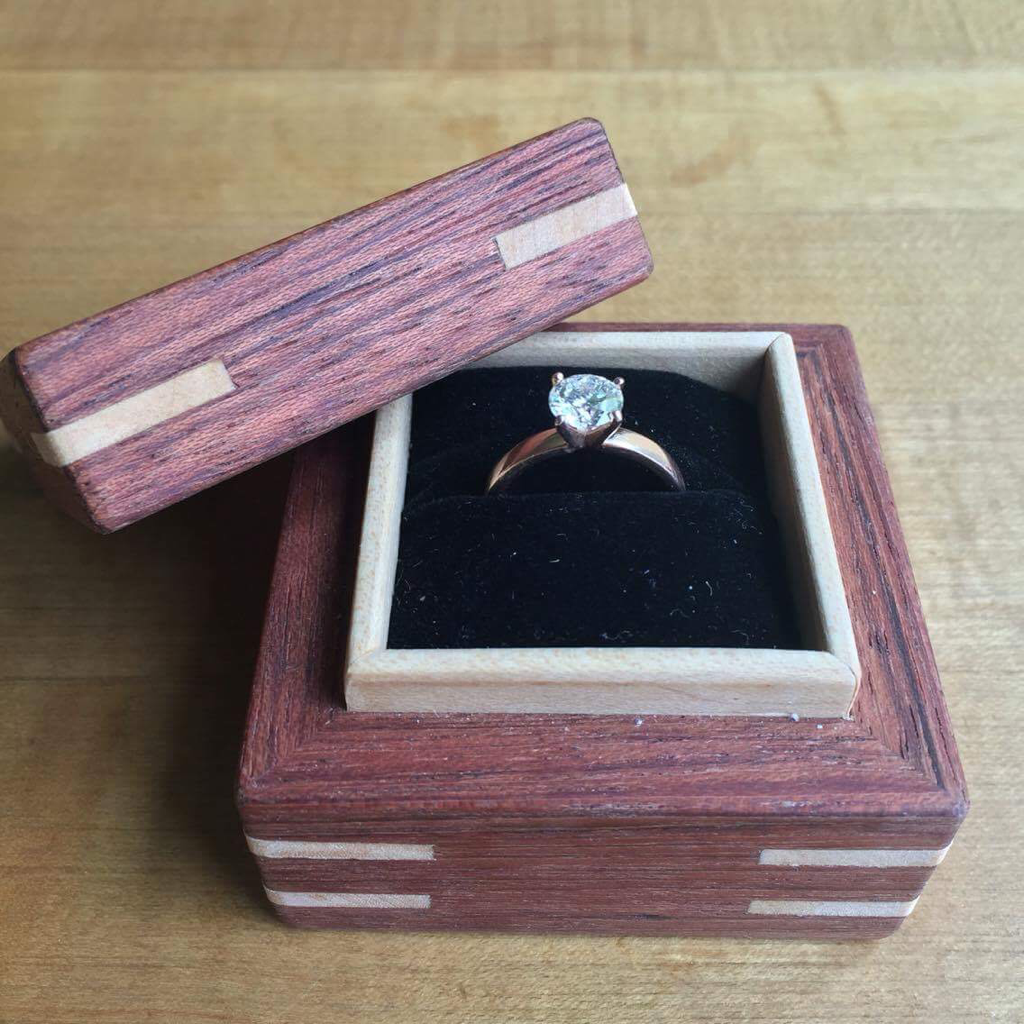
Hey Everyone, it's official! Adam and Sydney are now Mr. & Mrs!! Congratulations you two and thank you for the opportunity to be part of your big day in a small way! Congratulations!! You and your bride look stunning! I'm sure it was an awesome day for you, your families and friends!! On on another note, I'm a bit behind on posts but be sure to follow my Instagram for regular updates as I'm working on a bunch of projects for awesome customers just like Adam and Sydney! Thanks for checking out my work!
0 Comments
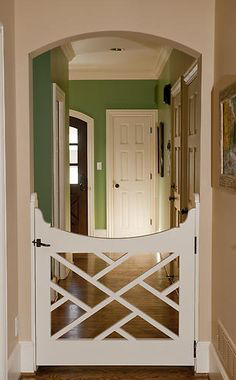
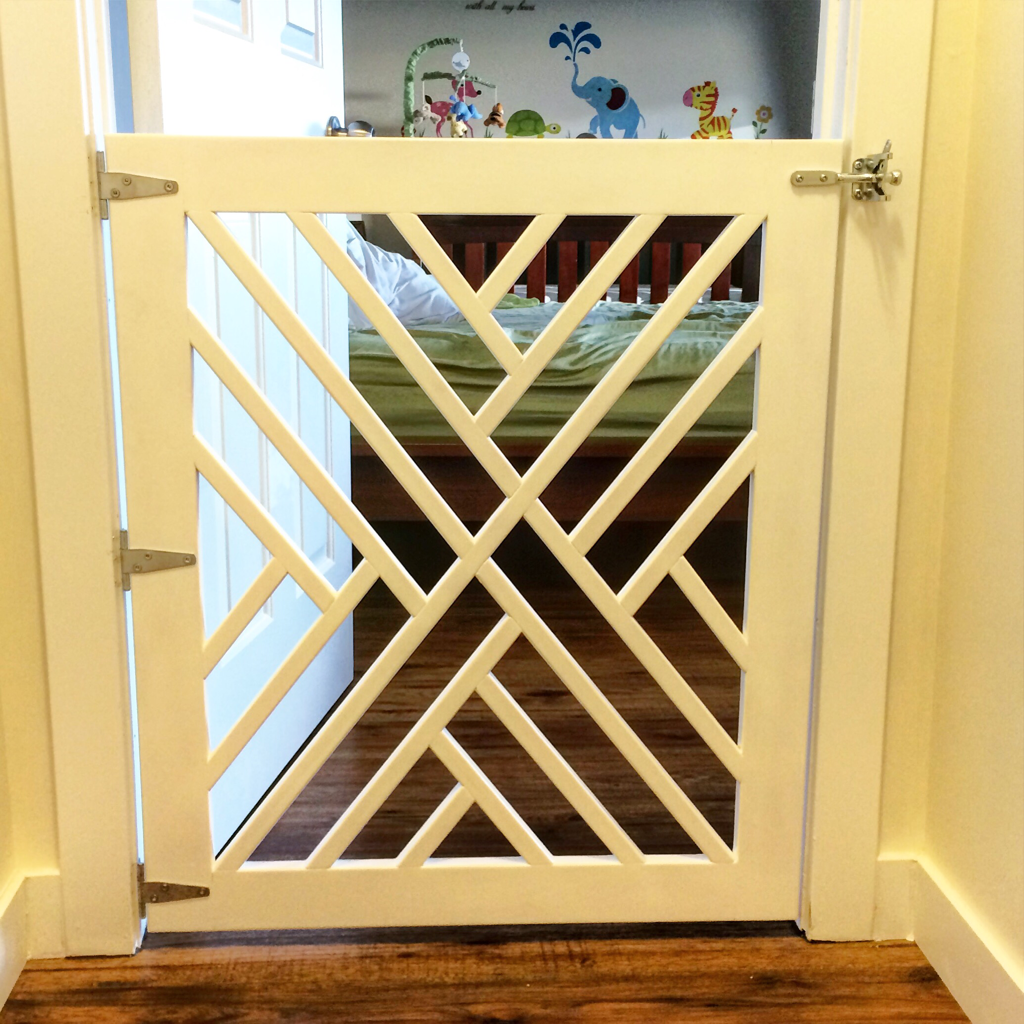
8/2/2016 3 Comments Custom Baby Gate!Hi Everyone! Work continues one with lots of different projects on the go. Last week I was able to finish and install a custom made baby gate for a great family who just had their first child, Rachel! My wife and I are really excited for them. Even better, was that I got to meet little Rachel before my wife!! Haha. The Baby gate I built for them was based on a photo of a similar design but spaced differently than what is needed to meet spacing standards in Canada for gates and railing spacing. The design looks very unique and mathematically, the challenge to get the angles was a little overwhelming until I assembled the frame. I figured I would start by drawing the design in Sketchup digitally. That got to be a bit complicated and I eventually just determined the distance between each railing that would meet deck railing codes. Once I figured that part out, I then laminated the gate material out of Baltic birch plywood. One thing every woodworker can attest to is that one can never have enough clamps! The glue up went fairly straight forward. After clamping overnight, I squared up the laminated plywood on the table saw and cut the frame pieces to a rough size and test the spacing of the rails to see if the spacing would work with the angles. Luckily it looked like it was going to work! After getting a better visual of the angles and making sure I would have enough laminated plywood, the project design looked like it would work great! It would require more angled rails to ensure Rachel's head or limbs wouldn't get caught. I started building the outer frame to the dimensions of the door frame so it would fit. PROTIP measure the actual door frame and subtract 1/2" from the width to ensure the gate will open and close inside the door frame easily. I used floating mortise and tennon joints cut with a Festool Domino to assemble the frame. This wood joinery method is super slick! And the joint is really strong while remaining hidden. I glued them together and used a band clamp to apply pressure to keep the corners together while the glue dried. Then the fun with angles began! The glue up of the rails went fairly straight forward using a spacer block clamped to the first rails installed and making pencil marks where the angles needed to be cut. I then figured out the angle using an angle finder and matched it up in my mitre saw and cut each rail to fit. I then glued and pin nailed each rail in place. The frame was super rigid and stable once all the rails were installed. To finish the gate, I used a fair heavy base coat of a gloss primer paint and then spray painted the gate front and back with Krylon matte white spray paint. 3 coats! And the finished gate product looks amazing! I mounted the hinges and prepared the gate for installation. I used a gate hinge latch to allow the gate to open and close really easily. Once installed, the gate worked out perfectly and more importantly the new parents of Rachel were really happy with it! Congratulations Dave and Michelle on your new addition to your family! My wife and I are really excited for you both to enjoy this next exciting chapter in your lives. To everyone else, thanks for checking out my work and clicking an ad or two. It really does go a long way to help me keep this site running! More projects are being finished and delivered! Posts are coming soon to follow! |
AuthorWelcome to WoodProjectsbyBagel! Archives
March 2018
|


 RSS Feed
