
|
Hi Everyone, Here's my video on how to cut circles using a circle cutting jig I built for the table saw. Enjoy! Please share! I have another video i'm working on too i hope to post it soon. Thanks so much for checking out my work and supporting my woodworking addiction!
0 Comments
8/18/2015 0 Comments Mother's Day Box - Finally!Hi Everyone! It been a really long time coming and I finally solved my problem with this box which I'll tell you about. I built my wife a first Mother's Day box with a poem and a photo of our daughter's feet transferred to the inside top and bottom of the box. The box is made of Baltic birch plywood with Walnut and curly maple veneer. Around the top and bottom is birds eye maple trim. The corners are mitred with maple spline joints in the corners for strength. 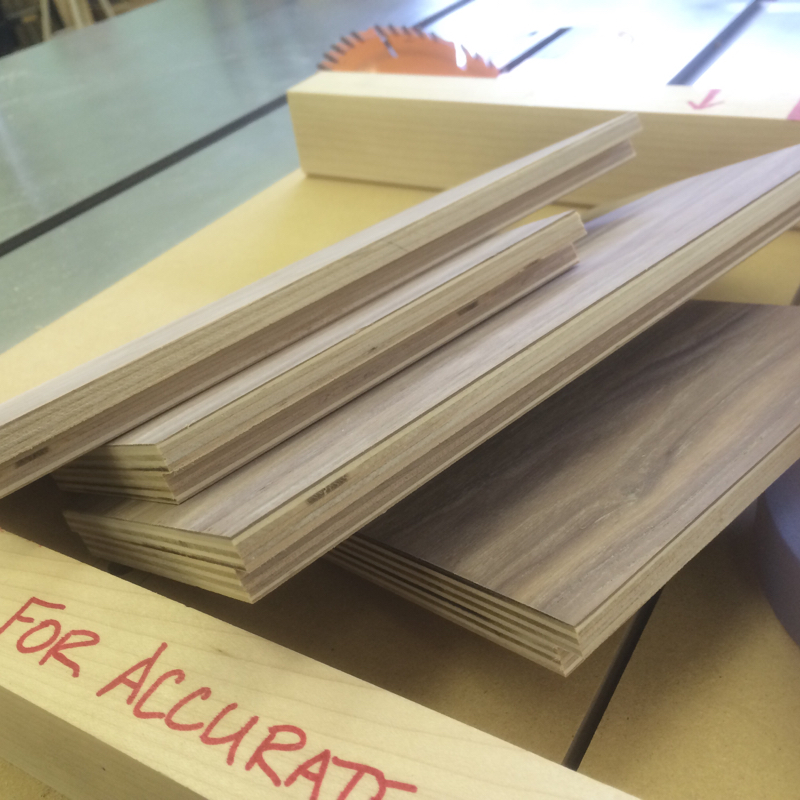 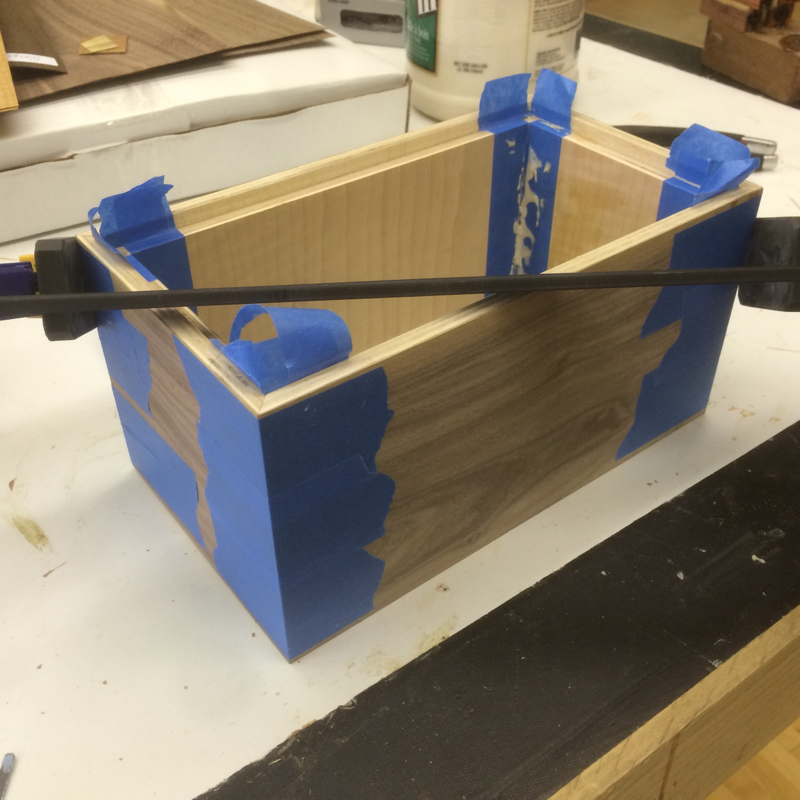 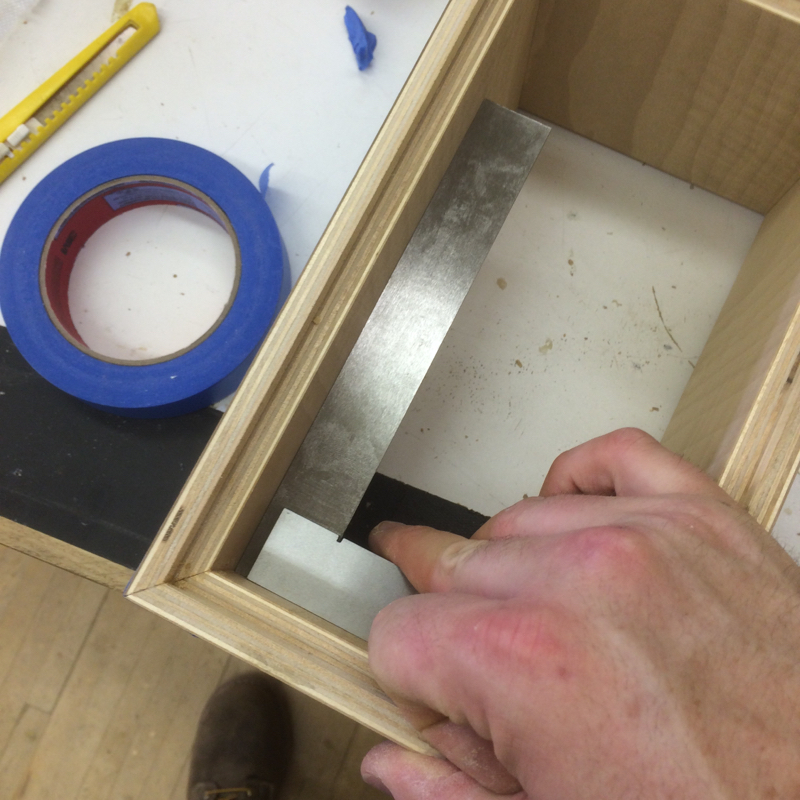 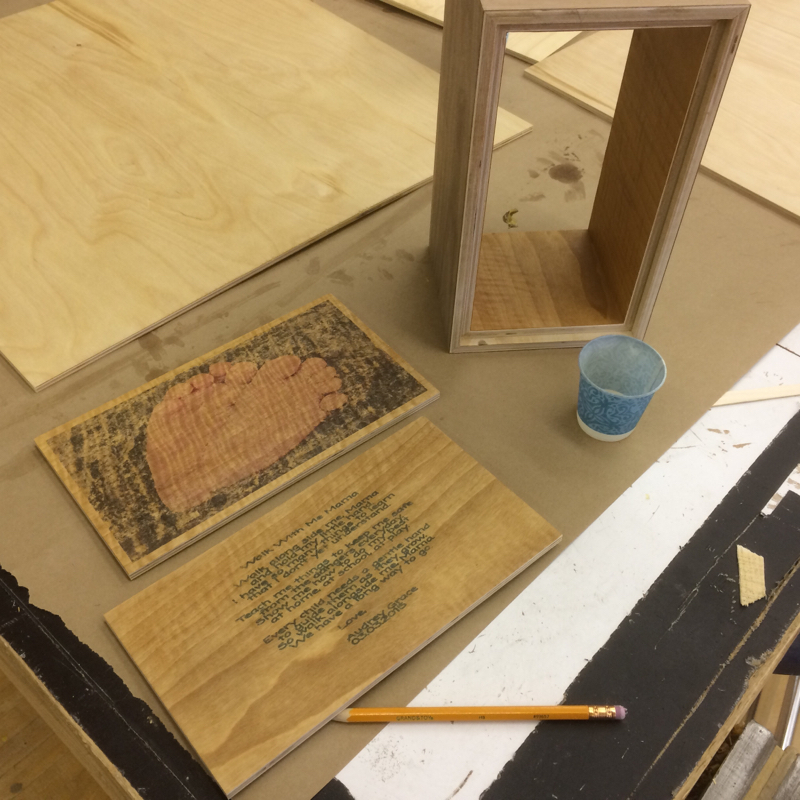 I veneered the outer and inner surfaces of the box and sanded the inside surfaces smooth. Then transferred the images to the inner surfaces and applied a couple of coats of satin wipe on polyurethane to protect and seal the images. 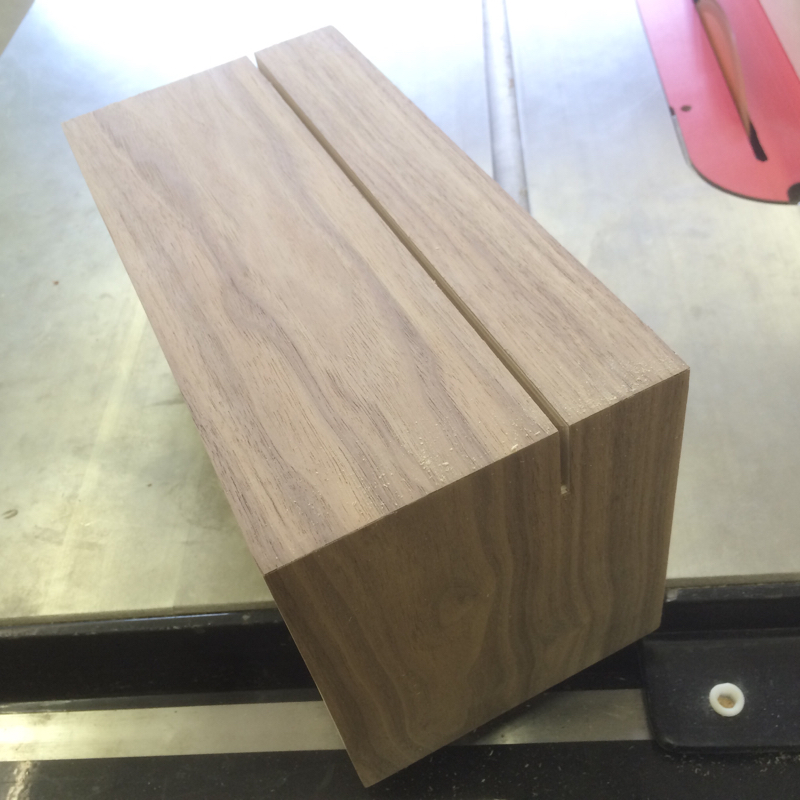 After gluing the top and bottom of the box in, I cut the lid off to allow me to begin work on the outer surfaces. I should have cut my splines into the box while it was still one big block but it didn't cause an issue. 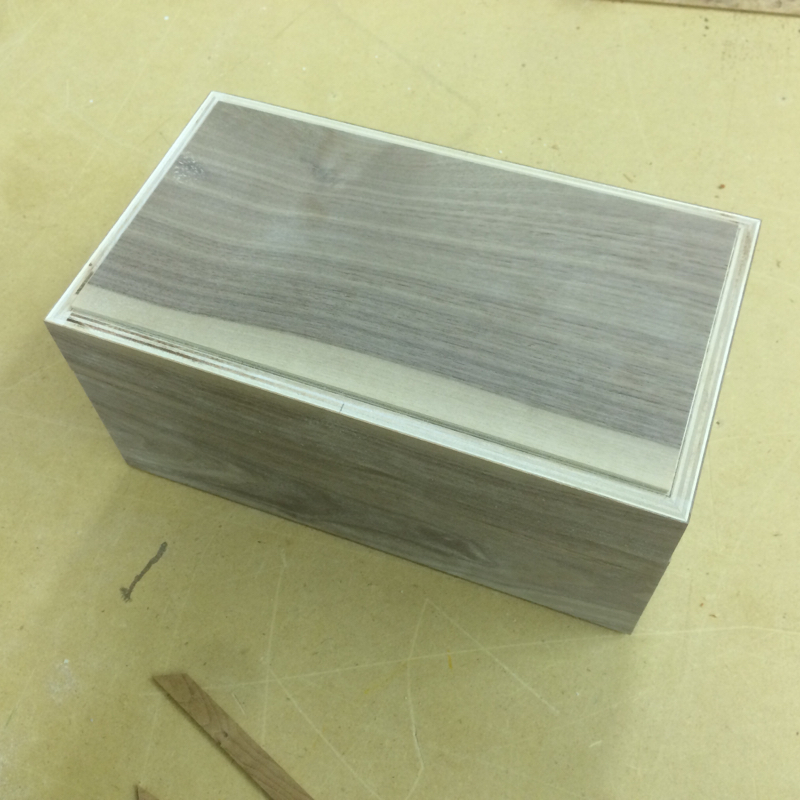 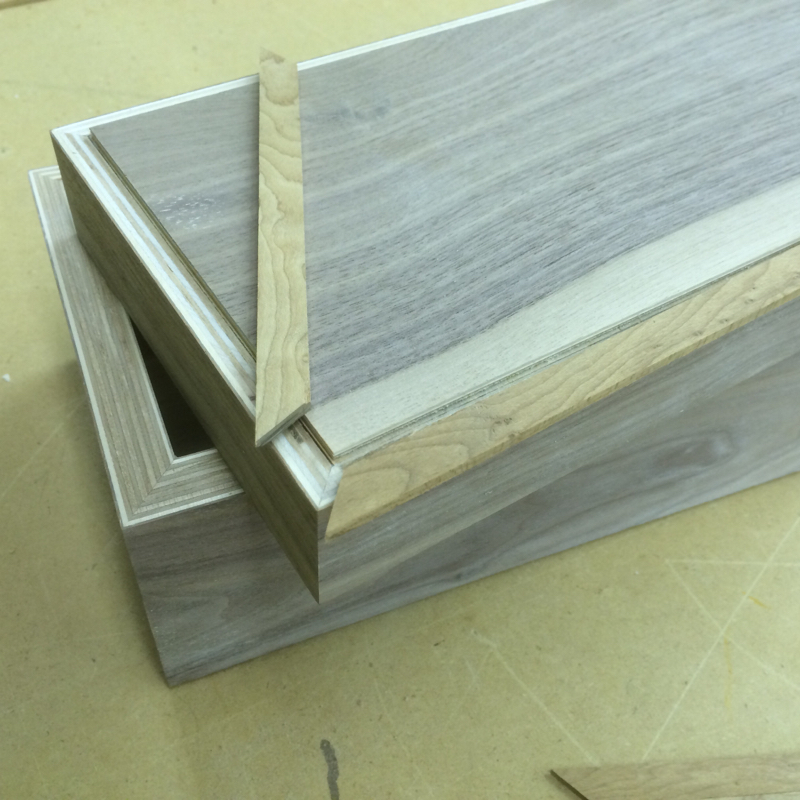 I then smoothed the edges around the box lid and base making a channel for some edge trim. I used birds eye maple to contrast with the walnut and because I had just enough scraps to finish this off nicely. After cutting the grooves, I mitred the Birdseye maple to fit the box lid and bottom then epoxied the trim into place. After smoothing and removing the excess epoxy, I moved onto the spline joints. 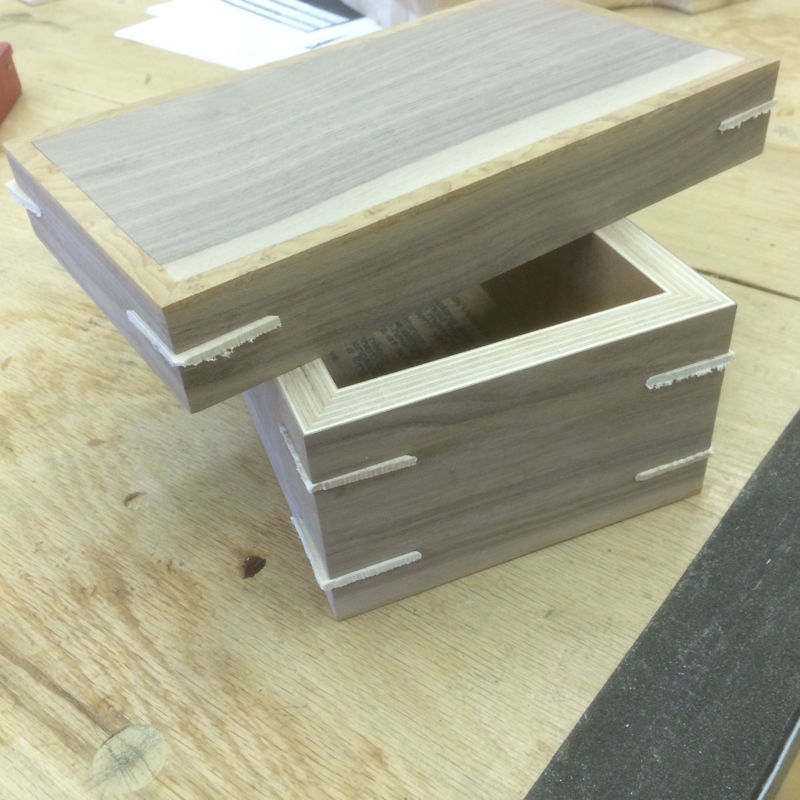 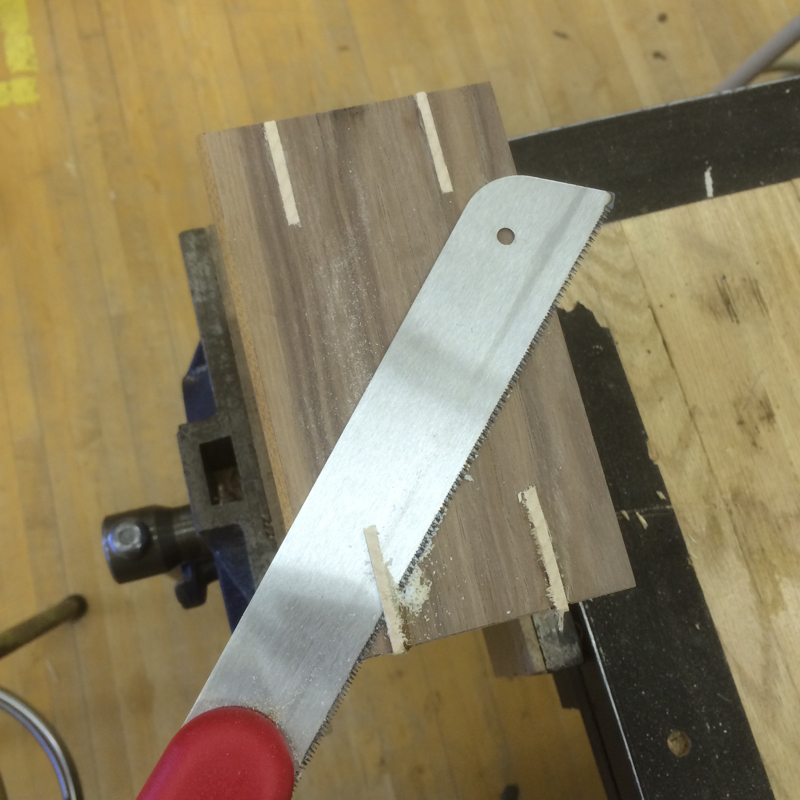 Using my spline jig, I cut three evenly spaced spline joints and epoxied the maple keys into each slot. After the epoxy dried, I used a flush trim saw to remove most of the excess and then sanded the surfaces smooth using 220 grit sandpaper and a soft hand. 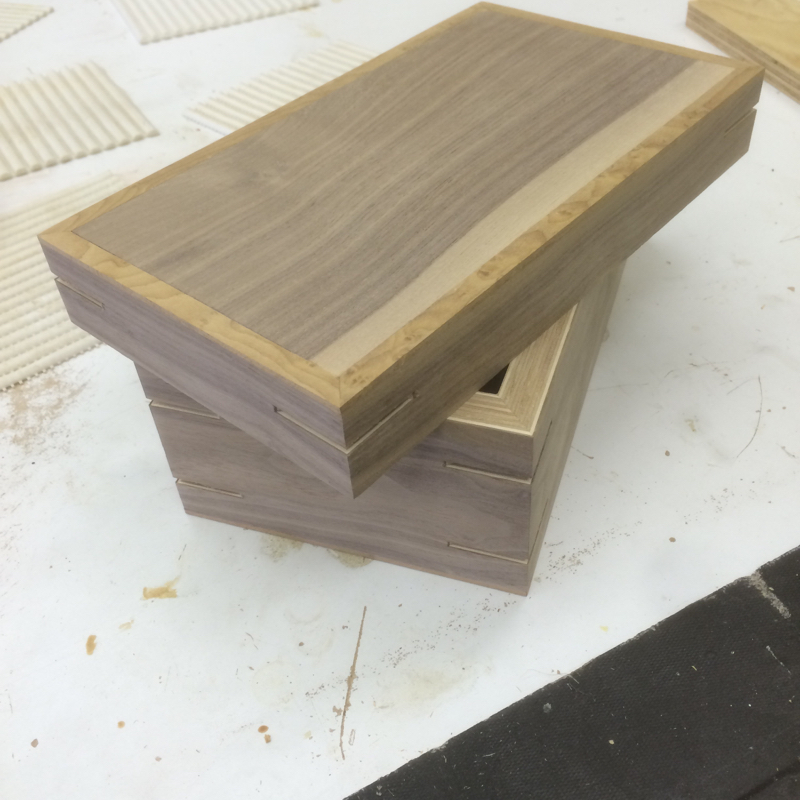 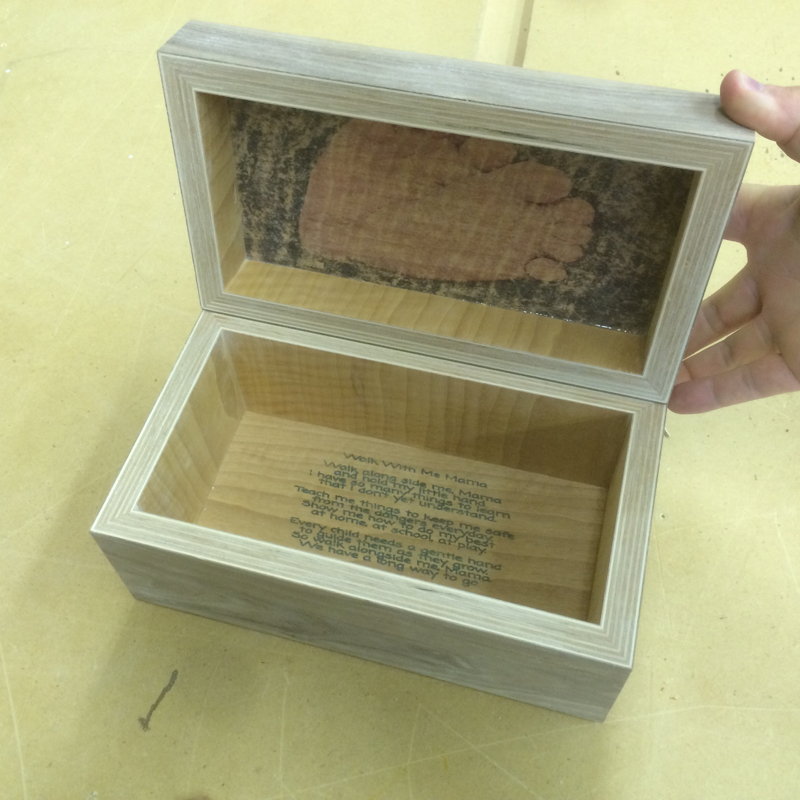 After sanding was finished, it was finally time to finish the outer surfaces. I applied about 5-6 coats of satin wipe on polyurethane and sanded between coats with 320 grit sandpaper to smooth any dust particles in the finish. This REALLY made the figure in the wood grain pop! 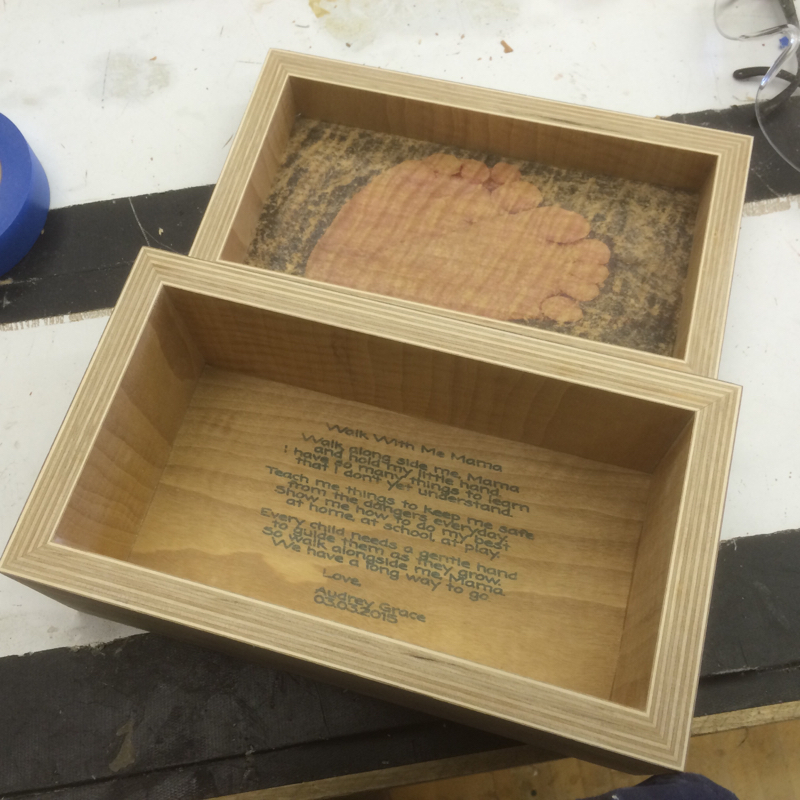 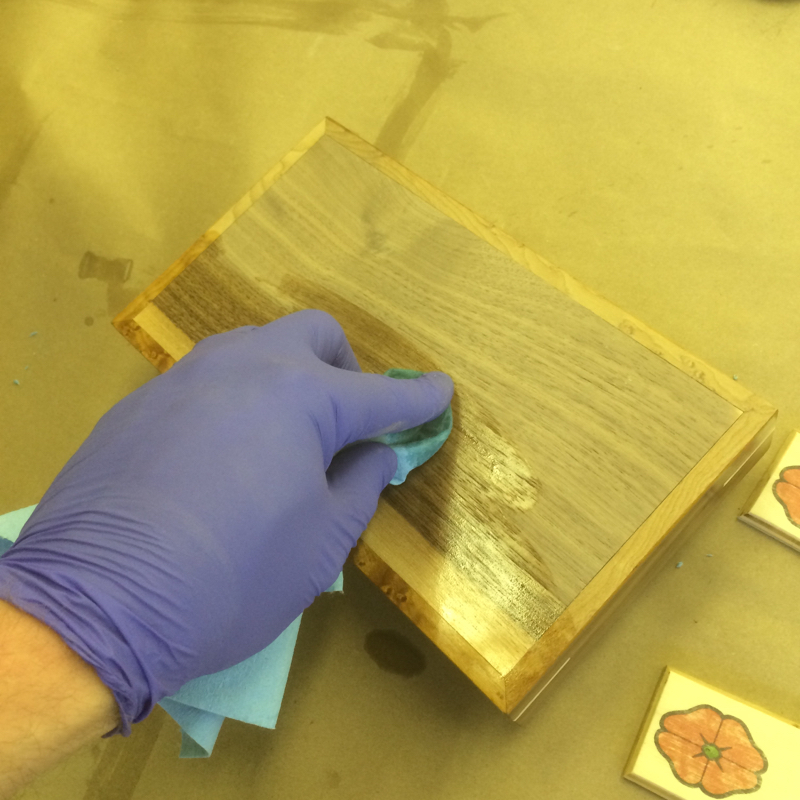 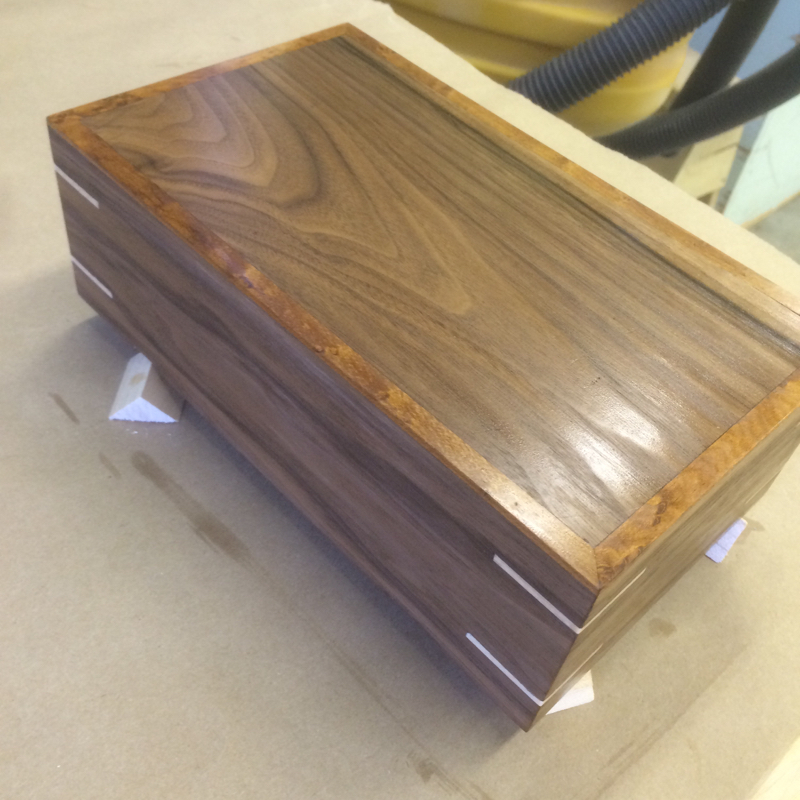 Coat 1  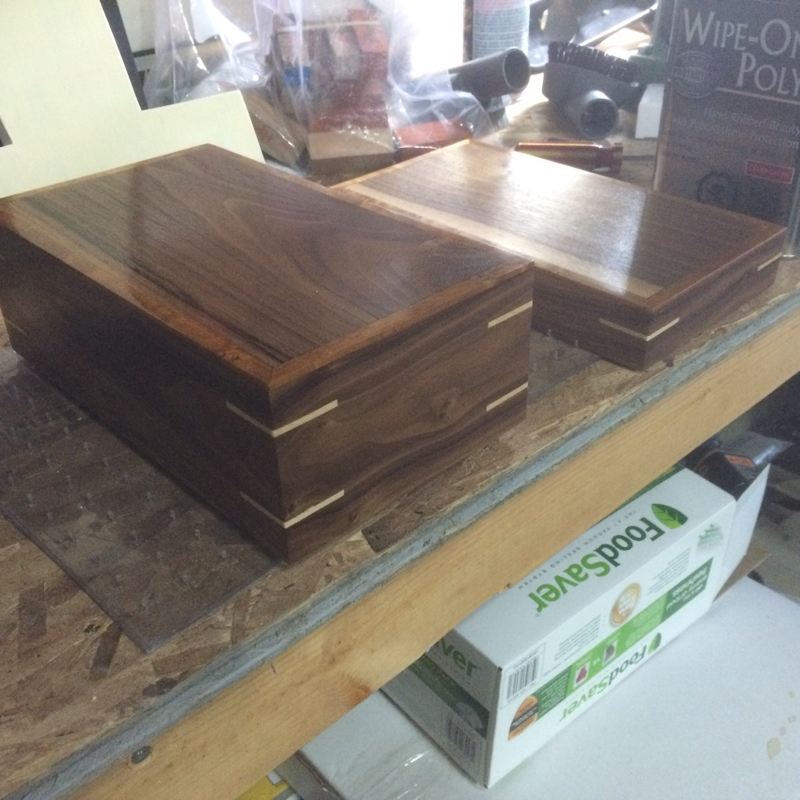 Coat 4! 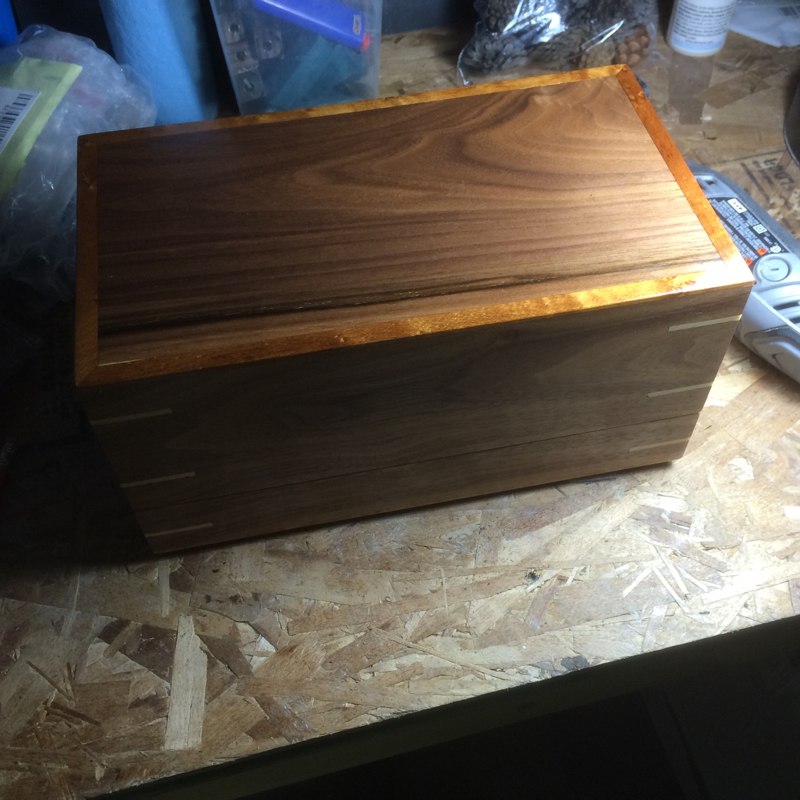 Now onto the mistake part... I purchased a really expensive set of hinge hardware for this box to learn to install them. This ended up being a disaster because the hinges I purchased weren't heavy enough to handle the weight of the lid when opened. 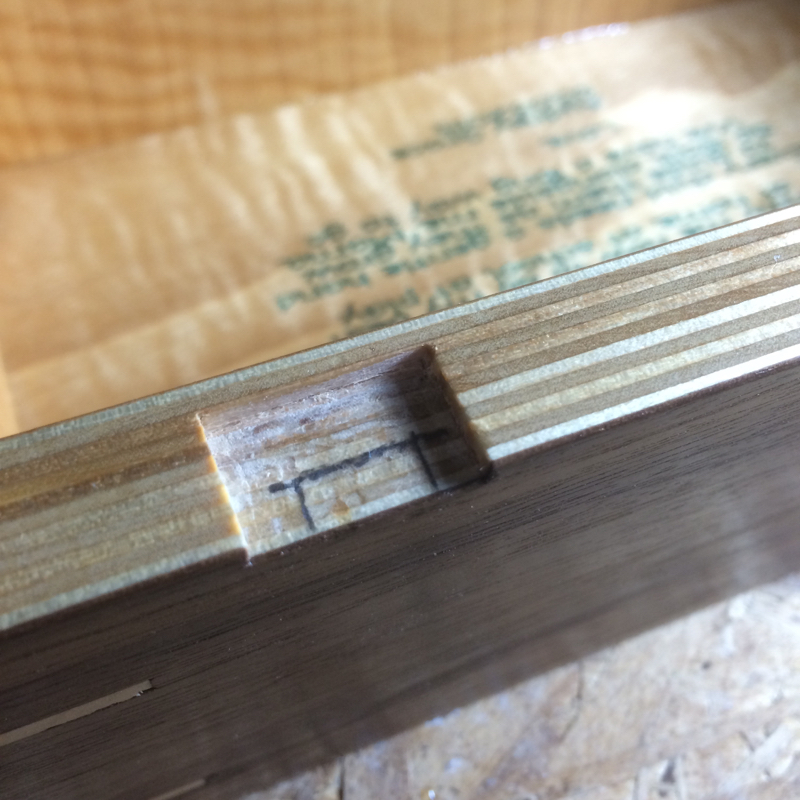 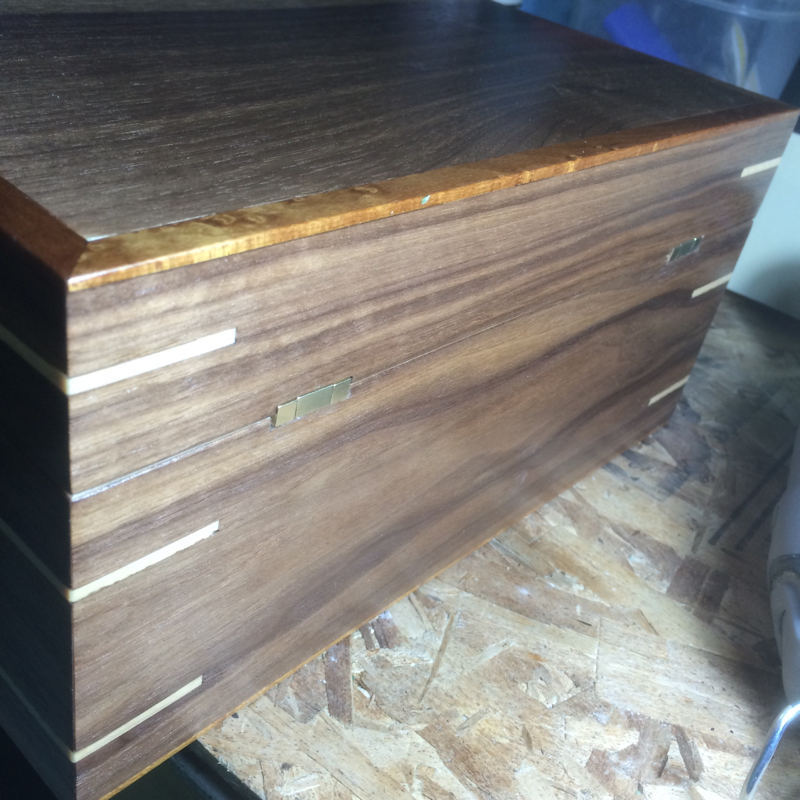 Doh! So, I had to cut the lid and box frames a bit shorter to accomodate a different hinge set. By that time I gave the unfinished box to my wife and told her my woes. She came to the store with me and picked out a different set she liked and would be hefty enough to handle the lid. Also, the hinges mounted from the outside of the box so booya! Here's the finished Mother's Day box: 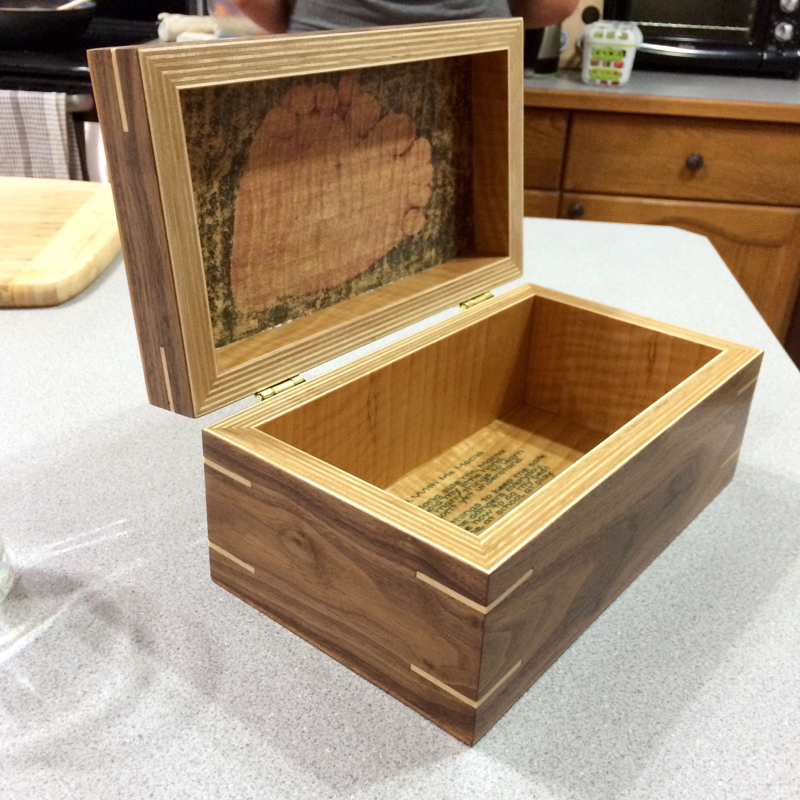 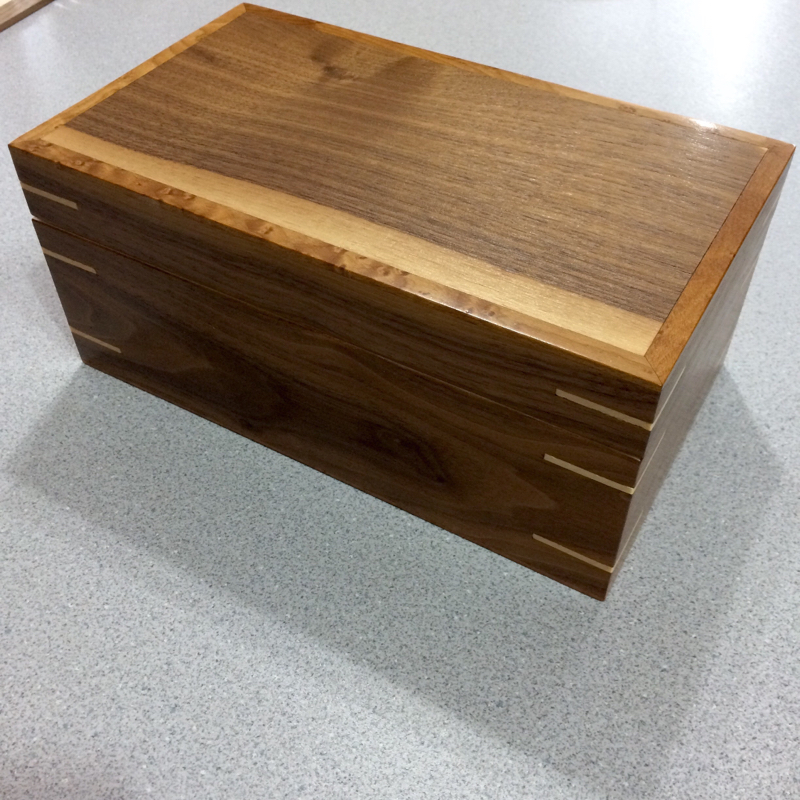 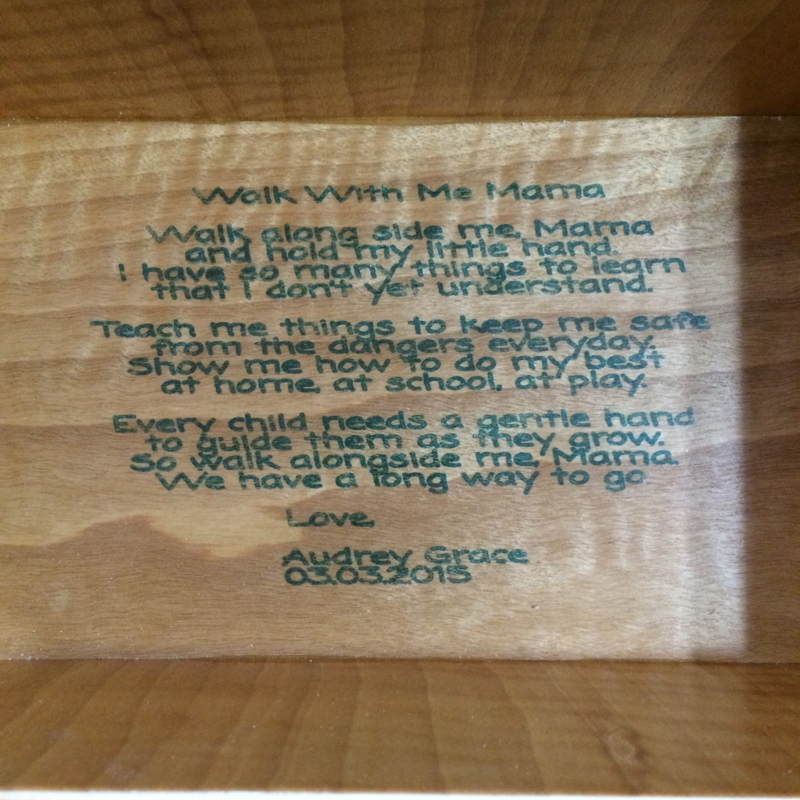 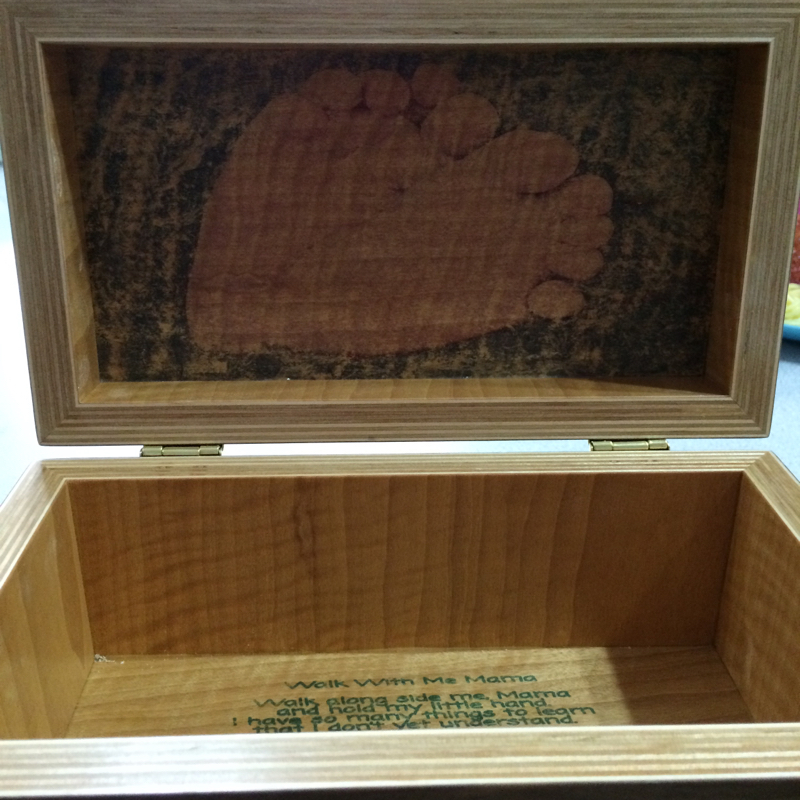 Thanks for checking out my work! I'll be taking orders for boxes similar to this one at Kayben Farms' Pumpkin Days! Read my previous post for details or contact me directly to order. There's a lot of project work coming! Stay frosted for updates. I've already sold some of the projects being built - whew! This is a lot of work but lots of fun.  Hi Everyone! It's been confirmed! I'll be hosting a table at the Kayben Farms Pumpkin Days! It'll be at Kayben Farms in Okotoks, Alberta from 10:00am - 5:00pm. I'm super excited to announce this as it'll be my first time selling my project work at a market that isn't through third party vendor! Come on down and say hi! Bring your kids! Buy some of my cool woodworking and continue to support my Woodworking addiction! I will also be taking orders until the end of August so that I have time to complete them before the market so you could pick up the orders while you're there! I will also be taking orders at the market for items that you would like for Christmas as well. I will be able to accept payment in Cash and Credit as well. I will be posting project work that I will be bringing with me to the market here and on my instagram! Be sure to follow me and make suggestions/requests if you would like something specific! I'm really excited! See you there!! -Brad  8/1/2015 27 Comments Fence!Hey Everyone! Sorry for the post shortage. I've been busy cooking up some projects and attending to some DIY stuff that needs to be done at my house. First thing was replacing my fence between my neighbor and I. The previous owners of my house installed a cheap cedar panel fence that all of the planks were held into the panel using tongue and groom joints and barely framed. I started to dismantle the fence and the pickets all started to fall apart.. I was flustered with how flimsy the fence actually was and forgot to take a before photo. Doh! Anyway, pulling the fence apart took less than an hour which was nice because we could get to building the fence sooner! Here are some photos of the process: 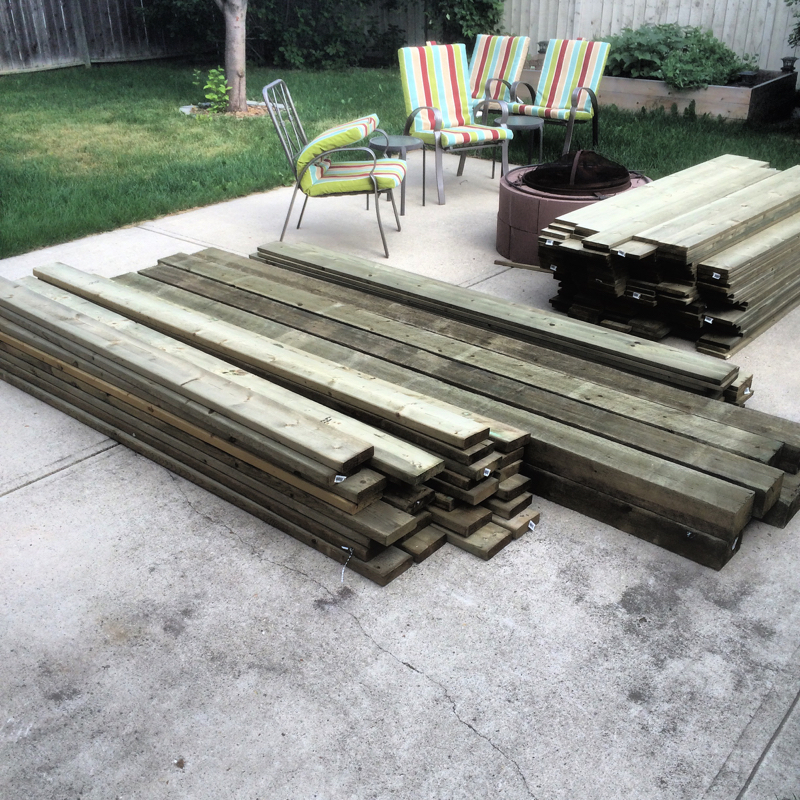 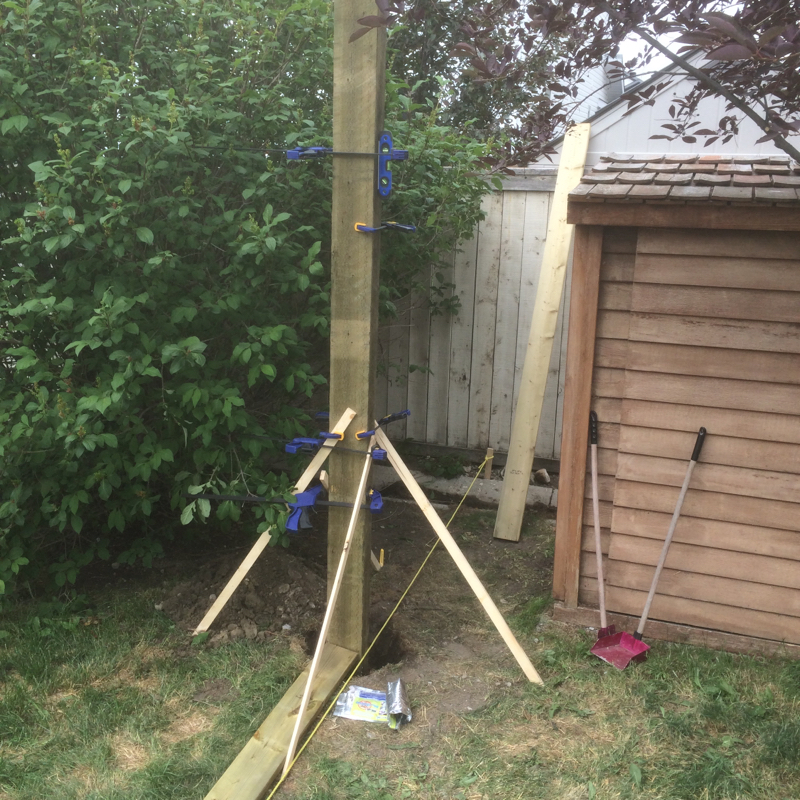 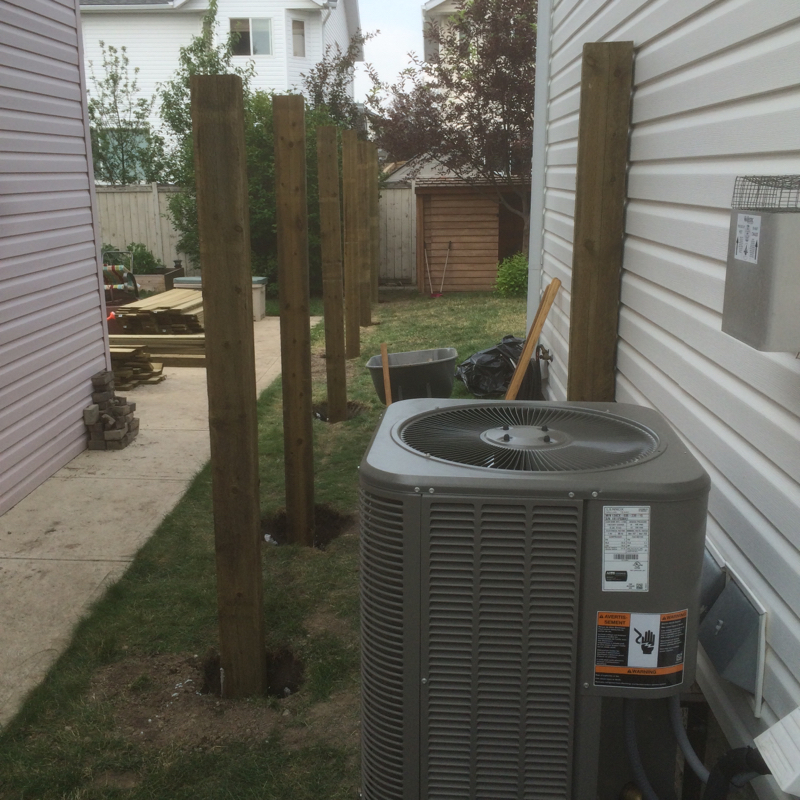 This fence was fairly straight forward. We reused and enlarged the fence post holes for the larger 4x6 posts and installed each post using a product called fast2k foam which is equivalent to 2 bags of concrete for every one bag of the foam. This worked out exceedingly well! Each post was leveled and installed without any real issue. The majority of the tough work was removing the old concrete and making the holes larger. Fast2k set time is 30min with the stakes holding it plumb. Cure time is 3 hours then its good to install framing and continue building. 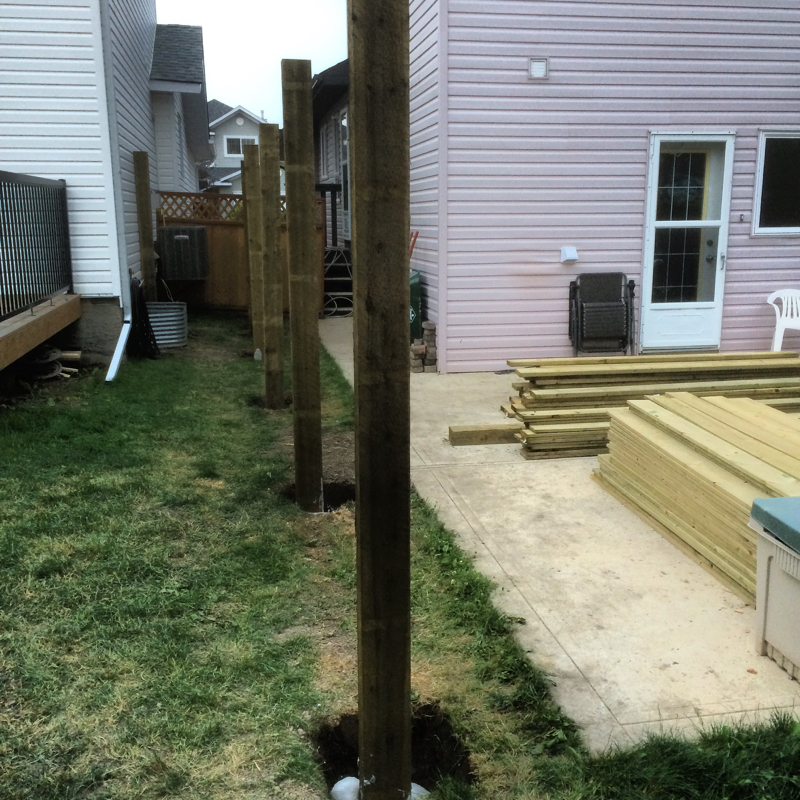 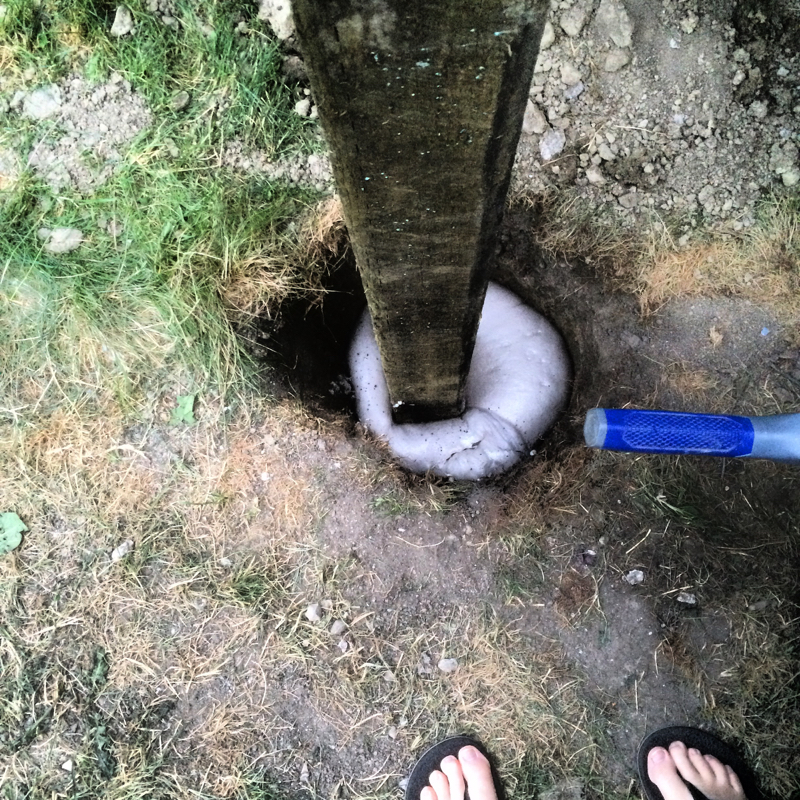 Next was framing and pickets. We installed each cross rail using pocket hole joinery with Kreg blue-coated screws. This was a very slick process. 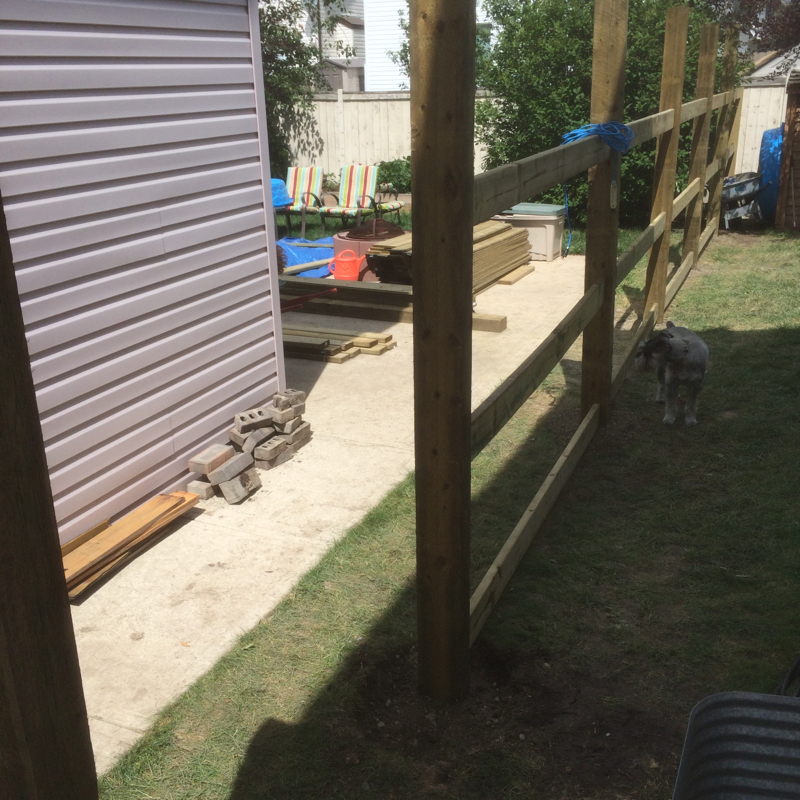 Then it was time for pickets. I recently purchased a new to me framing nailer which made the installation super efficient and straight forward. The majority of the work was installing the posts and getting the spacing just right. This made the finishing process super quick. Just the way I like it! 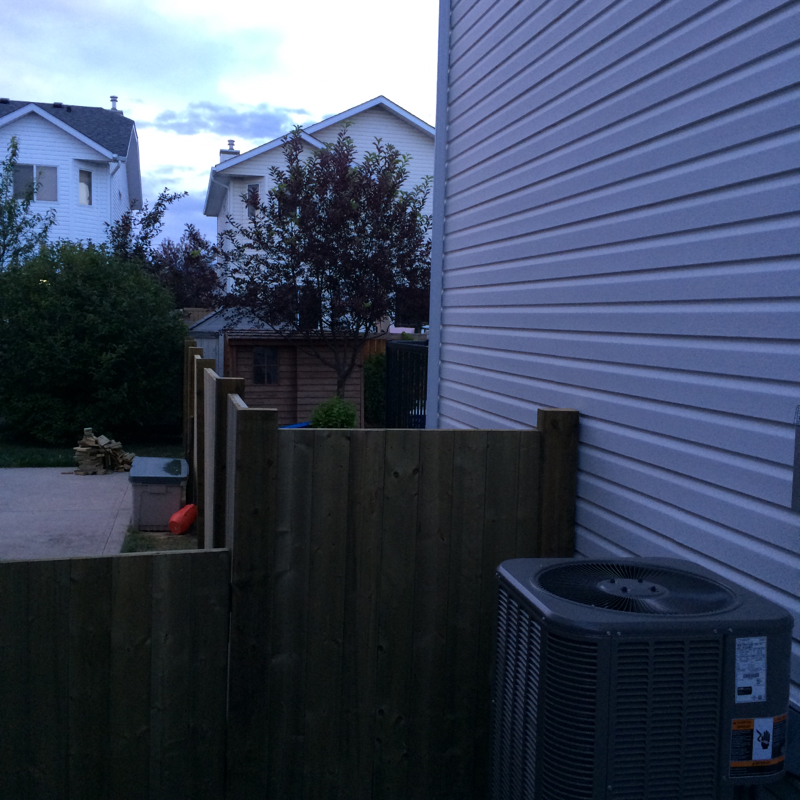 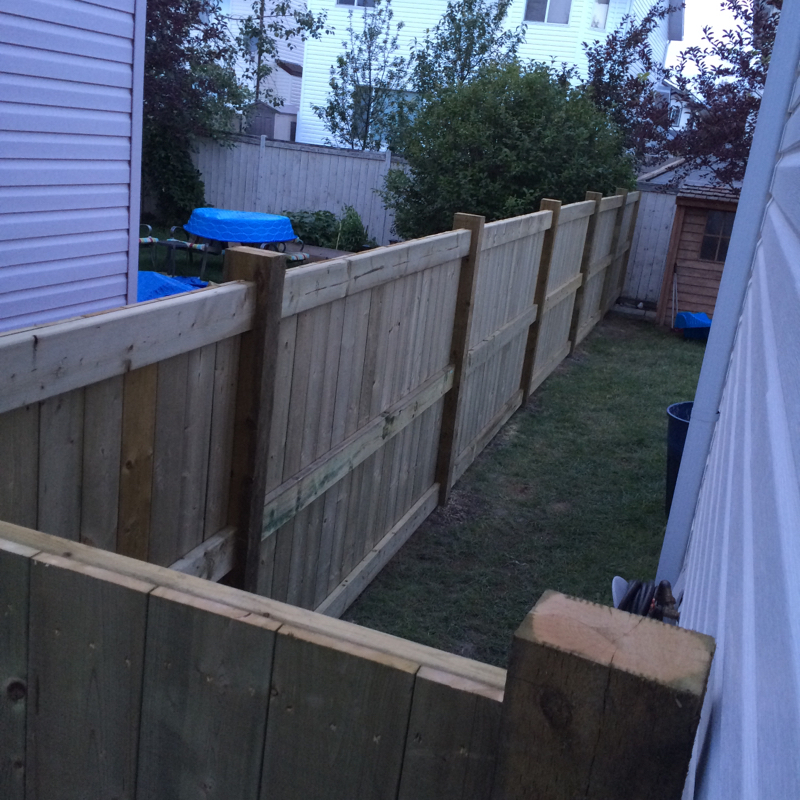 All I have left is to chamfer the tops of each post which should be fun! Next project is installing a gate on the other side of my house which I will write a post about after that job is done. I'm hoping tomorrow we'll be done! Thanks for checking out my work! There's more finer woodworking projects coming down the pipes as soon as I'm done this diy work! |
AuthorWelcome to WoodProjectsbyBagel! Archives
March 2018
|
 RSS Feed
