
|
6/28/2014 0 Comments Two days left!Two days until we move! I'm very excited. Thanks for continuing to check out my work! There will be project updates and shop development photos soon!
0 Comments
6/22/2014 0 Comments Last post for a couple of weeks..Hey Everyone! Here's my last project constructed in my shop. We move on Monday, June 30 and I'll be building my new shop. I'll post developments as I make them and we get settled in. This summer is going to be crazy busy but I'm really excited for getting a shop in my first garage ever and then moving to a new school shop in September! There's lots of changes happening for my wife and I and we're really excited! Thanks for checking my work out. This next year is going to be very interesting for changes and new project work that I'll be able to do from home AND work! This cutting board was an order for a customer that wanted a similar pattern to a board I donated a few months ago for a chairty auction. I really love the way this one turned out in the end. It's made from maple and walnut with varying thicknesses. Sanded like crazy, 1/4" round over on all edges and branded in the corner. Finished with mineral oil and beeswax mixture and drying now. Will be ready for delivery after drying for about a week! I'm sad and excited at the same time for the changes coming. Stay frosted for developments! 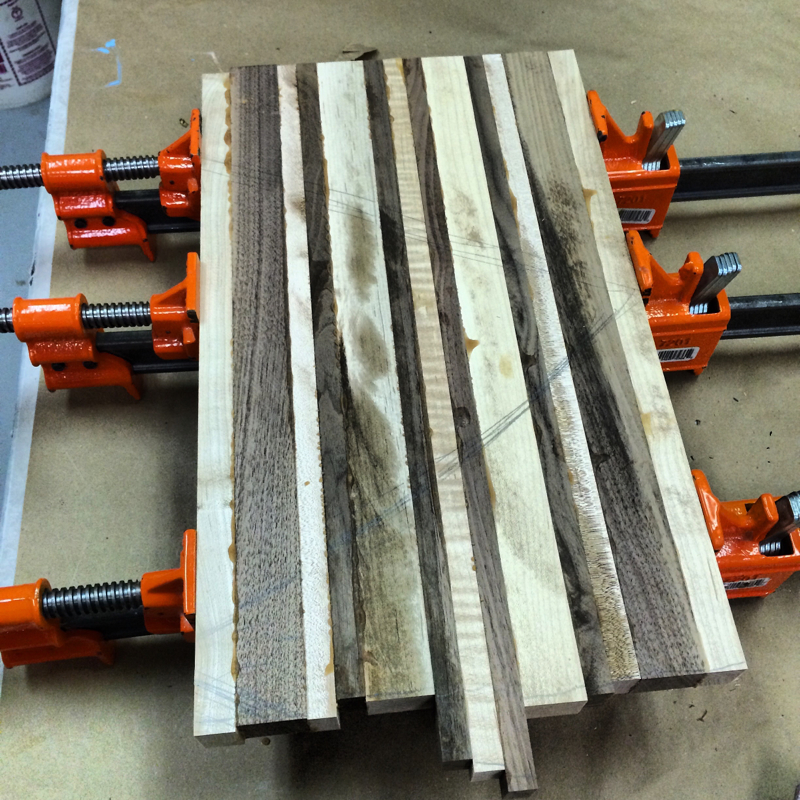 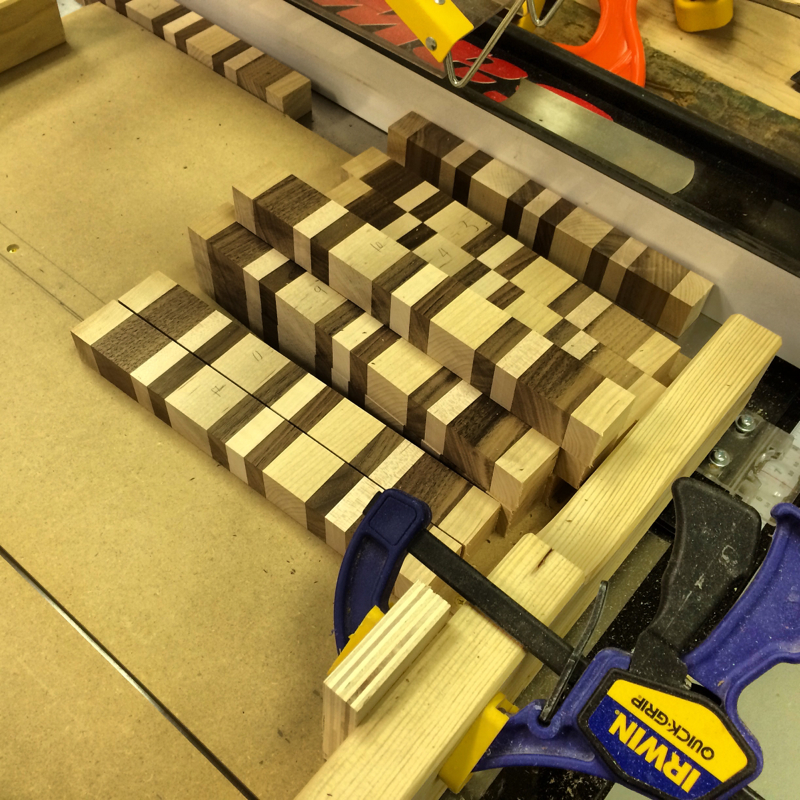 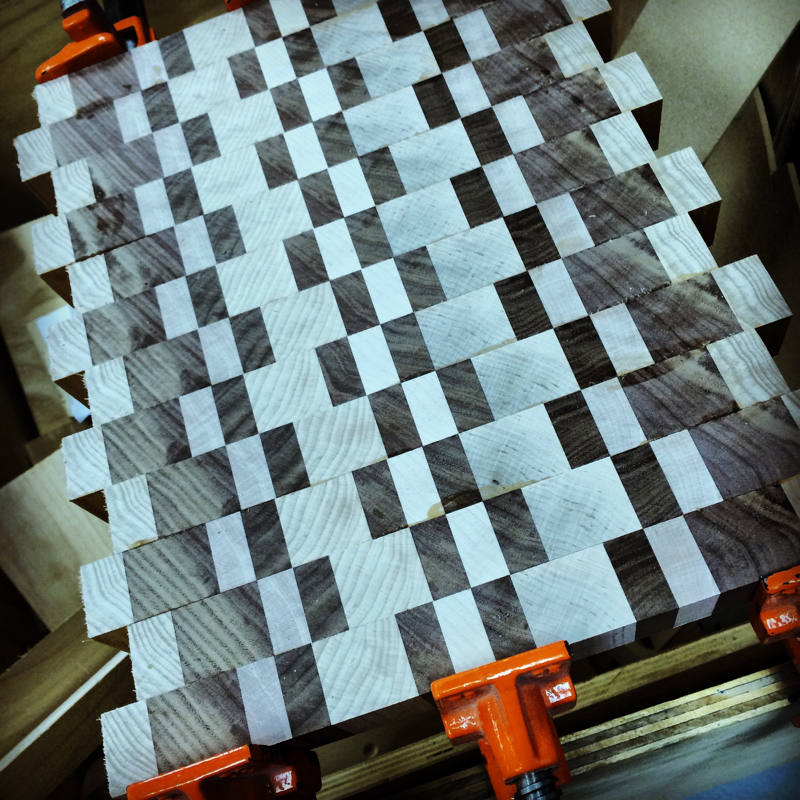 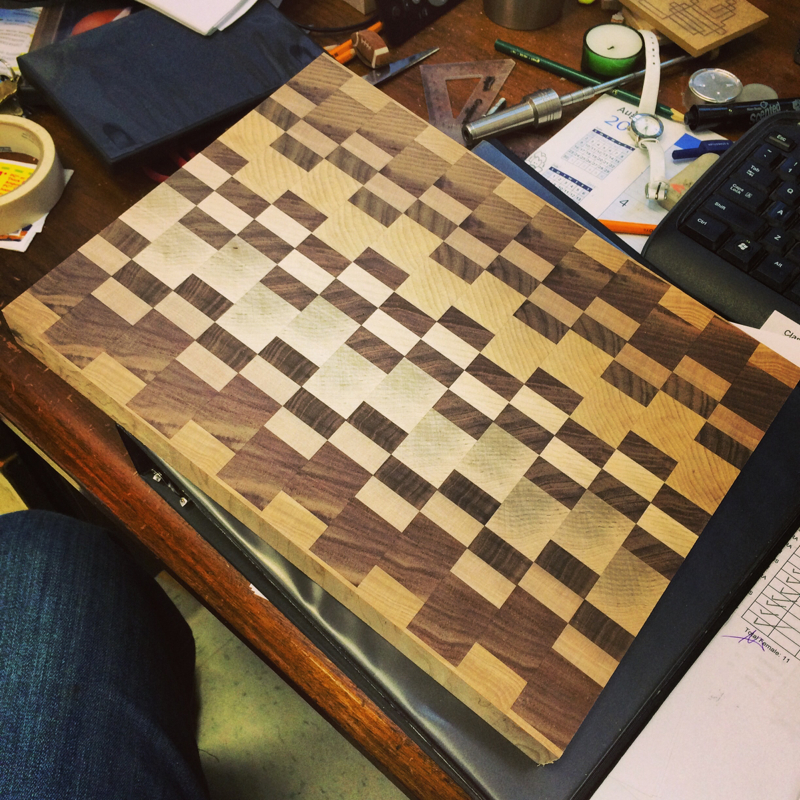 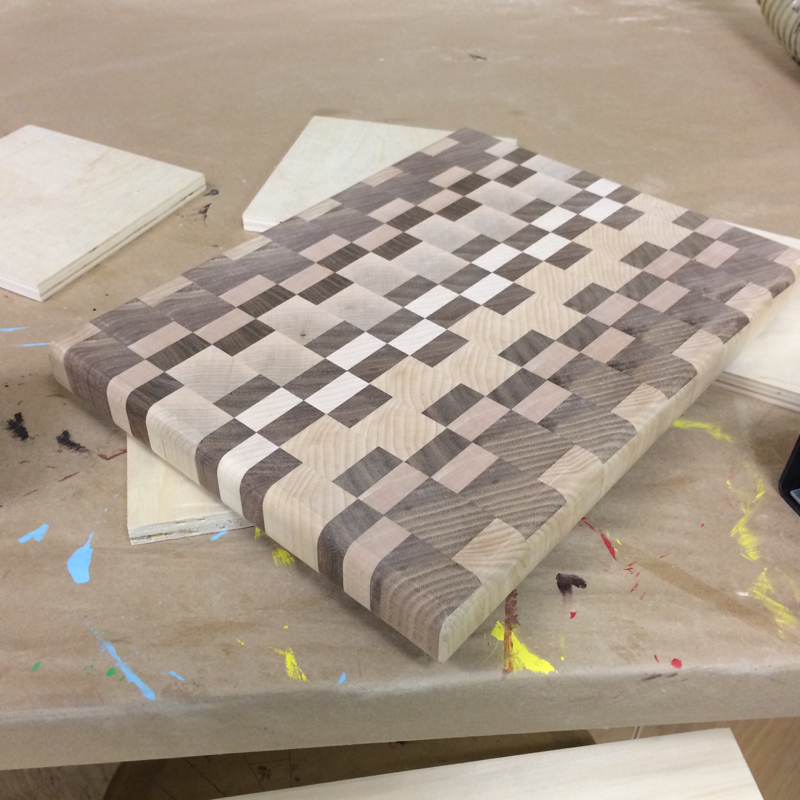 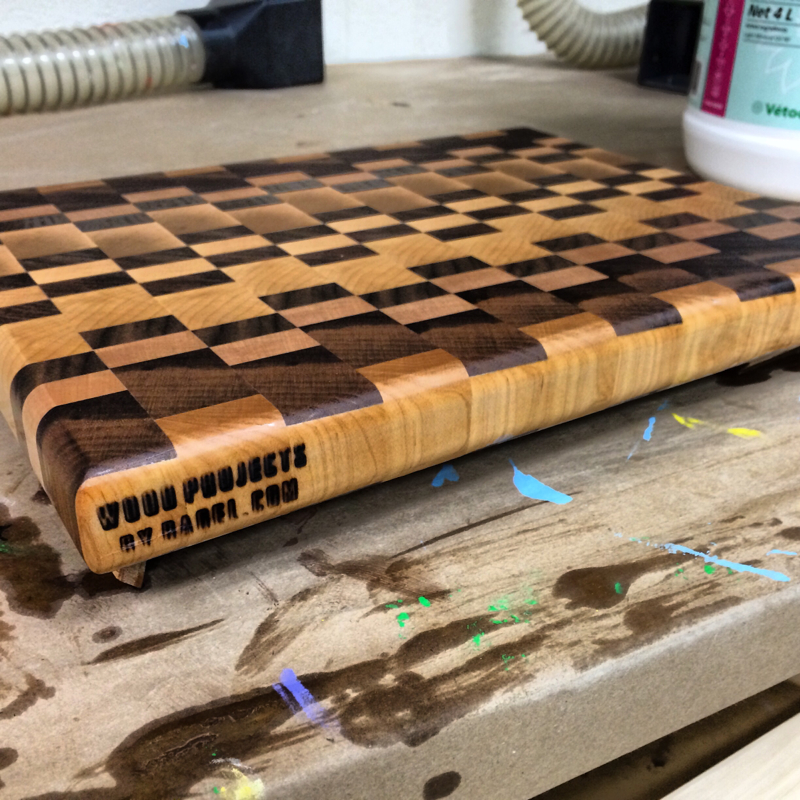 6/15/2014 0 Comments Laptop StandHey everyone! It's been a little while since my last post and here's a new project for you to check out. I have a couple of other smaller ones to finish up and will post them here as soon as I'm finished. If you have Instagram, follow me there #woodprojectsbybagel to get more up to the minute updates on work I'm doing.. I made a laptop stand out of some for 2x4 scraps I had. This project was for a good friend of mine that asked me for this a very long time ago. One day I sat down and drew out the design, made a template and was set on finishing it. This project took A LOT of tinkering to figure out the process but it turned out great in the end! I cut them using a jig saw, drill press and eventually scroll saw. I cut the first one as close to perfect and then glued and shaped subsequent layers to match the original one. Lots of sanding but with a spindle and belt sander it didn't take too long after a few layers. Thanks for coming back to check out what I'm doing!! New shop in 15 days! 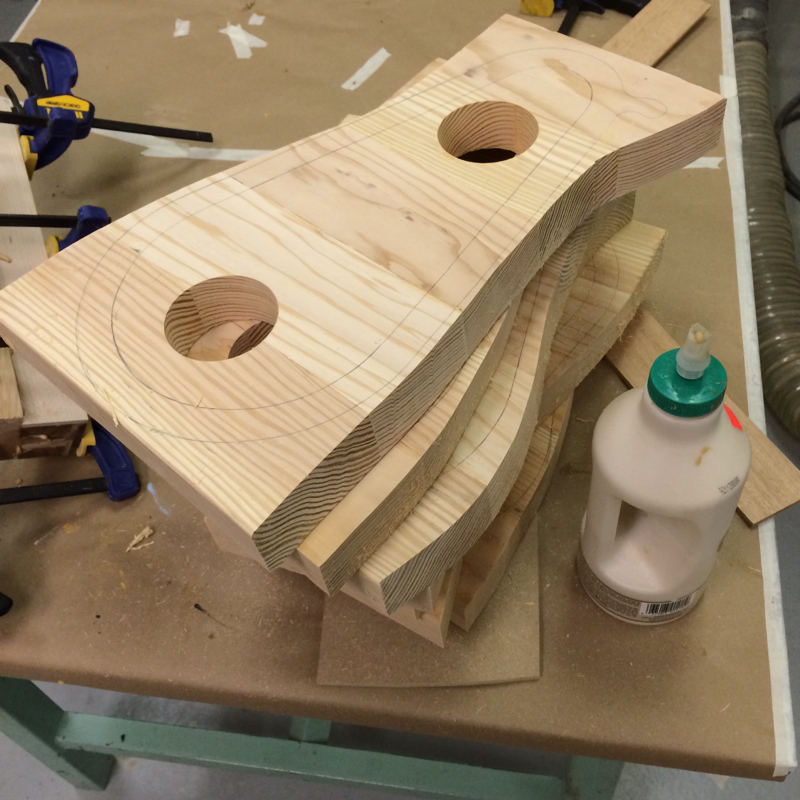 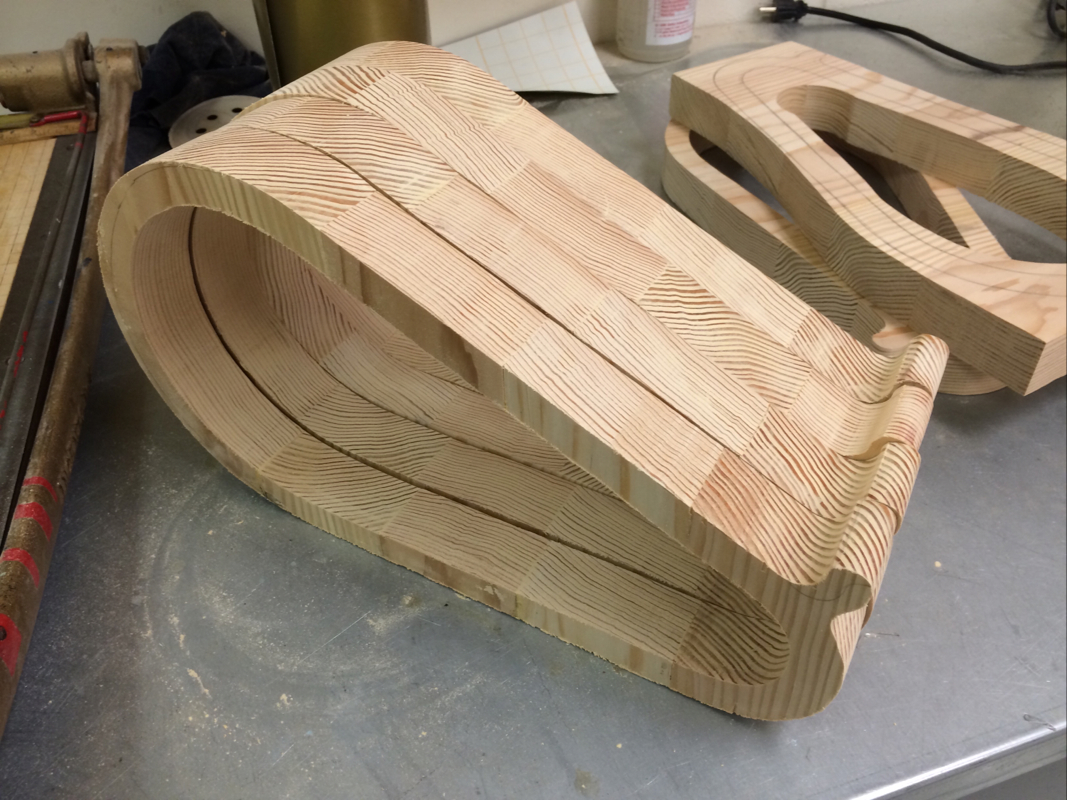 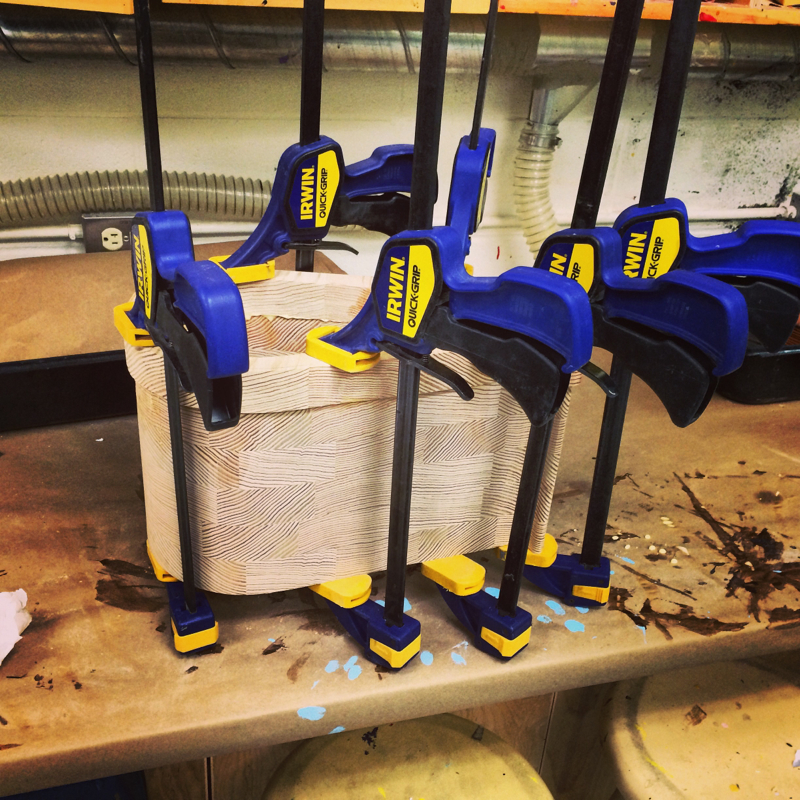 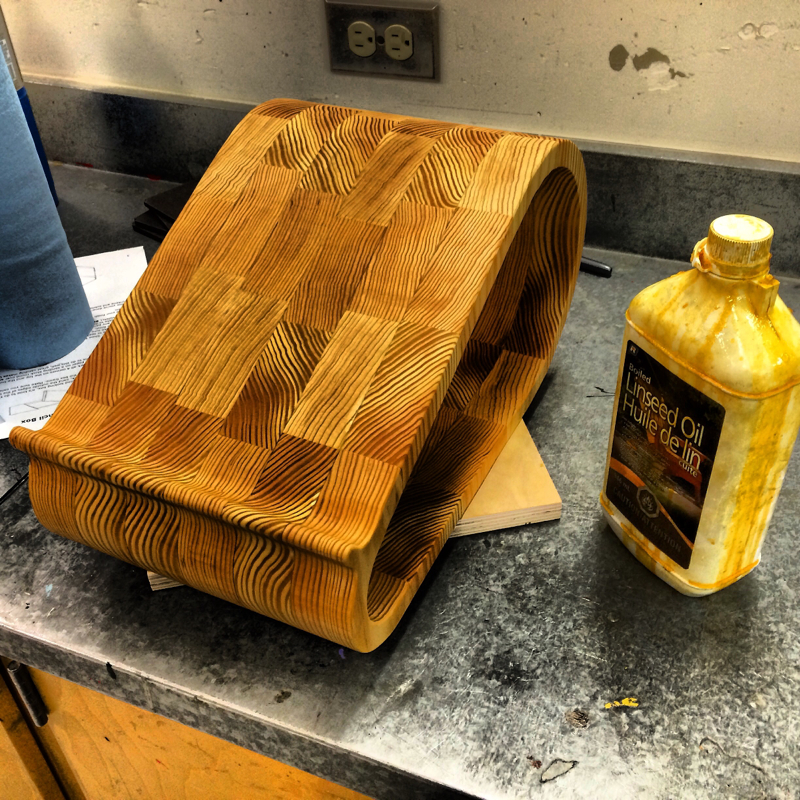 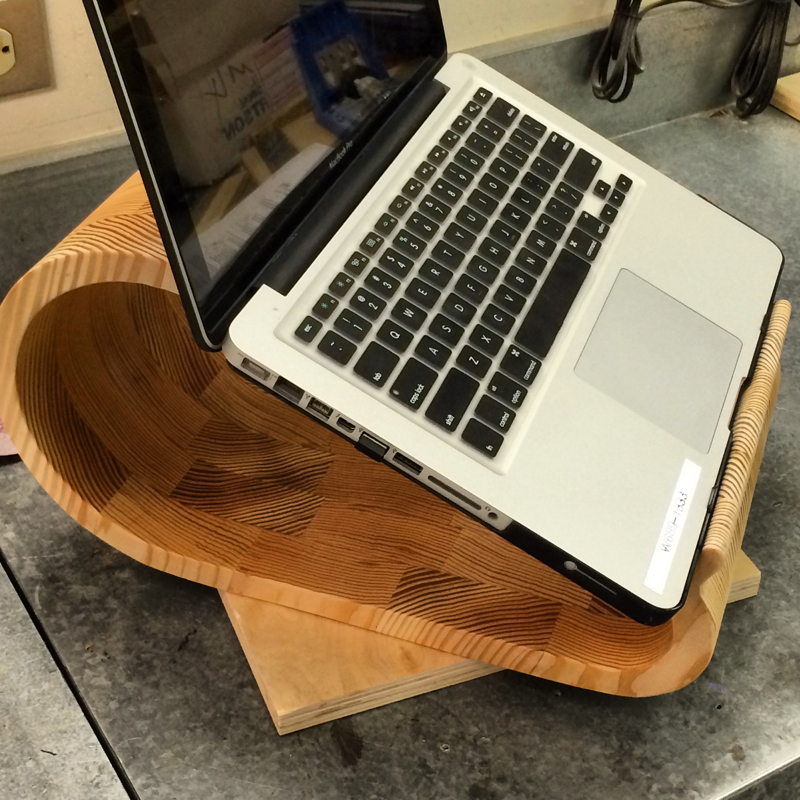 6/13/2014 0 Comments The Pen creation Process!Here's some videos I posted to my Youtube Channel of the pen creation process.. Enjoy! I missed recording the barrel trimming to square up the ends of the blanks just prior to turning. I'll post a video of that part soon! Thanks for checking out my work! |
AuthorWelcome to WoodProjectsbyBagel! Archives
March 2018
|
 RSS Feed
