|
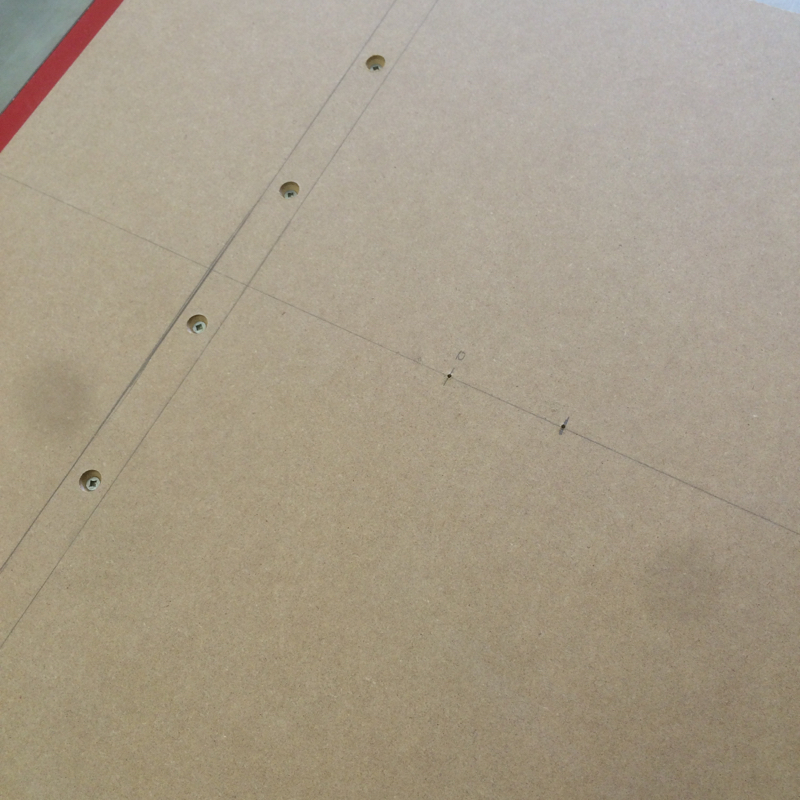
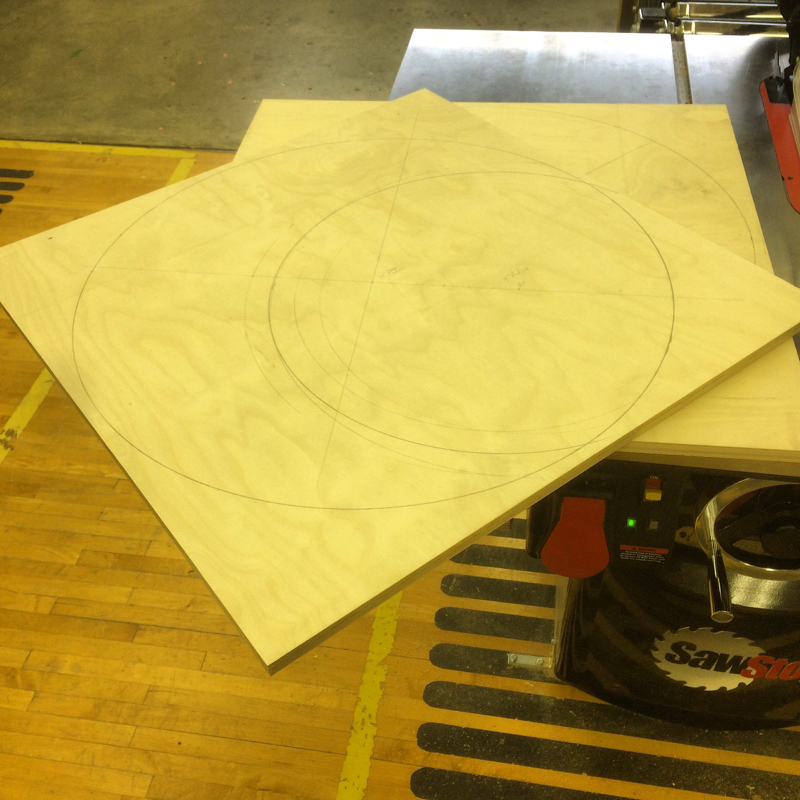
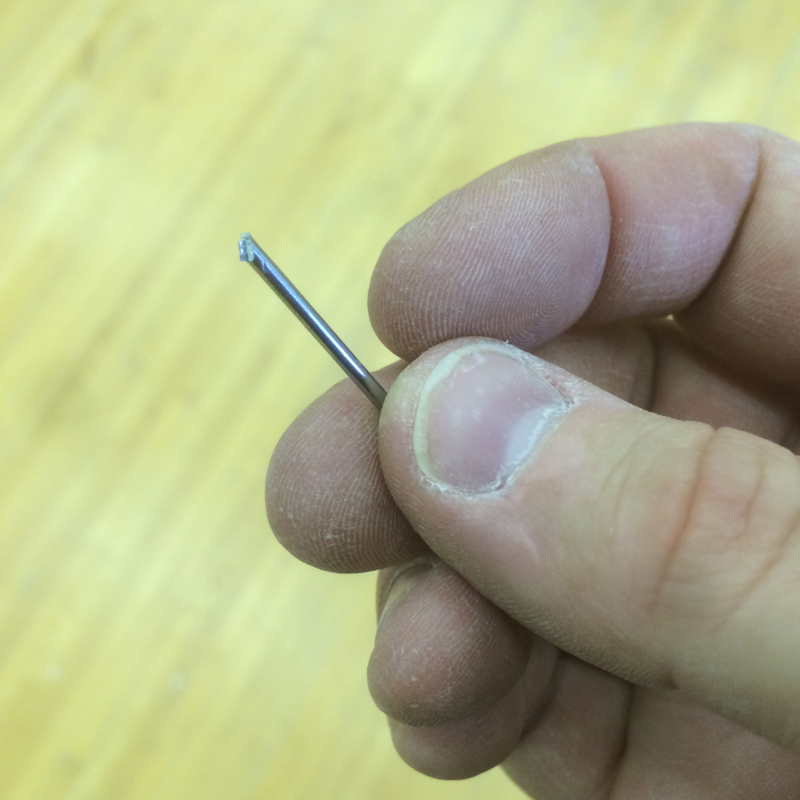
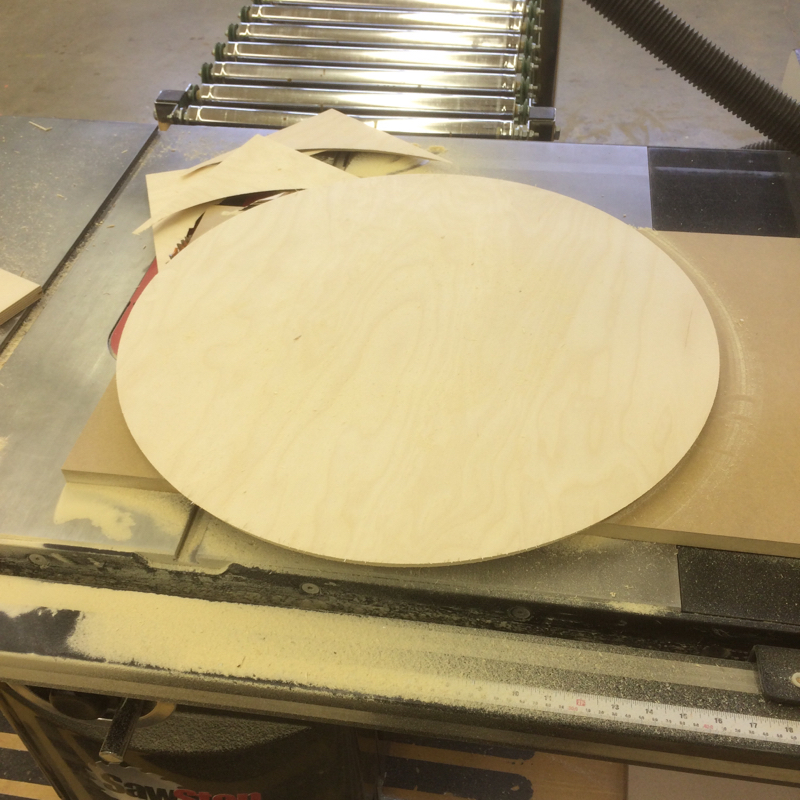
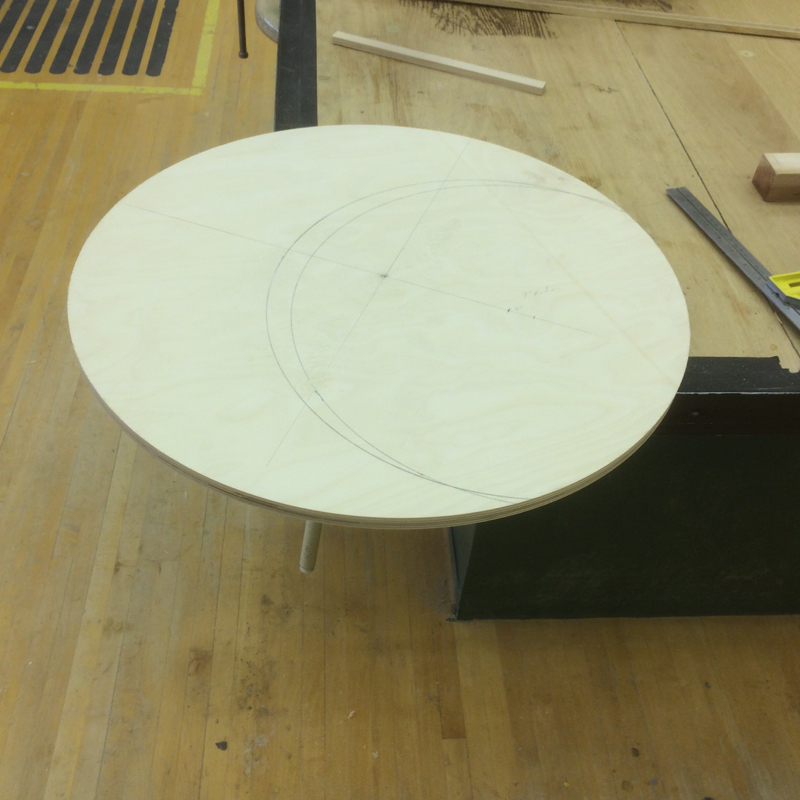
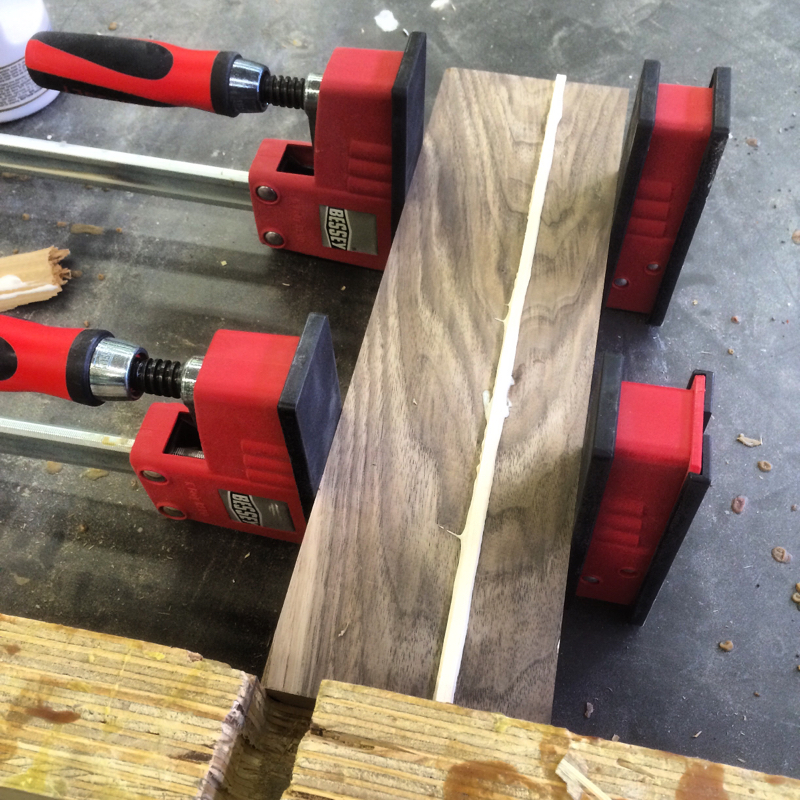
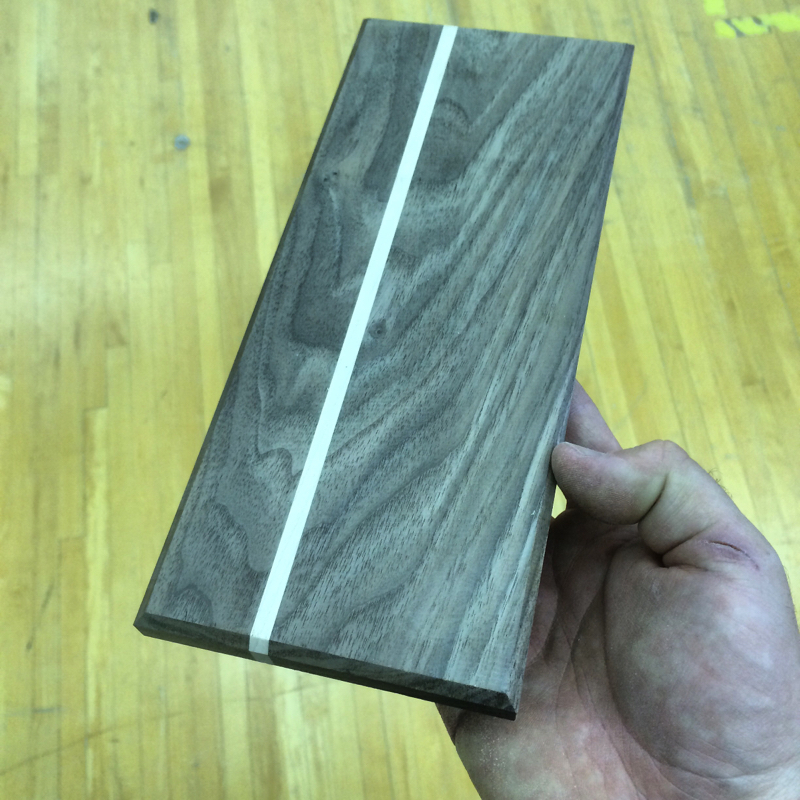
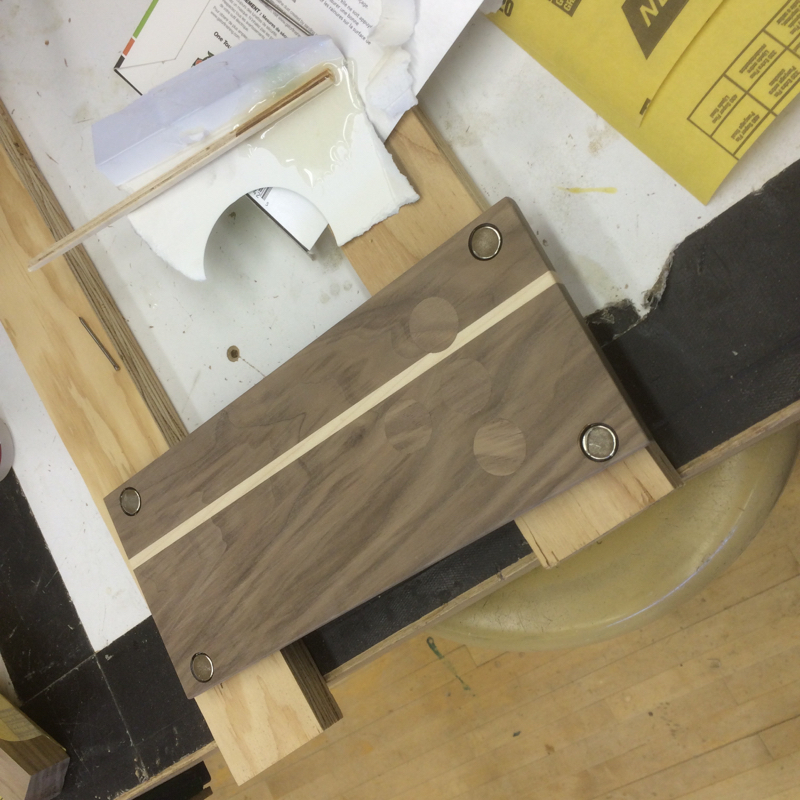
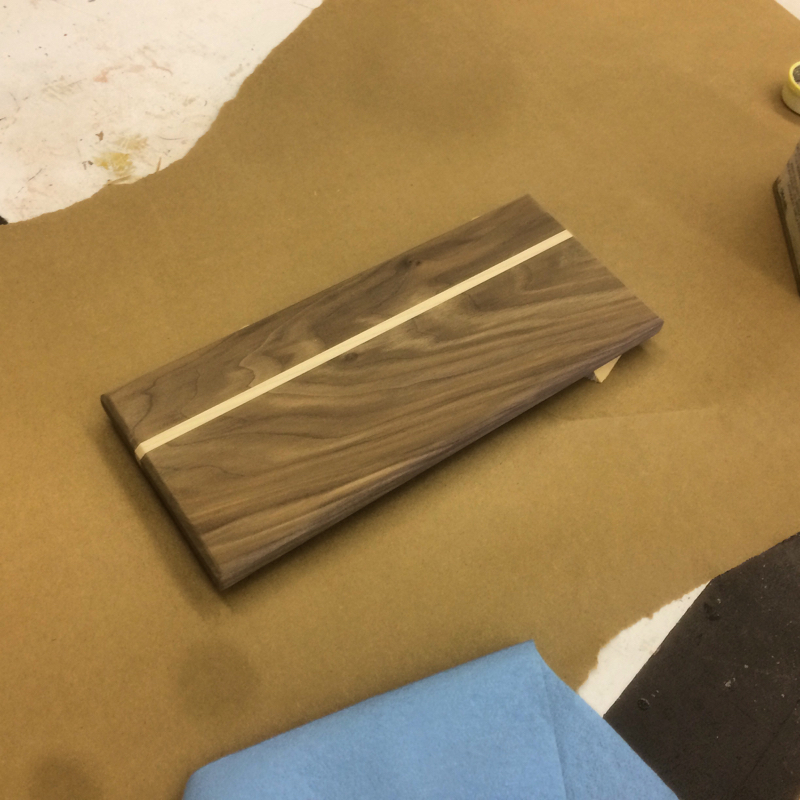
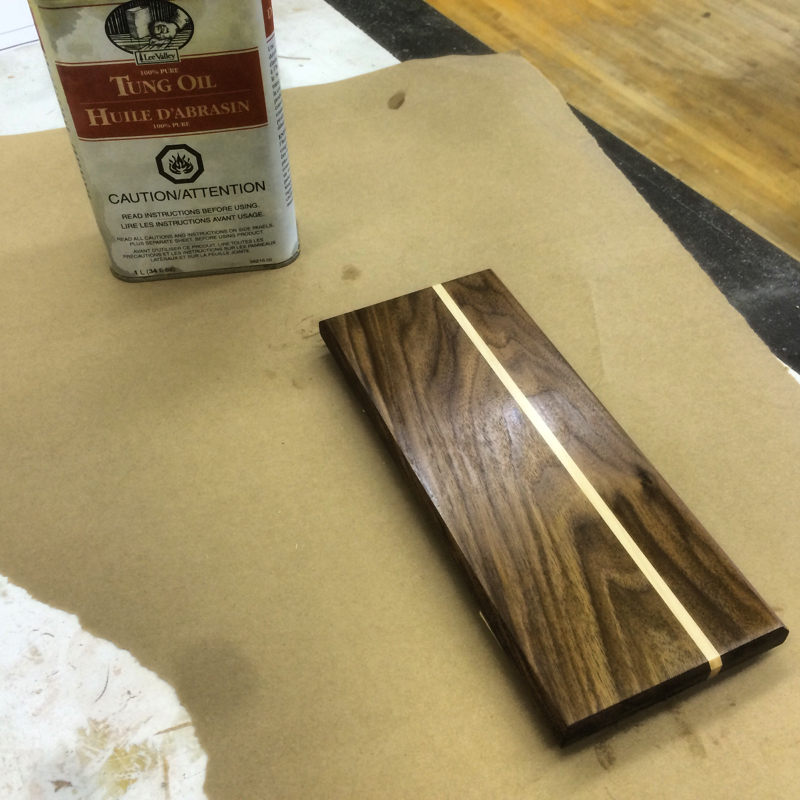
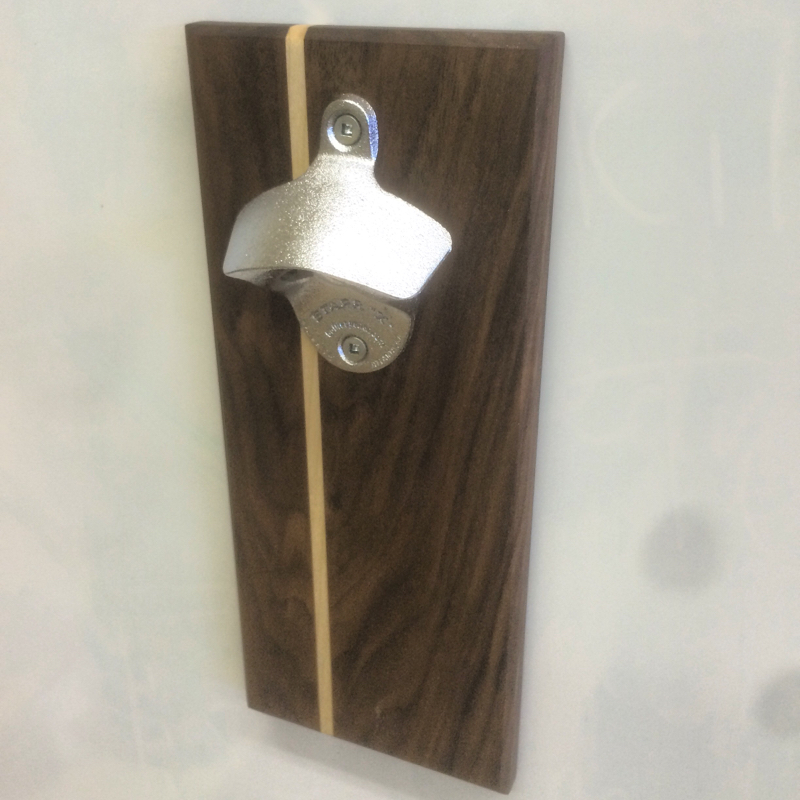
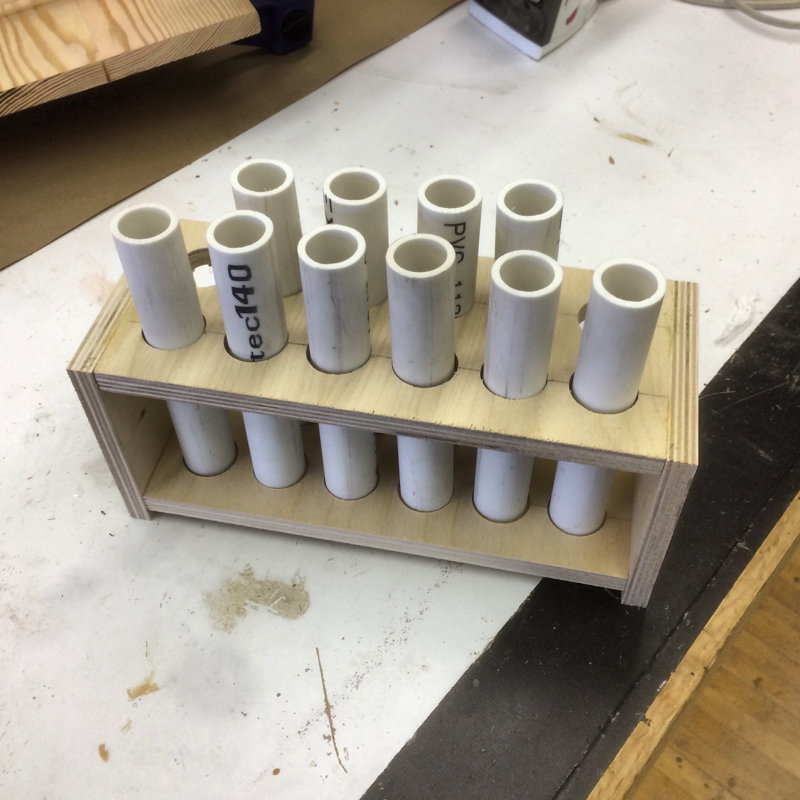
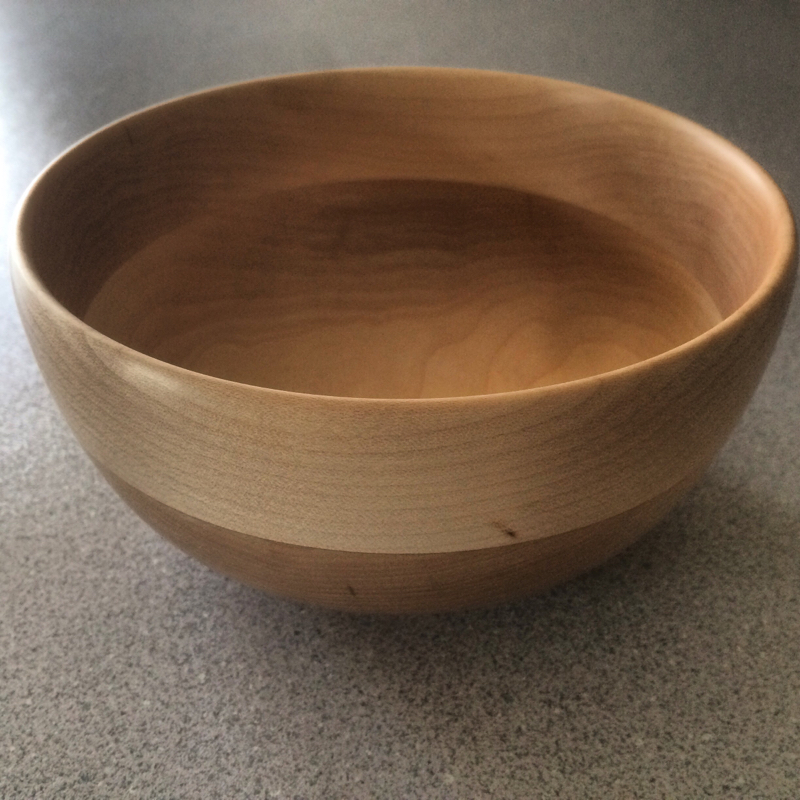
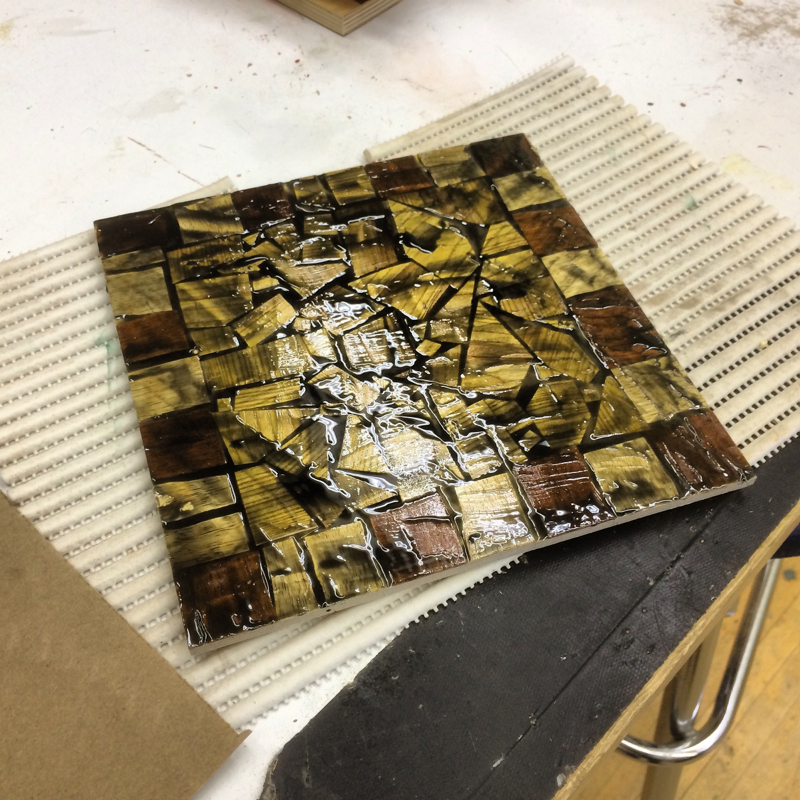
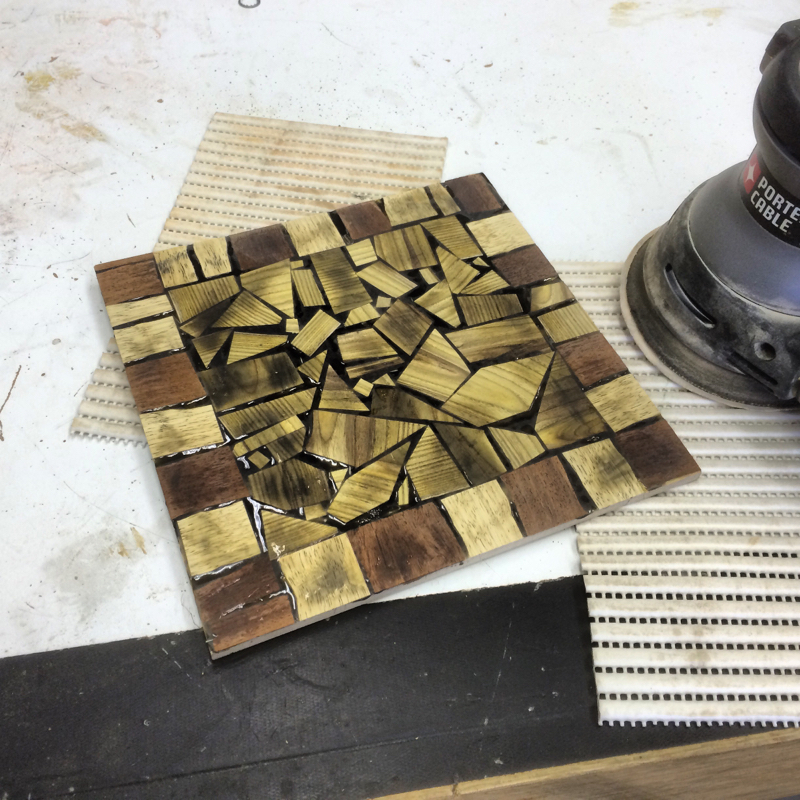
5/31/2015 Circle cutting jig for the table saw!Hi Everyone! I've been working away like crazy to get my project cue caught up. Yesterday I built a large diameter circle cutting jig for my table saw which enabled me to cut 2 - 24" diameter circles out of Baltic birch plywood for a photography prop project that was requested. This jig worked like a charm! Check out some photos below: I made a maple miter slot bar that I glued to the bottom of a piece of 3/4" thick mdf and then screwed it to the rail once the glue was set. I'll go into more detail in my tutorial. I set the radius of the circles that I needed and used a cut off finishing nail to drill my holes to insert the centering pin. I drew the layout of the circle shapes I want after marking center. The hard part was putting the board onto the centering pin but it doesn't take long if you center punch the center point so the nail falls into the center point. I spin the material with the blade below the surface of the jig and turn the saw on raising it about a 1/16" or 1/8" with each spin. CAUTION: this type of cut makes a TON of sawdust so be sure to have good dust collection and a respirator. Done! I made two 24" diameter perfect circles and spent the rest of my time cleaning up the dust in the shop. Next cuts I make with this jig will be with the table saw face plate removed so I can utilize the dust collection hooked to the table saw better.. I'll post a YouTube video of the jig build and more photos of this project build soon! Thanks for checking out my work and supporting me by clicking on the ads. Every little bit helps and hopefully you find value in the project work that I do! 5/26/2015 0 Comments New Ultra Magnetic Bottle Opener!Hi everyone, I just shipped out my latest bottle opener which looks similar to my last one but it very much is the next generation of bottle openers that I've made. This one is predominantly walnut with a maple strip that's off center. It's finished with tung oil this time around. I've learned that tung oil will dry and seal the wood with a mat finish that will harden over time which is great for a project like this. The grain stood out immediately upon contact with the finish. I sanded the material to 220 grit which gave it a fine baby's face smooth feel. Now, the update is in the magnets!! I used larger magnets on the back to allow for a stronger hold to the refrigerator and I added more large magnets to catch the bottle caps better when they fall from the opener! This one turned out better than I expected and I now have a better magnet formula for putting these together. Thanks for checking out my work! 5/9/2015 0 Comments May craziness!Hi Everyone, Sorry for the post shortage lately. Work has been super crazy and Audrey is now two months old! Time is flying and my project list is growing exponentially. Here's what I've been working on: I've been learning about casting pen blanks and have ordered the necessary components to start making my own. There are basically 2 different methods that I'd like to try but I'm going to start with the cheaper of the two first before diving deeper into this craft more. The rack I built out of scrap wood and cut a pvc pipe into 6" lengths. Then you plug the bottom of the pipe with a cork and rubber barrier. Mix up your resin and pour it into the pipe. Leave it to set for 24hrs and then PPP out the new pen blank. Sounds simple. Let's give it a try! I'm going into the shop today to hopefully finish carving 6 maple bowls like this one. It's the prototype and I'm carving the remaining 5 to match this one. Lastly, I tried my hand, finally, at tinting epoxy and using it as grout between veneer pieces. This looks pretty cool! It needs a bit more sanding but man is it a different procedure that looks great! I have a feeling that I'm going to go into box production mode soon. That's all for me right now. Thanks for sticking with me and coming back to check out my work! More projects are coming soon. |
AuthorWelcome to WoodProjectsbyBagel! Archives
March 2018
|

 RSS Feed
