|
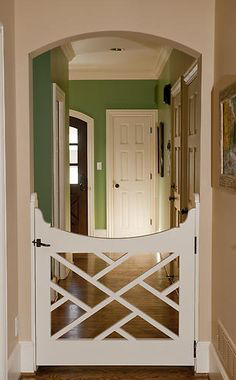
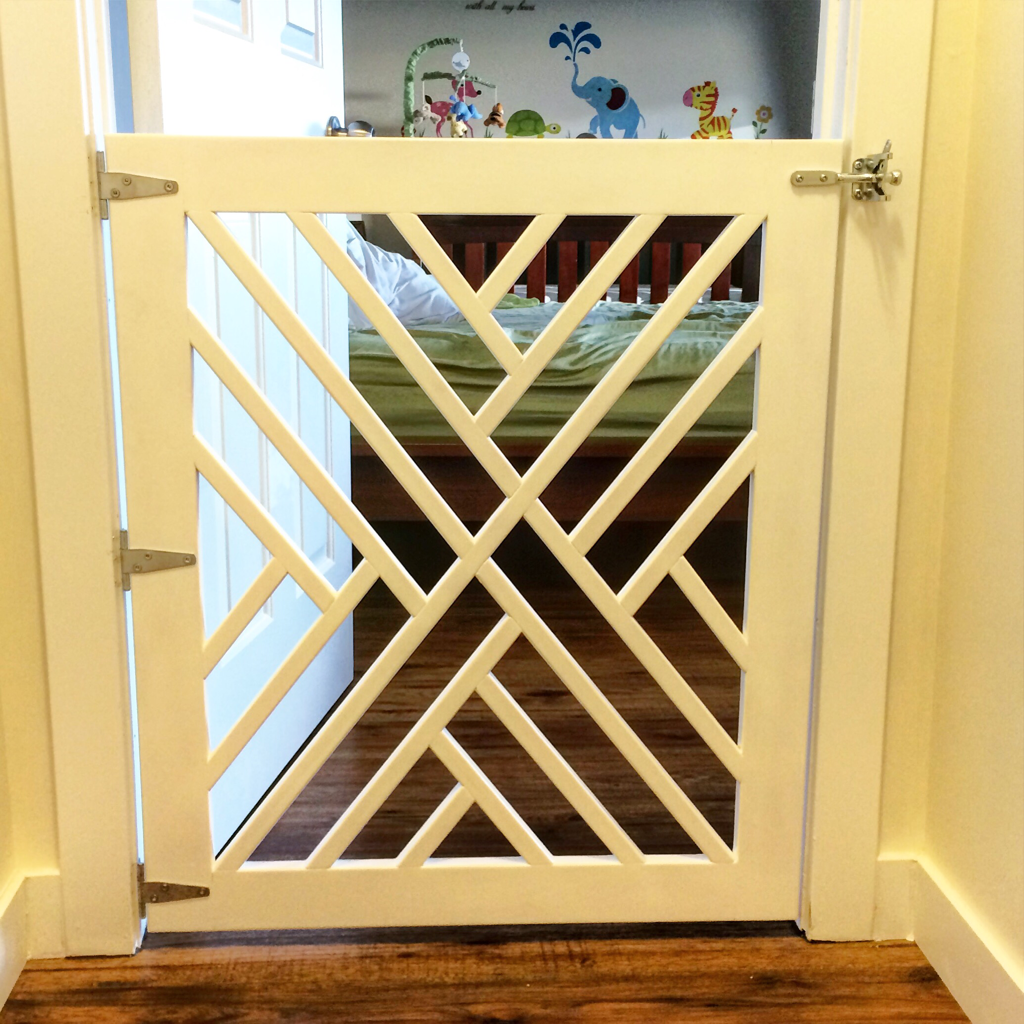
8/2/2016 3 Comments Custom Baby Gate!Hi Everyone! Work continues one with lots of different projects on the go. Last week I was able to finish and install a custom made baby gate for a great family who just had their first child, Rachel! My wife and I are really excited for them. Even better, was that I got to meet little Rachel before my wife!! Haha. The Baby gate I built for them was based on a photo of a similar design but spaced differently than what is needed to meet spacing standards in Canada for gates and railing spacing. The design looks very unique and mathematically, the challenge to get the angles was a little overwhelming until I assembled the frame. I figured I would start by drawing the design in Sketchup digitally. That got to be a bit complicated and I eventually just determined the distance between each railing that would meet deck railing codes. Once I figured that part out, I then laminated the gate material out of Baltic birch plywood. One thing every woodworker can attest to is that one can never have enough clamps! The glue up went fairly straight forward. After clamping overnight, I squared up the laminated plywood on the table saw and cut the frame pieces to a rough size and test the spacing of the rails to see if the spacing would work with the angles. Luckily it looked like it was going to work! After getting a better visual of the angles and making sure I would have enough laminated plywood, the project design looked like it would work great! It would require more angled rails to ensure Rachel's head or limbs wouldn't get caught. I started building the outer frame to the dimensions of the door frame so it would fit. PROTIP measure the actual door frame and subtract 1/2" from the width to ensure the gate will open and close inside the door frame easily. I used floating mortise and tennon joints cut with a Festool Domino to assemble the frame. This wood joinery method is super slick! And the joint is really strong while remaining hidden. I glued them together and used a band clamp to apply pressure to keep the corners together while the glue dried. Then the fun with angles began! The glue up of the rails went fairly straight forward using a spacer block clamped to the first rails installed and making pencil marks where the angles needed to be cut. I then figured out the angle using an angle finder and matched it up in my mitre saw and cut each rail to fit. I then glued and pin nailed each rail in place. The frame was super rigid and stable once all the rails were installed. To finish the gate, I used a fair heavy base coat of a gloss primer paint and then spray painted the gate front and back with Krylon matte white spray paint. 3 coats! And the finished gate product looks amazing! I mounted the hinges and prepared the gate for installation. I used a gate hinge latch to allow the gate to open and close really easily. Once installed, the gate worked out perfectly and more importantly the new parents of Rachel were really happy with it! Congratulations Dave and Michelle on your new addition to your family! My wife and I are really excited for you both to enjoy this next exciting chapter in your lives. To everyone else, thanks for checking out my work and clicking an ad or two. It really does go a long way to help me keep this site running! More projects are being finished and delivered! Posts are coming soon to follow!
3 Comments
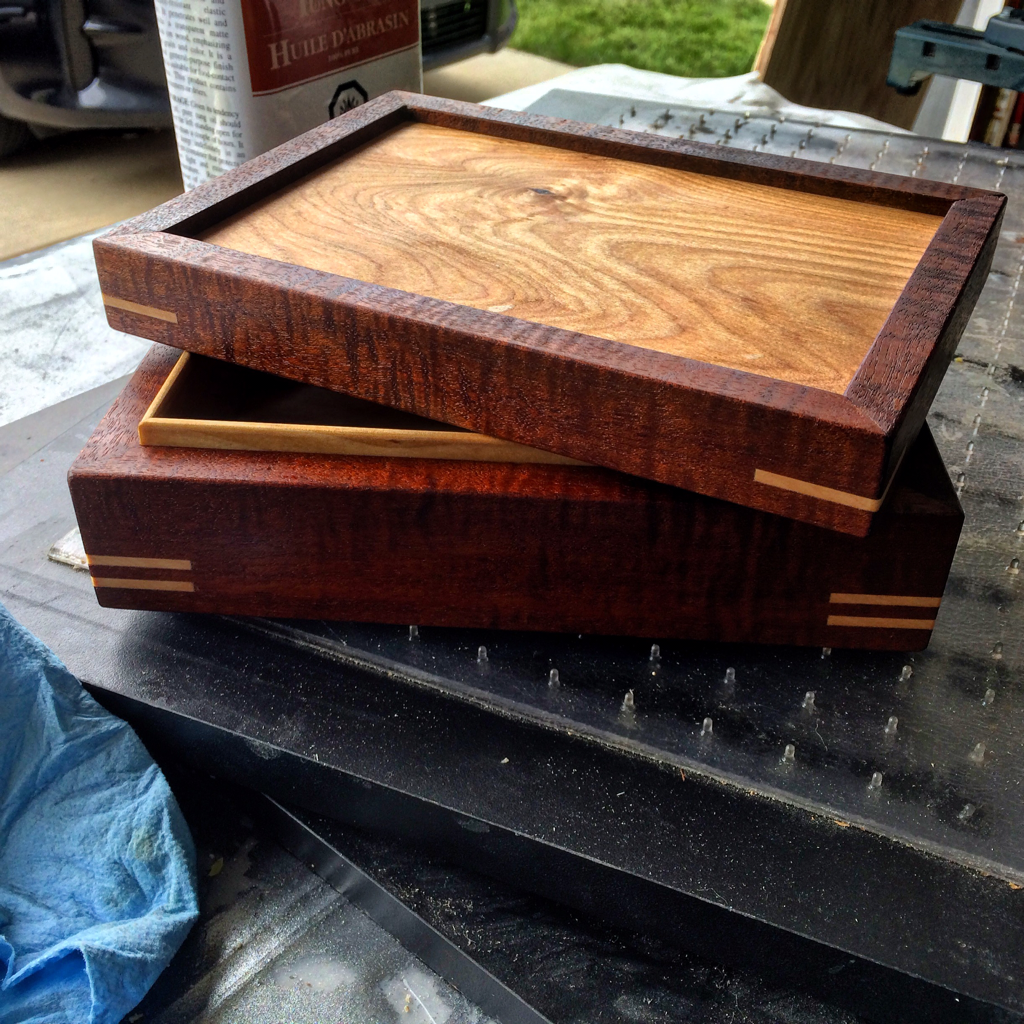
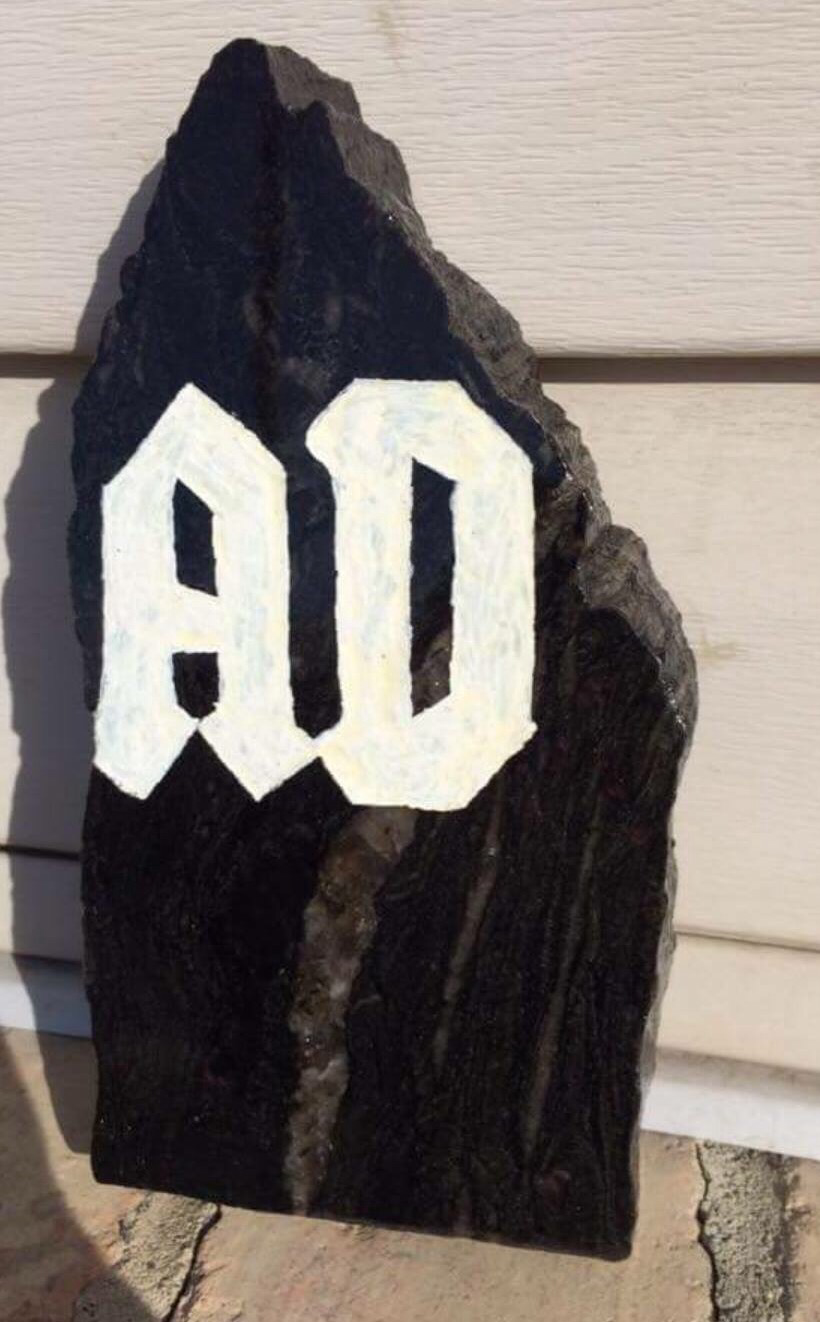
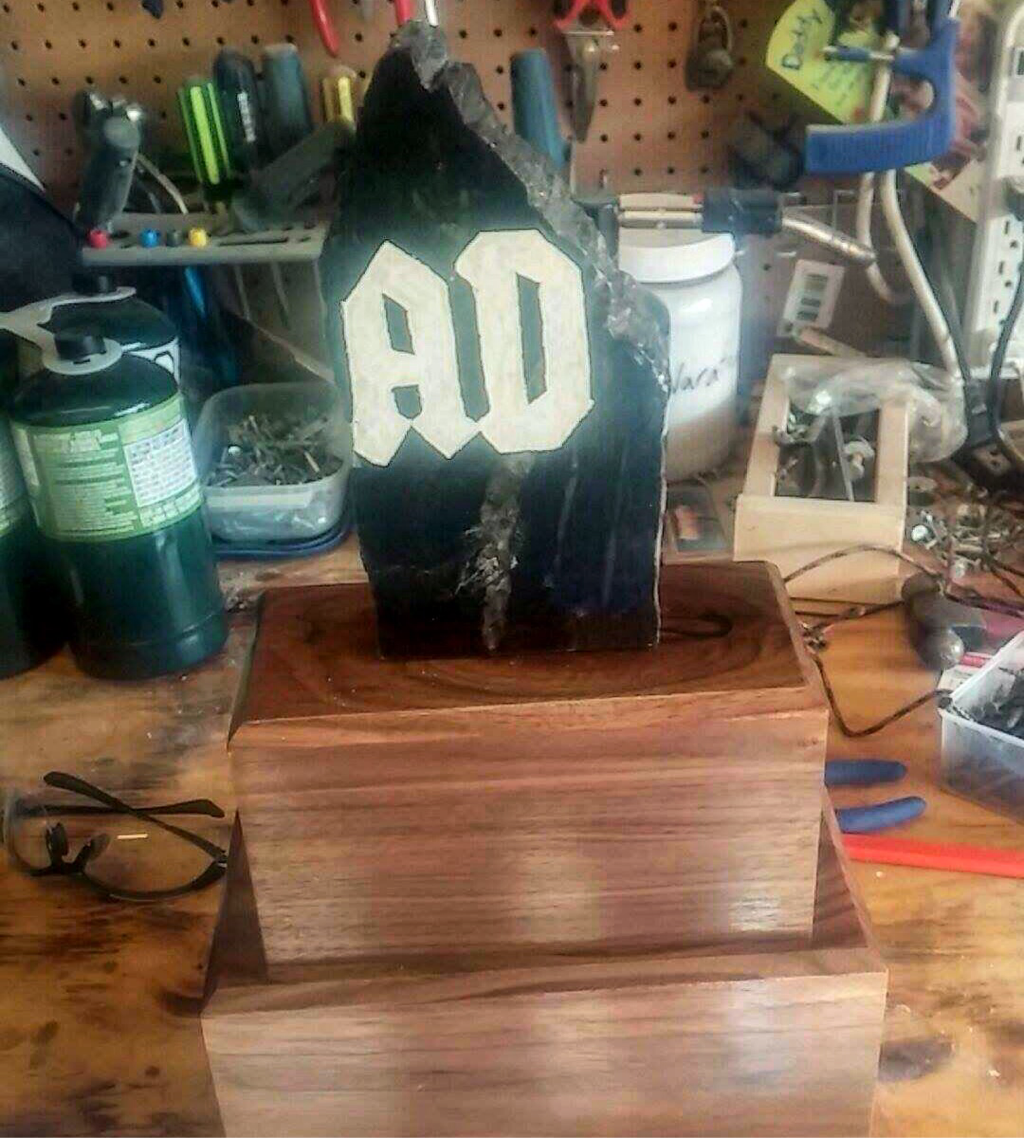
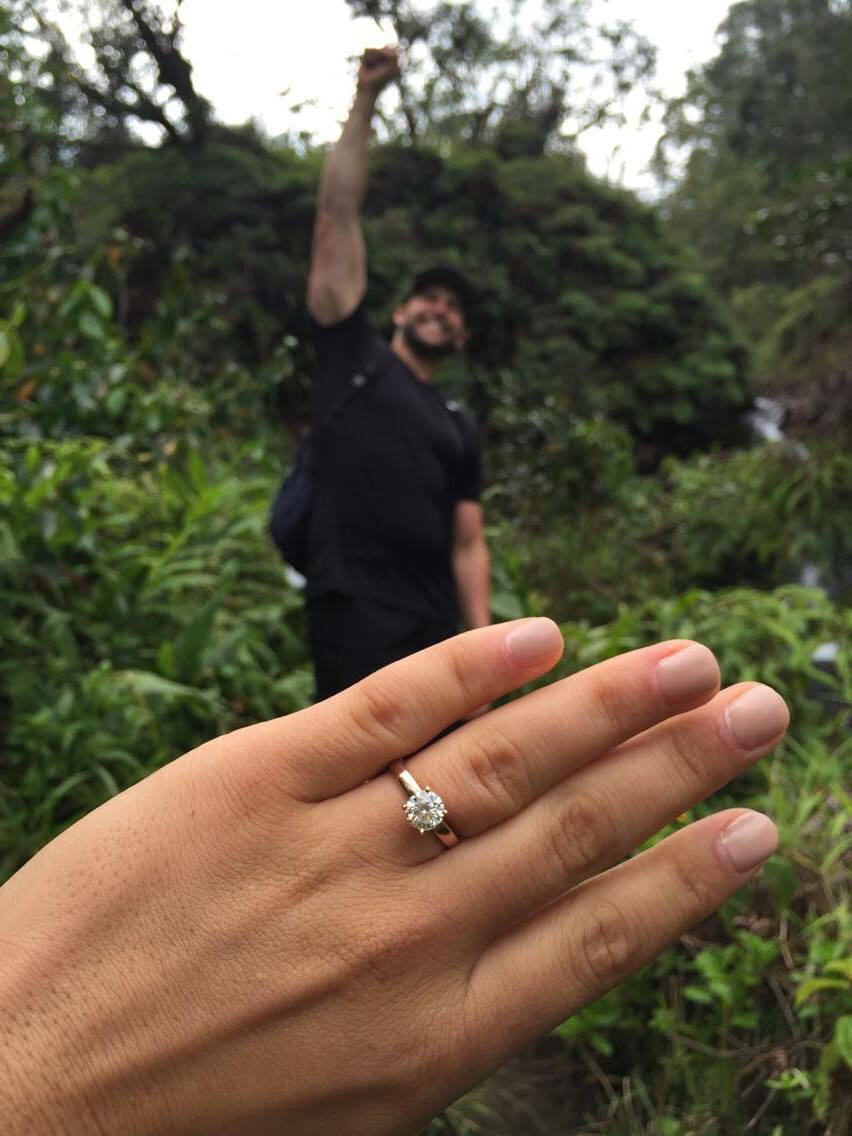
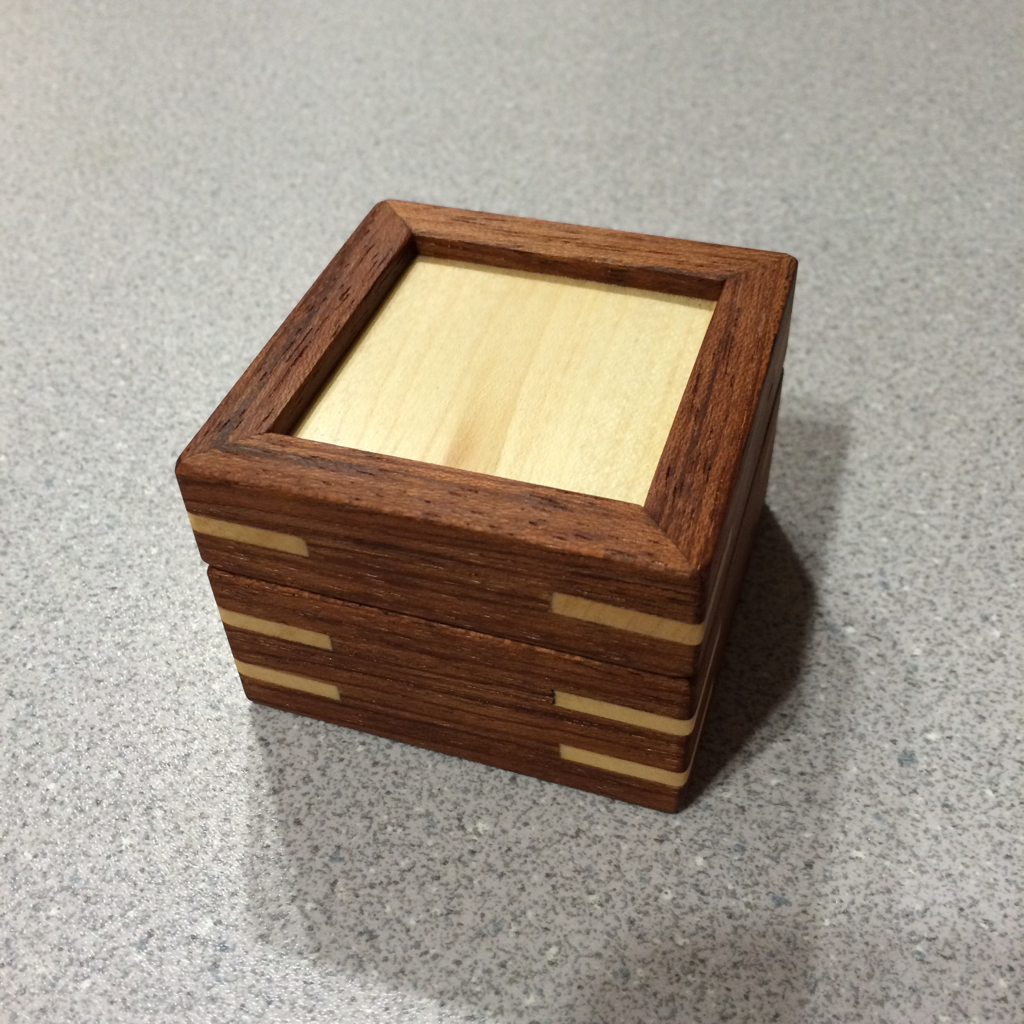
7/19/2016 0 Comments Birthday Box for my mom!Hi everyone, Audrey is growing like crazy and we have had some issues with ear infections since January.. She's had 8 to be exact. For my wife and I, balancing work and trying to ensure Audrey is happy and healthy has been a challenge at certain points. My mom has been able to drop everything she's doing and come to take care of Audrey while my wife and I attended to some things we couldn't reschedule. We are very lucky she was able to come and help us get Audrey over her ear infection and on the road to recovery. To to thank my mom and give her a more special one of a kind gift, I built her a keepsake/jewelery box out of sapele and birch hardwood I had in my shop. I milled the stock in March and cut the miters using my small miter/crosscut sled and taped the corners together to test the squareness with great results. I then put the project aside for awhile as other things with work and coaching sports came up. Fast forward to June and the box, still taped together, stayed square the entire time with no visible movement in the grain what so ever! This is one of the reasons I really like working with sapele. It's a well behaved wood with exceptional grain patterns. I cut dados in the top and bottom of the box sides for the lid and base panels. I began thinking of a good contrasting wood that will accentuate the grain pattern of the sapele. I was looking through my veneer pieces and came across a great piece of birch veneer that I decided to go with. The veneer process went really well but for some reason I lost my photos of that process. If you go back through to a few other boxes I've made you'll see that procedure. I glued the box mitres with the top and bottom birch veneered panels in it and let it dry overnight. Then, the splines were laid out and cut into the corners. I found an old piece of birch sitting in my shop that worked for the splines and the birch liner to allow the box lid to open and close. After some sanding through the grits up to 320 grit, the grain pattern of the sapele really stood out with tiger stripes the went across the grain vertically. An awesome surprise to see! After mineral spirits dried, I finished the box with two coats of tung oil which really made the grain pop! Here's a quick video of the wood as the Tung Oil is being applied. I suppose this would be a good time to have you check out my instagram page! I love the way this box turned out and I hope you do to. Happy Birthday Mom! Thanks for all of your help and support. My wife and I really do appreciate you and hope this box is a reminder of our appreciation. Love you. Thanks for for checking out my work! Audrey is going to be just fine. We've been told she will have tubes put into her ears this fall. Hopefully no more infections!! 7/6/2016 0 Comments Learning to carve!Hi Everyone! I went camping last weekend for my wife's family reunion in a cool place called Kootenay plains near to the North Saskatchewan River Crossing just outside of Banff national park. The place is frequented with campers and is pretty much the last place I've been that still does not have cellular connectivity or any other utilities in that area. This was a great opportunity to experiment with wood carving chisels and some Basswood! Basswood is an interesting species because of its resistance to tear out when you carve across the grain or change directions with your carving path mid cut. So long as your chisels are sharp, the wood handles newbies and experienced carvers remarkably well with positive results. Check out my carvings from camping this past July long weekend! I carved two patterns, one of a tree image that I found online and adapted to suit my caving interest and of course, Darth Vader! Both carvings turned out really well and tested my skills using chisels that I first had to figure out how to sharpen. I found an old set of Marples chisels that had been sitting in my shop at work that badly needed some TLC. Once I ground the edges and honed them following the angle of the cut as best I could, I stropped them with my leather strop which made them exceptionally sharp! Then cutting the profile and hogging out material went pretty smoothly! More projects work is coming! Thanks for continuing to check out my work and support me by clicking on an ad or two. It goes a long way and I really appreciate the support! HAPPY BELATED CANADA DAY! And of course, to my American followers, I hope you had a safe and productive Independence Day! 6/24/2016 0 Comments Still here!!Hi everyone! i've had to take a little hiatus from projects for a little while but I'm back and still building away! Here's some bottle openers I made awhile back for the Vintage Soda company in Aidrie! These openers are solid maple with magnets very similar to my inlaid magnetic bottle opened but I transferred vintage pop logos for the diehard pop fans! I really like the way these ones turned out and they made great unique gifts for Father's Day this year. Vintage Soda is an awesome company run by a great husband and wife duo! Go check them out if you get the chance in Airdrie! More projects are coming! Thanks for sticking with me! I'll have project plans available soon. I'm not sure how my web service provider will like that idea but there no better way than trying that part out! Take care everyone! See you in the next post! 5/16/2016 0 Comments Back! With a Trophy StandHi Everyone! It's been a long while since I've been able to post and I've come with a cool project I just finished this past weekend. I'm super busy at work and am coaching rugby so time with the family is important but I am endeavoring to get caught up and show you the cool stuff I have been up to! I belong to a group of super cool dudes called Aidrie Dad's or AD for short. Every year a few of them get together and organize a golf tournament designed to raise funds for our local charities. I'll like to the YouTube video at the end of this post so you can learn more about the cause. They em were looking for a trophy to be made and one really awesome dude etched a decorative rock face with the AD logo on it then a call was put out for anyone who could build a base for it so they can put names of winners on it and just make the whole trophy look awesome... The rock looks wicked and I think the base is a close second. So the base I volunteered to make for the trophy as I had some walnut plywood scraps hanging around my shop that would work great for this project and give me a chance to try out some different tool techniques as well. Below are some photos of the build process. I was given some dimension ideas from another AD in the group and decided to go with two tiered mitered boxes out of the walnut plywood. I cut the mitres and then got an opportunity to try out a festool domino to install mortise and loose tennons in the mitres to hide the joinery. I have to say, that tool makes mortise and tenons so fast and is really easy to set up once you learn how it works! The domino is very similar in concept to a biscuit joiner but allows for much more solid joinery that will expand and contract through the seasons but keep the pieces joined together perfectly aligned. Totally delightful experience using this tool. In in the top panels of the trophy boxes, i resawed some 8/4 walnut to give a similar style in both tiers. I used epoxy and black paint pigment to stabilize the knot in the very top area which turned out really awesome! After sanding and cleaning the surfaces with mineral spirits, 4 coats of shellac were applied to give the base a thick, smooth protective finish just as a trophy should have I'd say! Below is the finished trophy! This was a really cool project. I love the mission of the Airdrie Dad's and am glad to be part of the gang! Thanks for checking out my work! I have lots more to come! Here's the promo video about the golf tournament: 4/4/2016 0 Comments Still Keeping on!Hey Everyone, posts have been scarce but there is so much in the works that I wanted to make sure you guys know I'm still making projects and building like crazy! Below are some photos and I will be posting articles and NEW project plans for sale in the near future!! I hope you all are doing great! Thanks for following my work! Follow me on Instagram for regular updates and to see what I'm up to! 3/5/2016 0 Comments Maple Step StoolHi Everyone! Things have been busy but here's another project I made for an awesome customer! I was approached to build a small step stool for her son to allow him to reach the sink and wash wash up more independently as he grows. The step stool I made out of solid maple boards and is about 17" wide and 10-12" tall. It's smaller so it can fit in the customers bathroom without taking up too much space. I used biscuit joints to laminate the stool sides together and used solid pieces that I had at home waiting to be used in a project like this. Overall the construction process was simple but took awhile to get the maple down to an appropriate thickness and to really showcase the woodgrain of the maple well. I added some hardwood plugs to inlay the steps which I think turned out really awesome! I think if I were to rebuild this piece, I would have added a few more hardwood plugs at varying diameters. I love this one though because it's sleek and simple. I used pocket hole joinery to fasten the appropriate pieces together and to reinforce each joint, I used epoxy to make this stool really strong. After extensive sanding to 220 grit, I finished the stool with child/food safe tung oil as it really showcases the wood grain while making a smooth, durable finish that isn't full of luster. I am proud of this stool and my wife asked me to build something like this for our daughter who is moving around like crazy! Thanks for checking out my work and for taking a minute or two clicking on an ad to help me keep this site going! More project work to come and I'll be posting some project plans here soon! 2/20/2016 0 Comments Chevrons and Arrows!Hi Everyone! January and February have been whirlwinds! Regular work has been crazy busy, my family and I have fallen to the really bad stomach flu that's been going around, but I have been able to get some project work finished with multiple new ones started!! Here's a project I did for a former coworker who is expecting her second child and wanted to decorate the nursery with some chevron pattern pieces and rustic arrows. Check out the photos! These pieces turned out exceptionally well and really do add to the decor in the nursery! I cut the arrows on the bandsaw and used the mitre saw to cut the chevrons. Each piece was made of project pine that was aged using my aging elixir mix and then painted/stained and distressed using sandpaper to wear through the paint. I'm really happy with the way these projects turned out and I'm even more excited for Laura & Brad's newest addition to their family! Congratulations guys!! Thanks everyone for checking out my work! I have some big projects coming up soon and will write posts for the others that I'm very near to being finished soon! 2/15/2016 0 Comments Wedding Box Update!!The customer who ordered this wedding ring box from me popped the question and she said "YES!!" Congratulations Adam & Sydney!! Super happy for you both! More projects are coming! Be sure to follow me on Instagram to stay more frequently updated! 1/30/2016 0 Comments Projects are coming!Hey Everyone! Projects are coming along very well. I'll have some more posts coming up soon. Things have been really crazy at work these last couple of weeks. Thanks for checking out my work though! Very much appreciated! If you could be so kind as to spend a minute or two clicking on some of the ad links on my site, it would definitely help to keep my site running! I hope 2016 has been treating you well so far! Thanks for the orders, referrals, kind words and encouragement! I've got lots of ideas coming up to implement here soon!! |
AuthorWelcome to WoodProjectsbyBagel! Archives
March 2018
|

 RSS Feed
