
|
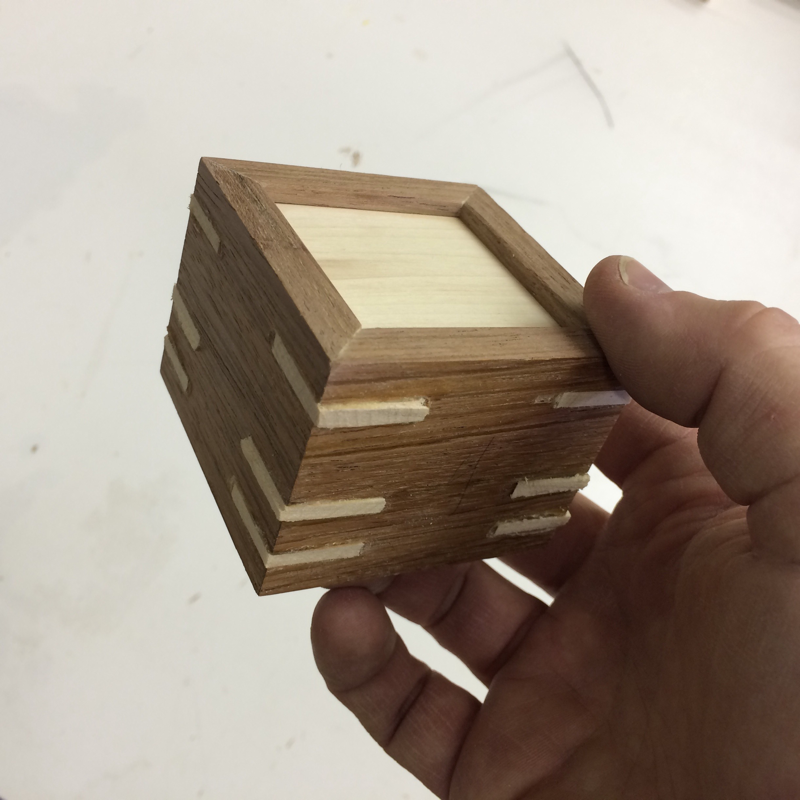
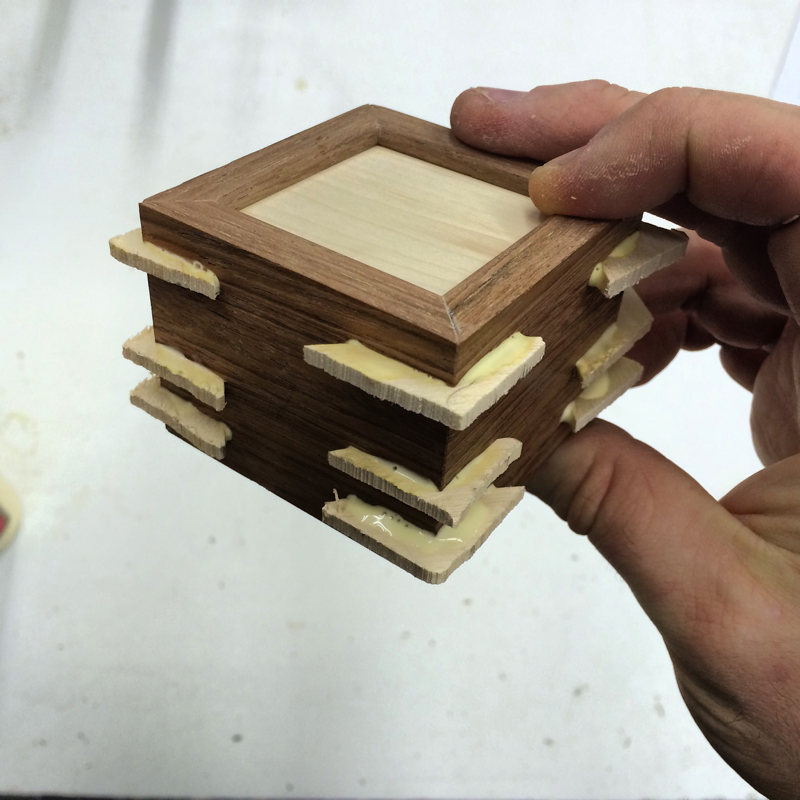
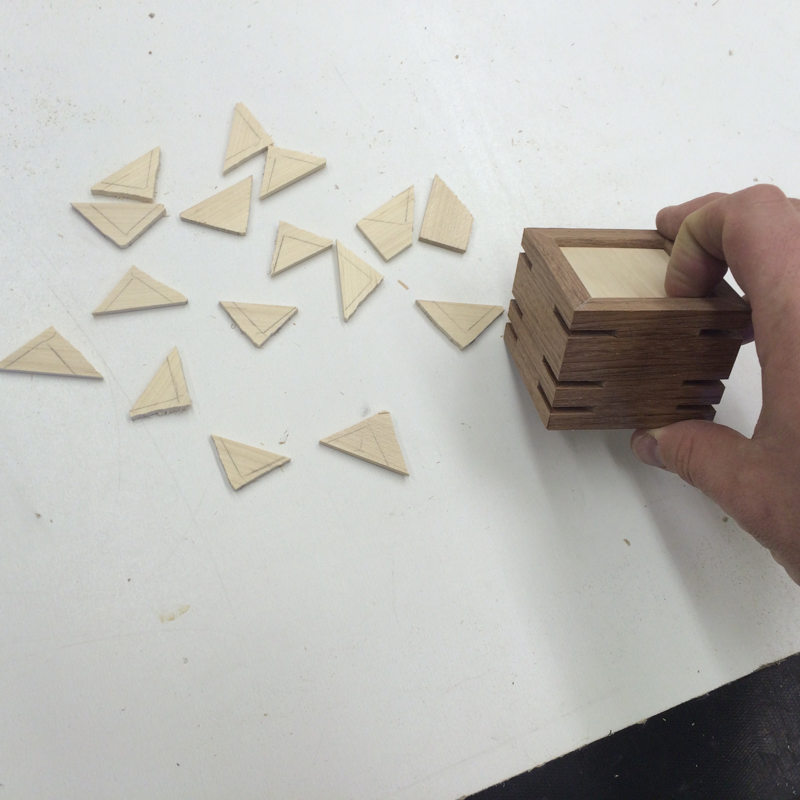
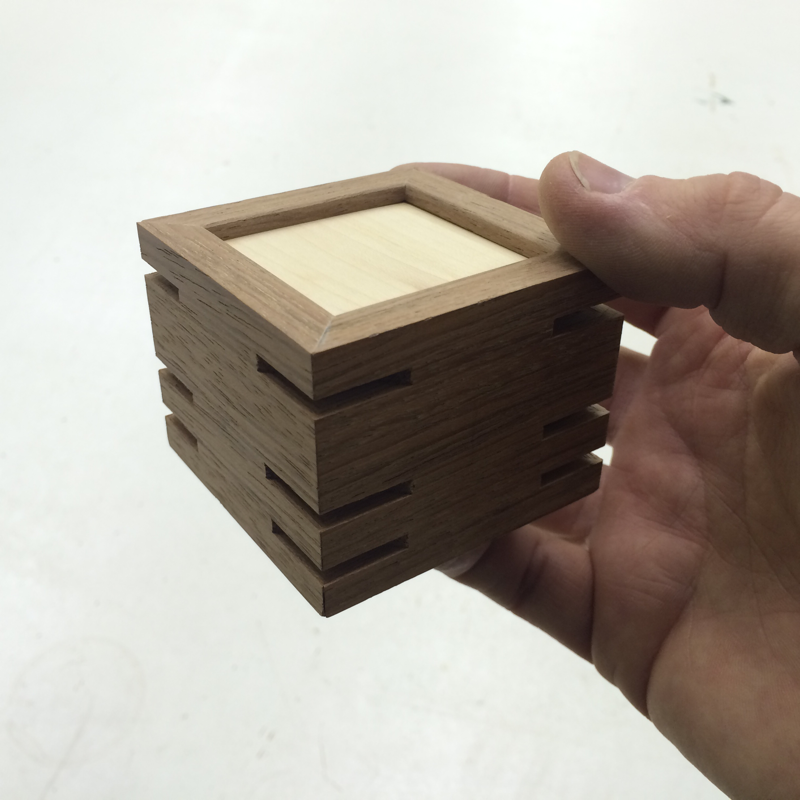
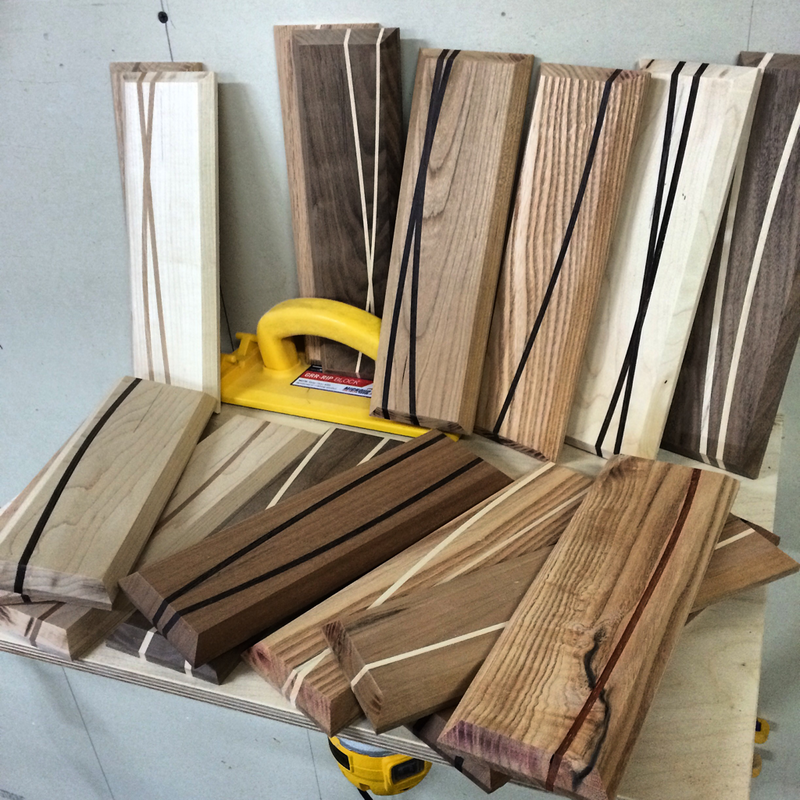
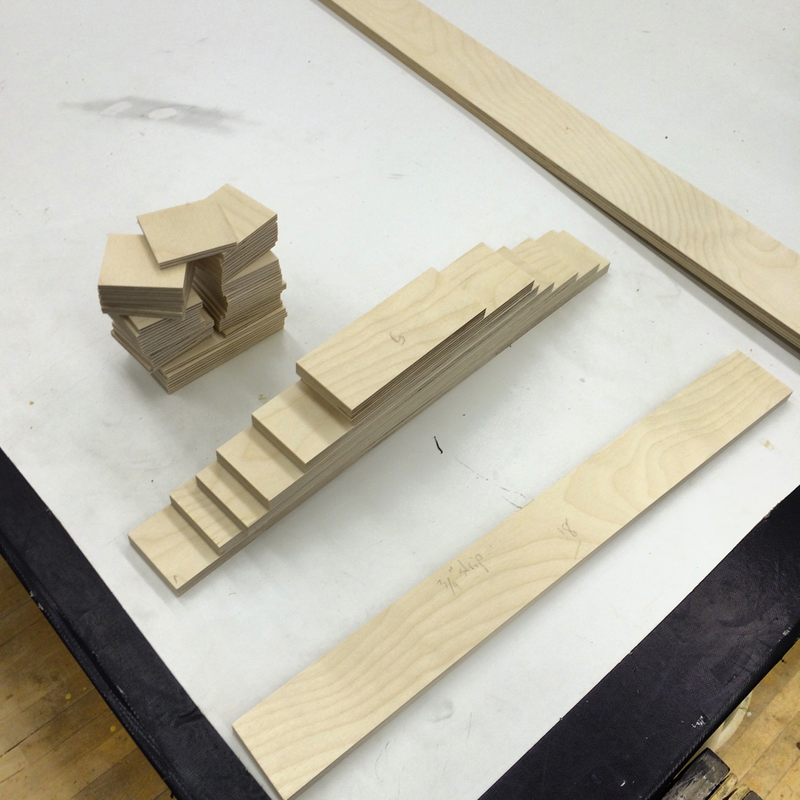
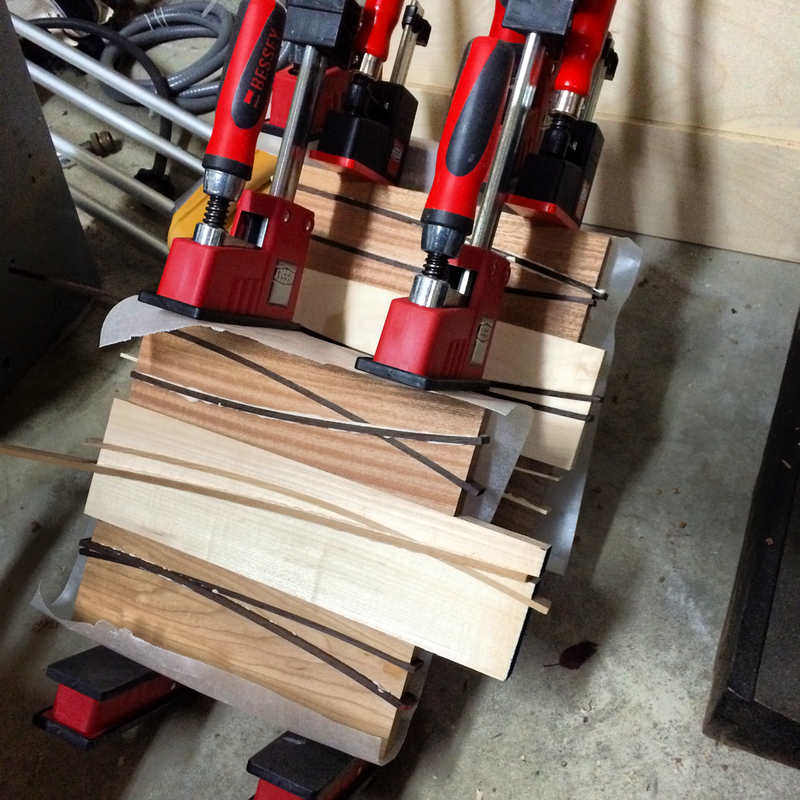
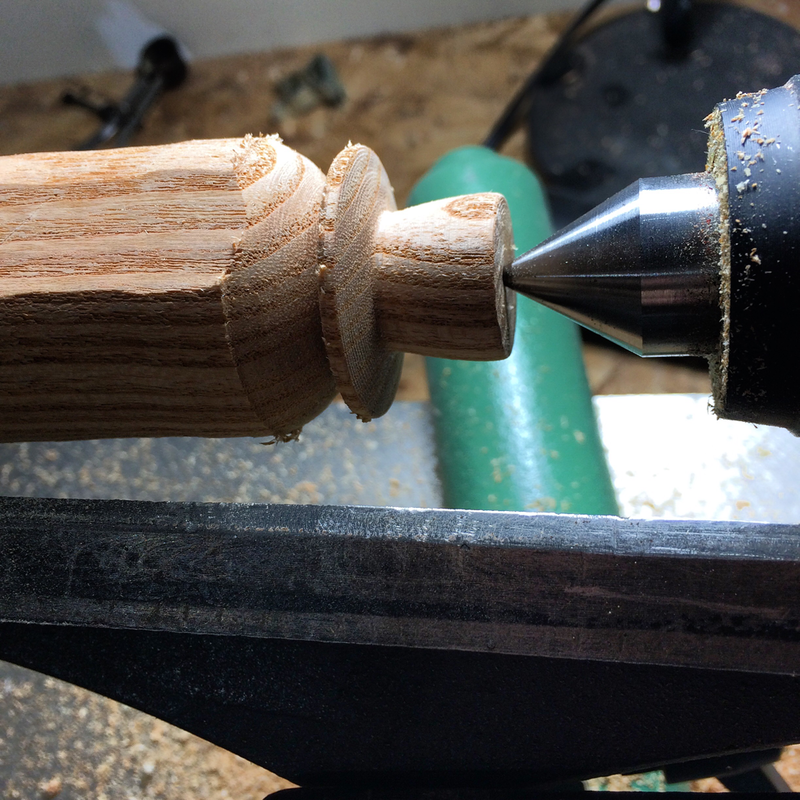
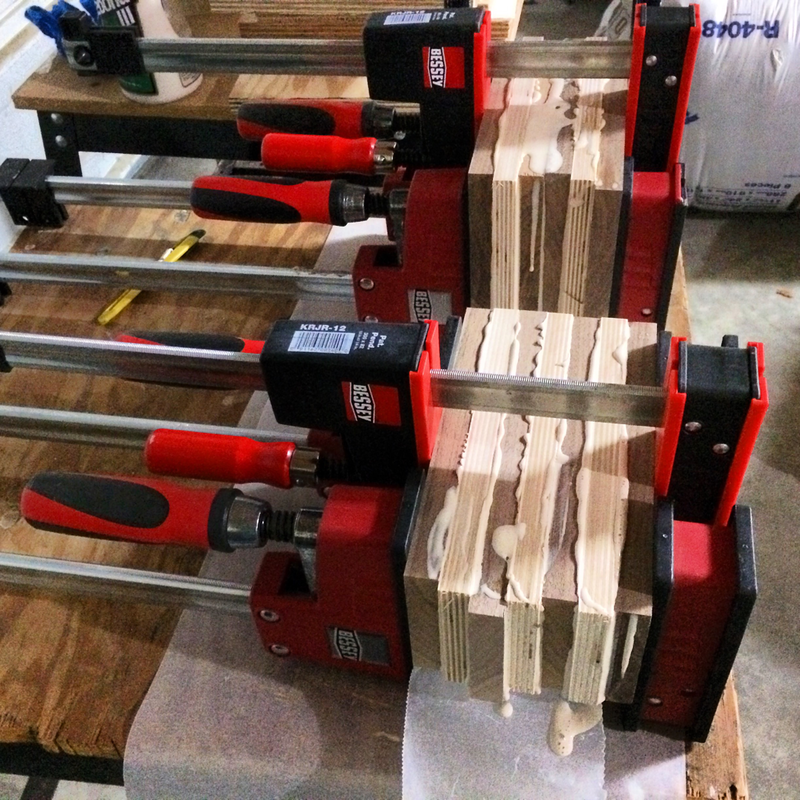
1/16/2016 0 Comments Engagement Ring Box!Hi Everyone, I was commissioned to do my first ever Instagram order from a customer in Iowa, USA! Adam, the customer loved the design of a box that I built and donated to a charity auction in December of last year. He contacted me through Instagram to build him a versions of the same box sized for him to propose to his girlfriend! Of course I jumped at the chance to build this project for him!! This box is built out of Ipe Hardwood with maple top and bottom panels and splines. This box is about as small as I can do safely as I would rather not donate my finger tips to the table saw. I used a mitre jig to cut the corners of the box which worked out really well. 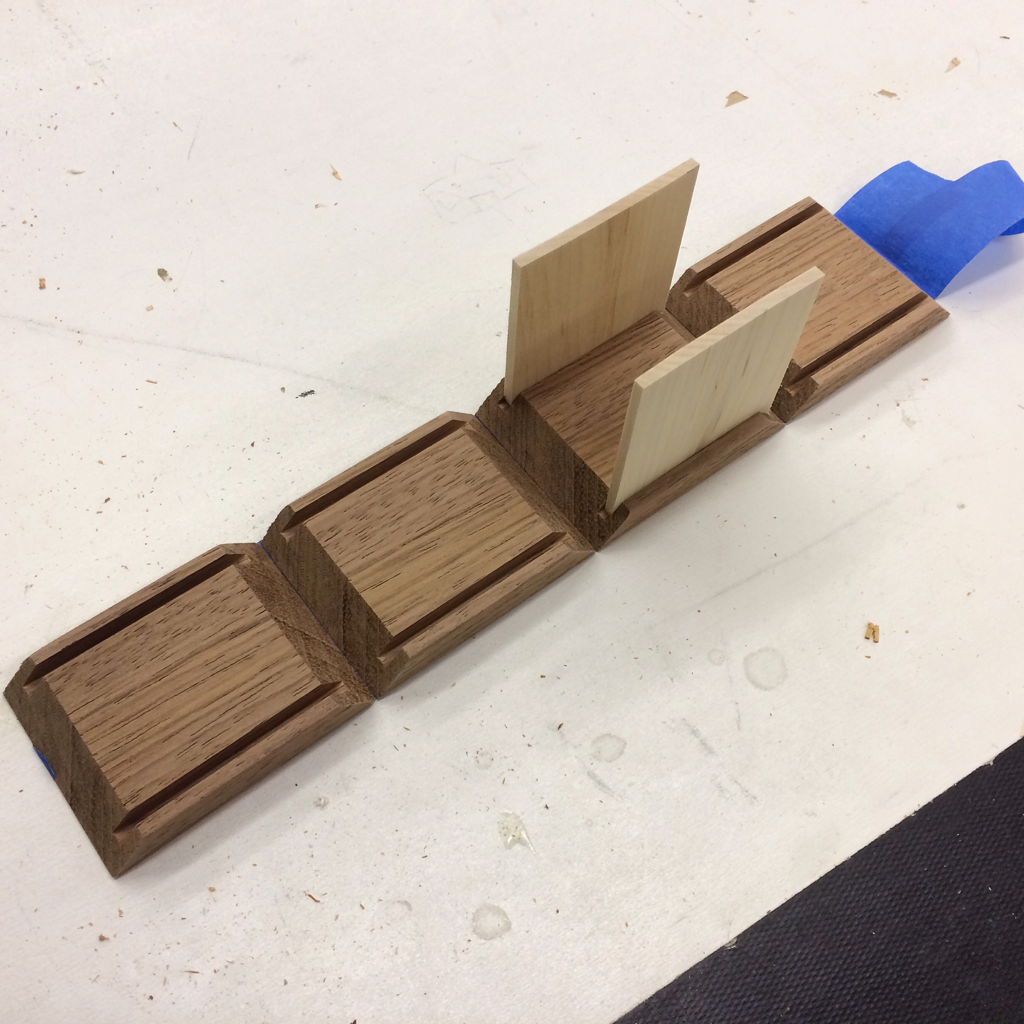 A really great tip to use to glue the mitred corners together and keep each corner square is to use tape. The tape will allow you to align the box sides together and keep the surfaces tight while the glue dries. 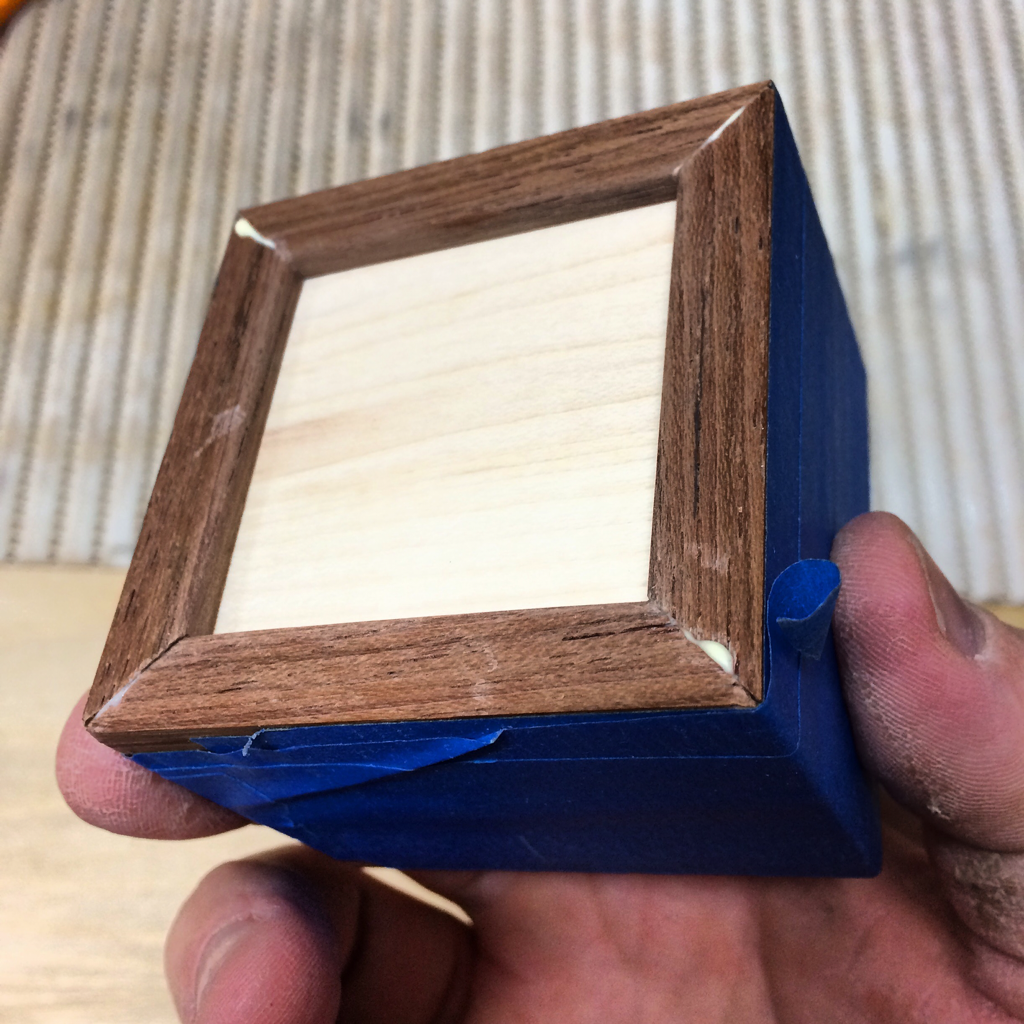 You don't apply glue into the dados for the top and bottom panels as they should be able to expand and contract with changing moisture conditions. Mitre joints by themselves are really weak joints so they need reinforcement to be able to last. There are a few ways to do this but recently my favorite process is using spline cuts in each of the corners once the glue is dry. I use a spline jig that I built to cut a slot in each corner in a few areas to then glue the spline keys (the little triangle pieces of maple) in each of the slots. The keys will expand the glued surface area and really reinforces the mitered corners to prevent cracking due to moisture and temperature changes. Glue is quite possibly the best invention in woodworking ever! 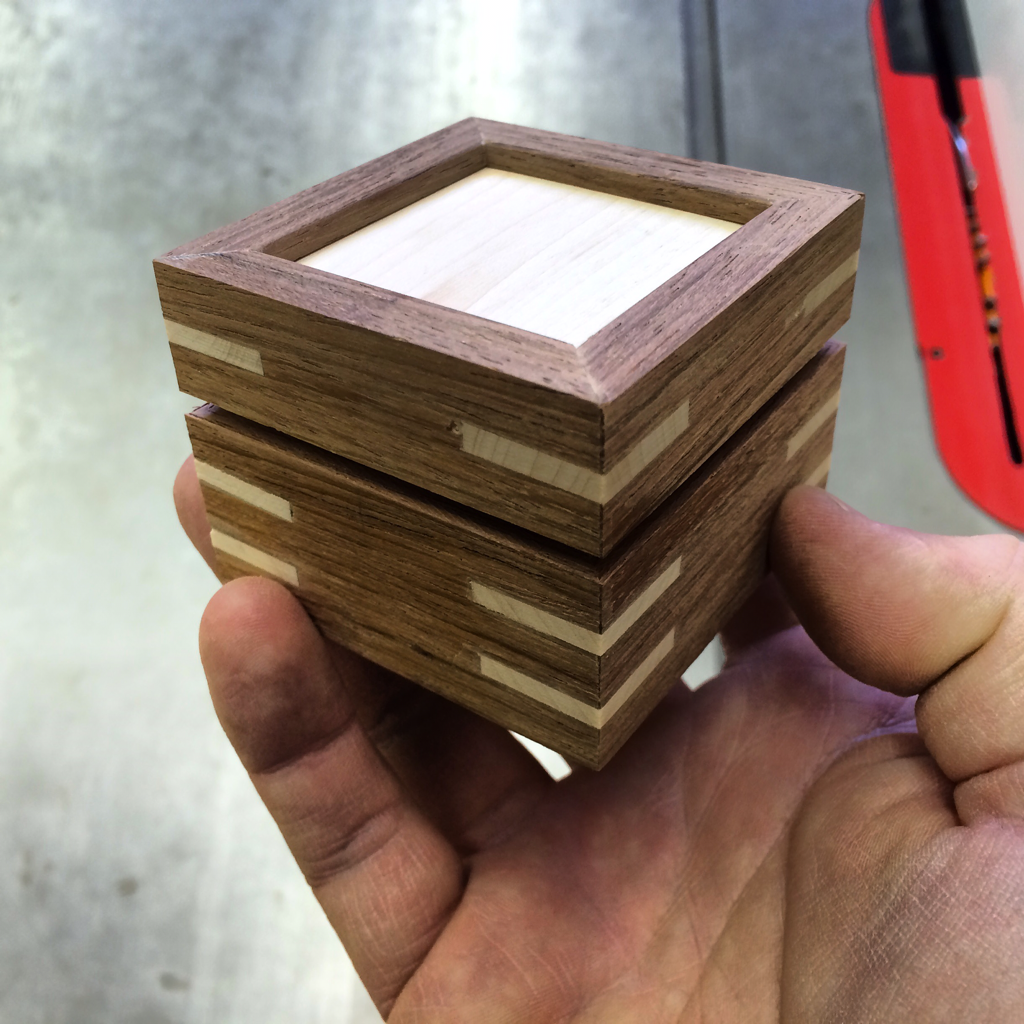 once I decided where to cut the lid off, I made a scoring cut around 1/16" short of cutting through the walls all the way around the perimeter of the box. Then I used an exacto knife to score the remaining material and cut the lid off of the box. I used sand paper to smooth the rough edges left by the knife. 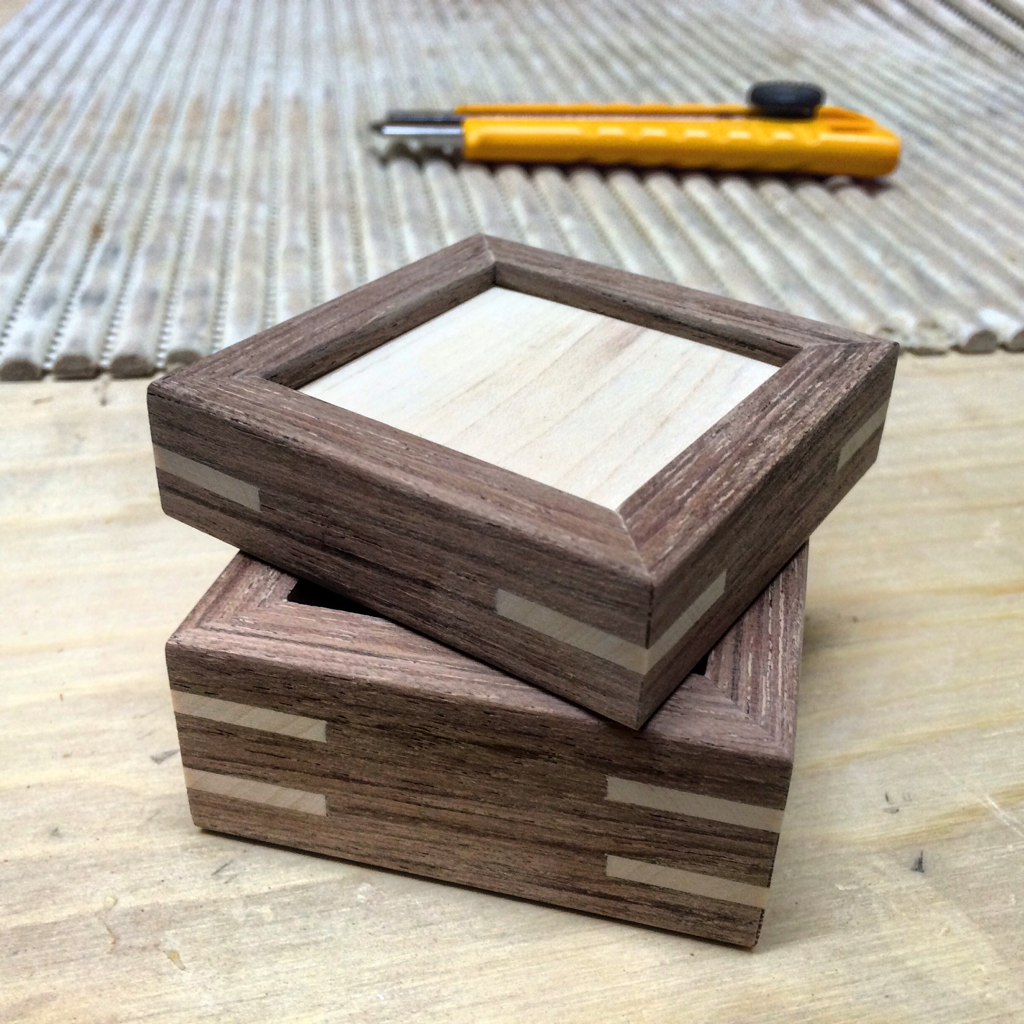 Next up was the box liner on the inside to allow the lid to fasten to the base without hinges! 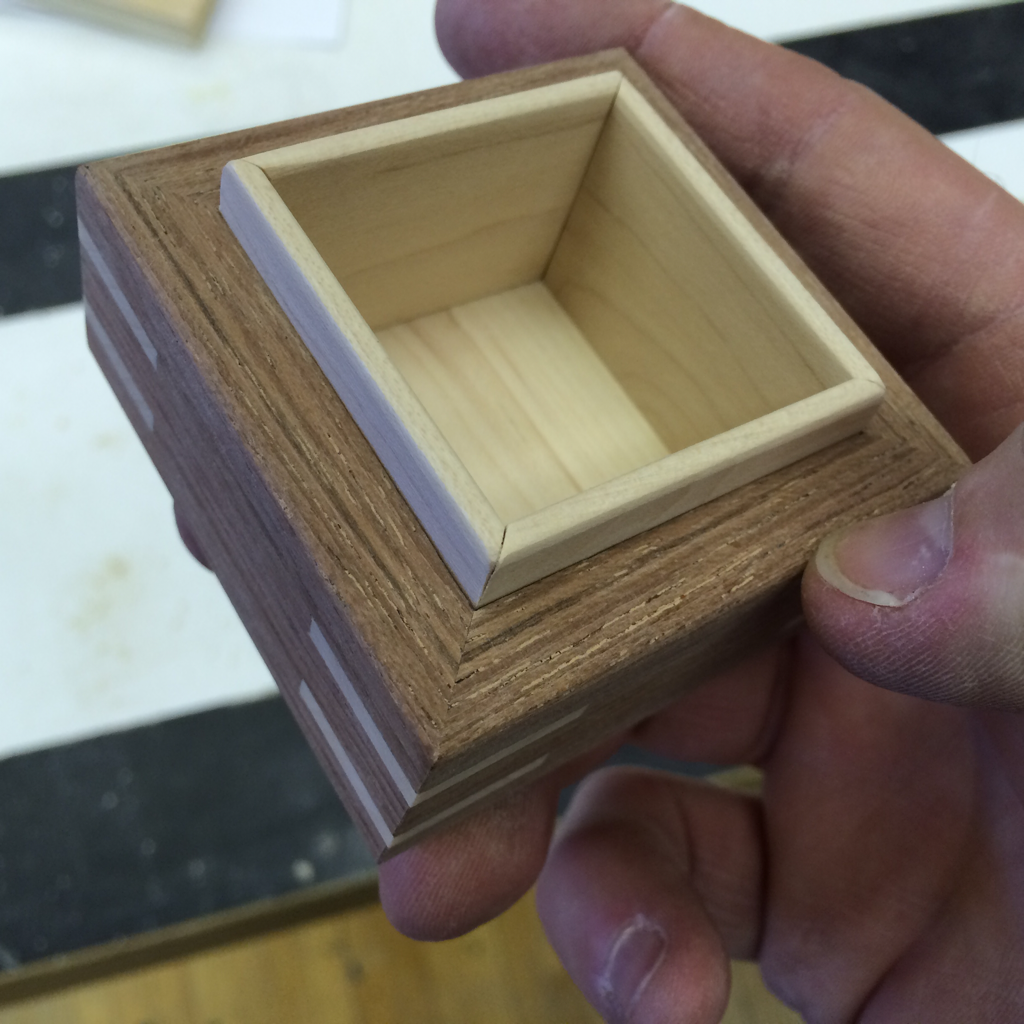 I cut pieces of the maple box liner and sanded the corners to make the mitres. It took a little while to sand them to fit properly but in the end it worked out great! The lid fits snugly and works great! For the lid, I cut a piece of maple veneer to make a contoured top and to cover up my logo. The customer wanted the piece to be removable so friends could see who made it after proposing. I really like that detail and even though the box is beautiful, I don't suspect the beauty of the ring he's going to put in there will diminish what-so-ever! Below are images of the finished product! I used Tung oil for the finish on this box as it dries to a hardened matte finish and doesn't take long to dry! 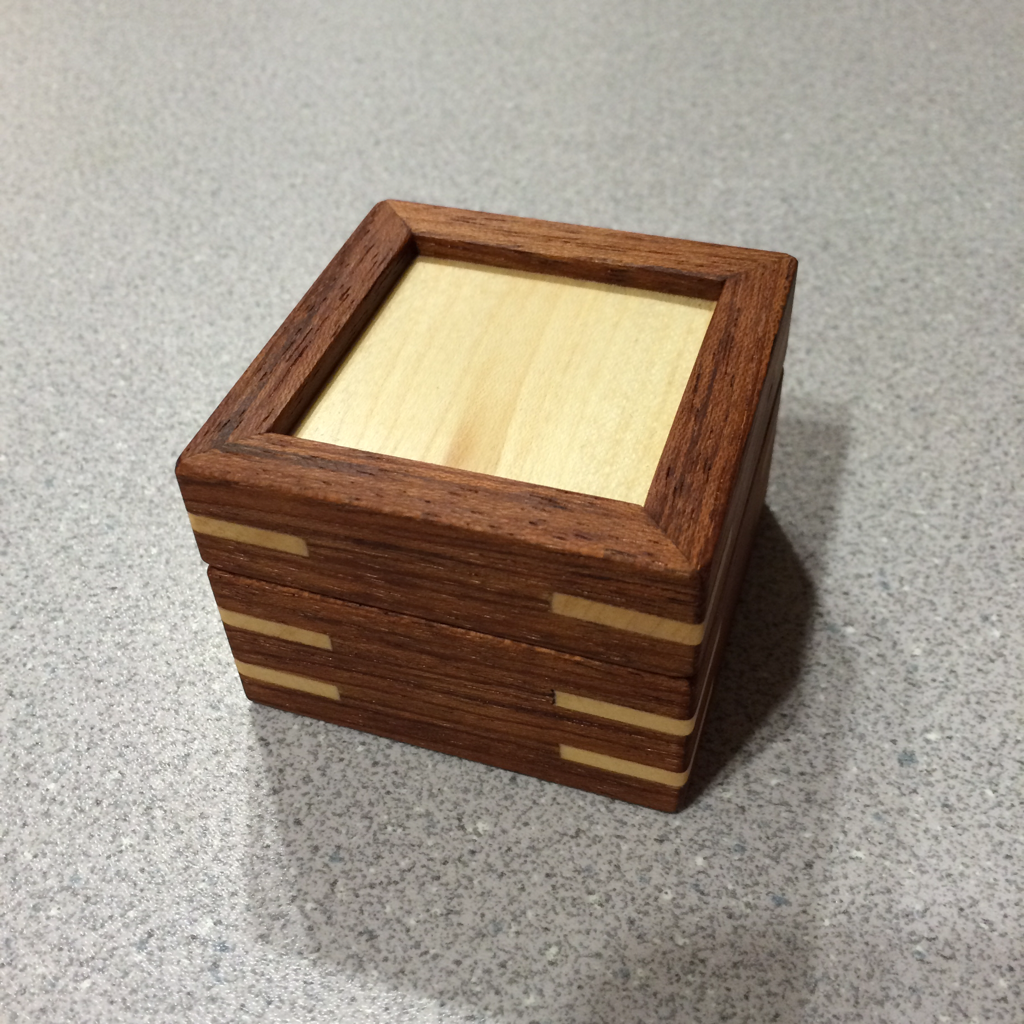 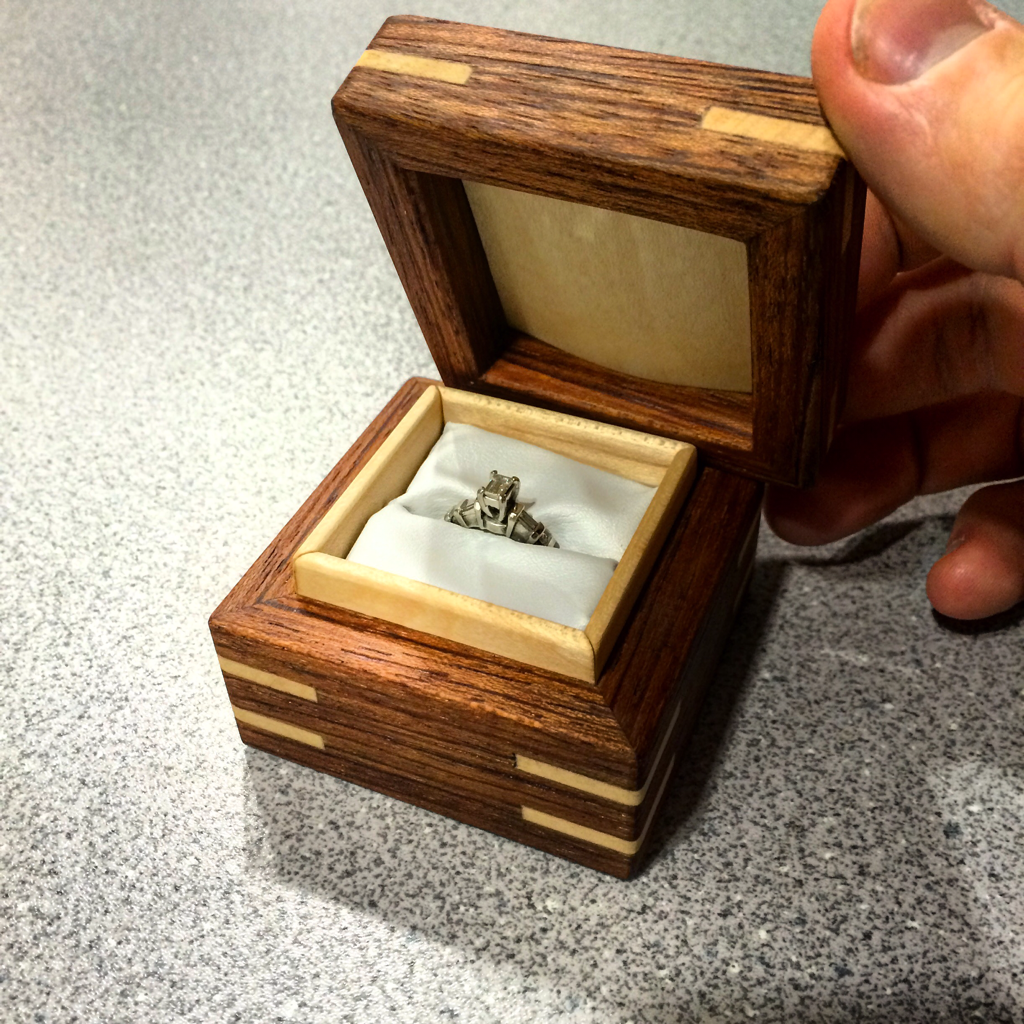 My wife graciously donated her ring for the photo to check and make sure everything fit properly. What's even better is upon doing this, she said she would marry me again! Even after 5 years! Sweet! January is starting off fairly romantic I would say and I'm really excited for Adam and his Girlfriend to get hitched in the near future. Good luck Adam! Thanks to everyone else for checking out ny work! More projects are coming soon! Stay frosted and/or check out my project progress on Instagram @woodprojectsbybagel.
0 Comments
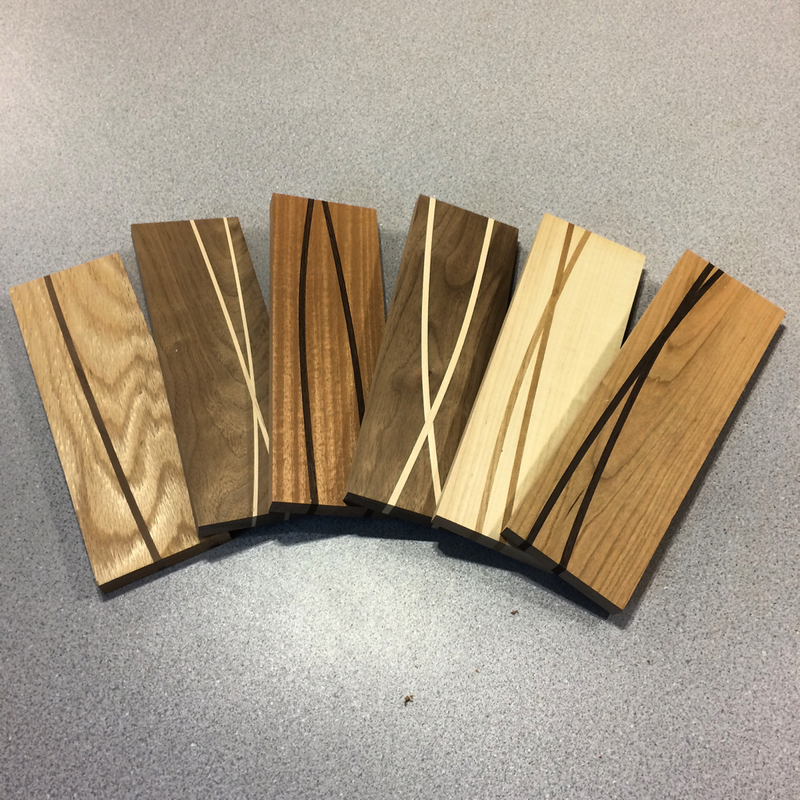
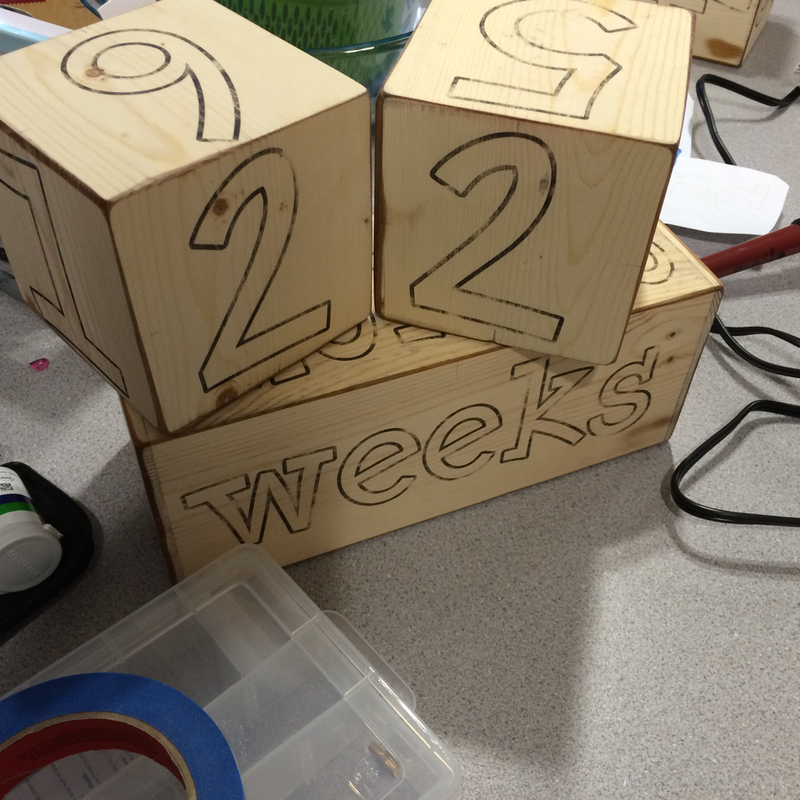
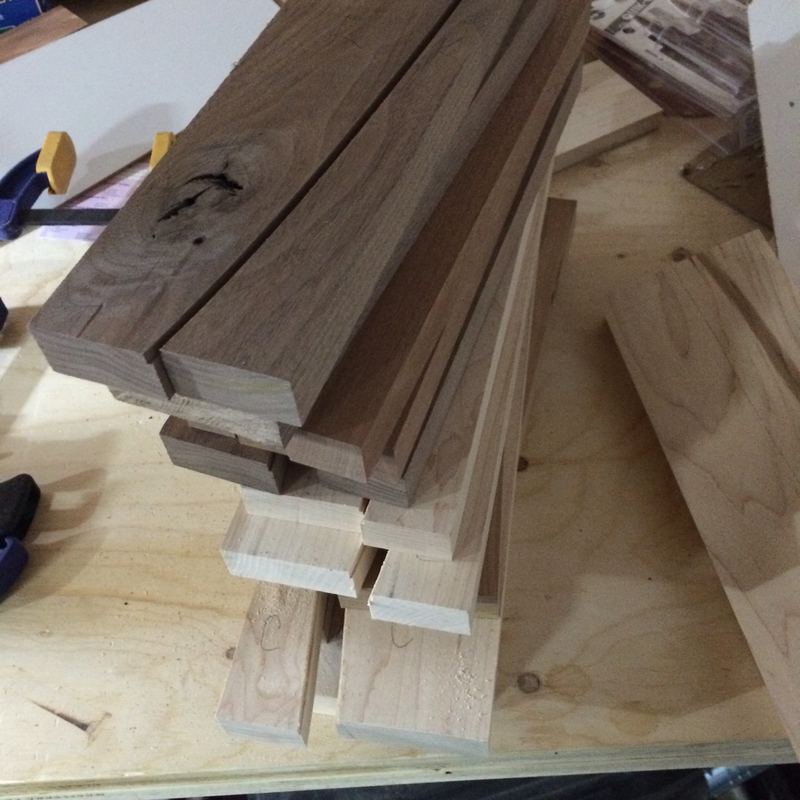
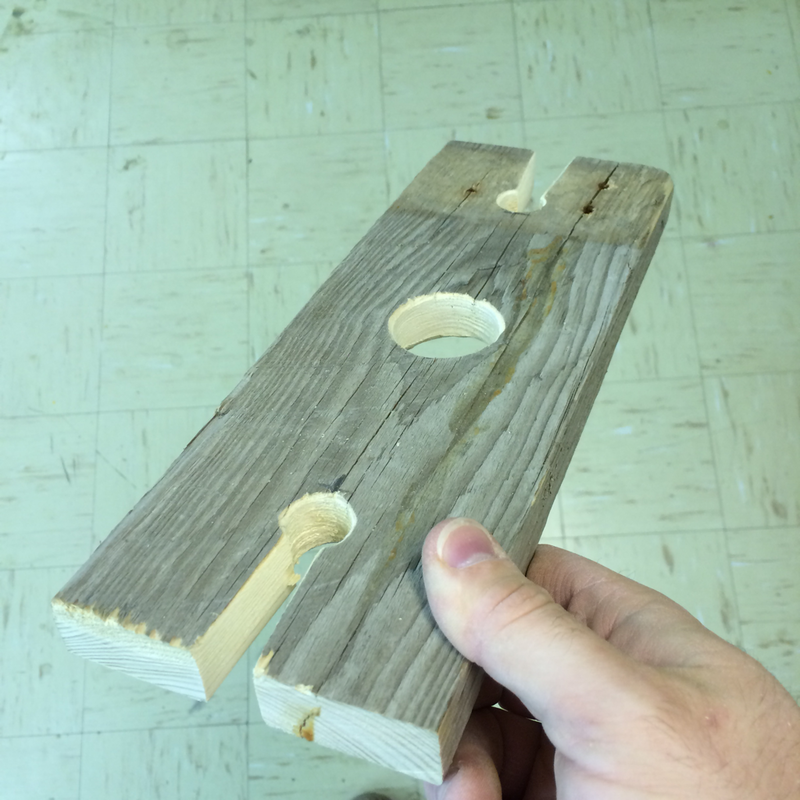
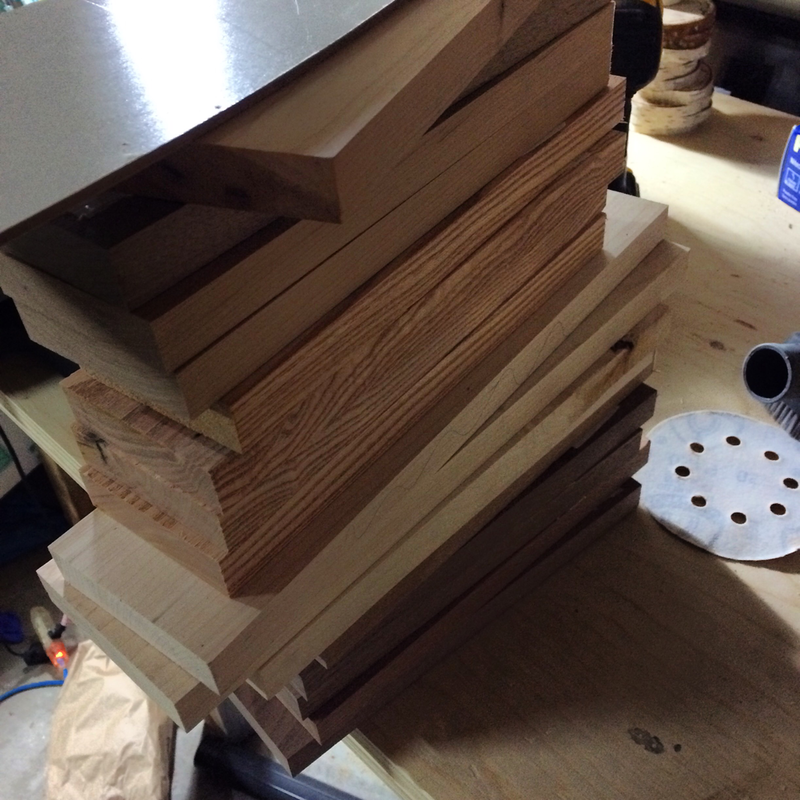
1/3/2016 2 Comments Night Before Christmas BoxHey Everyone! Happy New year!! Things are picking up crazily already for me with project work. So, that means I'll have more posts but they're starting to stack up as I'll building a lot! All good things and I'll do my best to keep up to date. I just noticed that my last post was #100!! There's going to be more to come. It's a cool feeling that out of all the posts, most of them are about separate projects. Super cool! This project, I made for a really cool customer that knows my wife. I was commissioned to make a "Night Before Christmas Box." The box is used to pack all of the cool night-before-Christmas gifts you want to photograph your kids opening before Santa comes. My parents had the same tradition and I was stoked to build an heirloom box to allow another family to establish this tradition as well! This box was built out of sapele hardwood with maple top and bottle panels that I hand carved the lettering in the lid with. The wood joinery is mitered corners with maple splines. I LOVE the way the box finished off. The woodgrain is reflective on the light which really showcases the color of the wood. The contrast of the sapele with the maple is an excellent choice if I do say so myself. Can you tell I'm proud of this project?! I hope so. Anyway, here's photos of it. my wife loved the idea so much that she had me build one for our daughter as well! Her Night before Christmas box was build using Baltic birch plywood. It has different details that I was experimenting with but unfortunately I ran out of time to finish all of the details I wanted to put into it. I suppose I have until next Christmas to finish it now eh? Haha We had a great first Christmas with our daughter. I hope your holiday season was memorable like ours was. Thanks so much for checking out and supporting my work! It's really awesome to build awesome projects for even more awesome people! 2016 is going to a busy year for me any this business. Thanks for following me! 12/22/2015 1 Comment Advent CalendarHi Everyone! Below are photos of a Custom Advent Calendar ordered by an awesome customer! She contacted me with hopes of starting the yearly Advent tradition with her children and I was super excited to learn and build one of these complex projects. This project was built using various thicknesses of Baltic Birch plywood ranging from 1/2" to 1/8" thick. It took awhile to dial in the key cuts for each box but it worked really well. I adapted plans from the wood whisperer's original design to meet the customer's request for 25 individual drawers instead of doors for each day counting down to Christmas. I really, REALLY, like the way the drawers turned out. It took a little effort to get the measurements just right and gluing each individual box went quicker than expected using Cyanoacrelate glue and activator. Without that glue, these boxes definitely would not have worked out as well as they did! Sanding took a little while but this project came together really well and I'm excited to build different versions of these for customers in anticipation for next Christmas. I have received a few orders already do you'll definitely see more of this project in 2016. I'm still taking other custom orders for next year and have a few really awesome projects lined up for 2016!! Merry Christmas everyone and Happy New Year from my family to yours!! There is much more to come... Stay frosted..  Hi Everyone! Are you ready for the holidays?! I'm definitely not as I'm working like crazy getting my Christmas orders finished - from awesome new and returning customers and my family. We're really happy to have networked in Airdrie and Calgary area and my last two sales events were really great! My best seller was business cards which makes me really happy to see people interested in the work that I do! Here are a few project photos of the work I have done over the last couple of weeks: 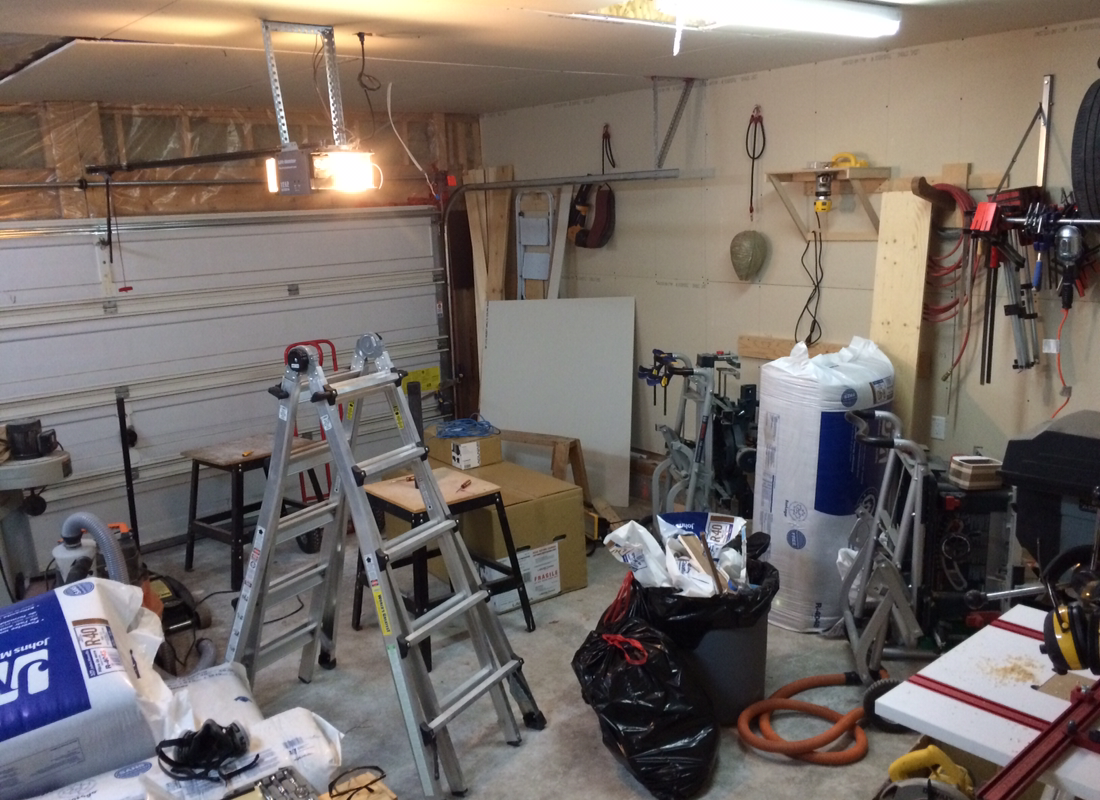 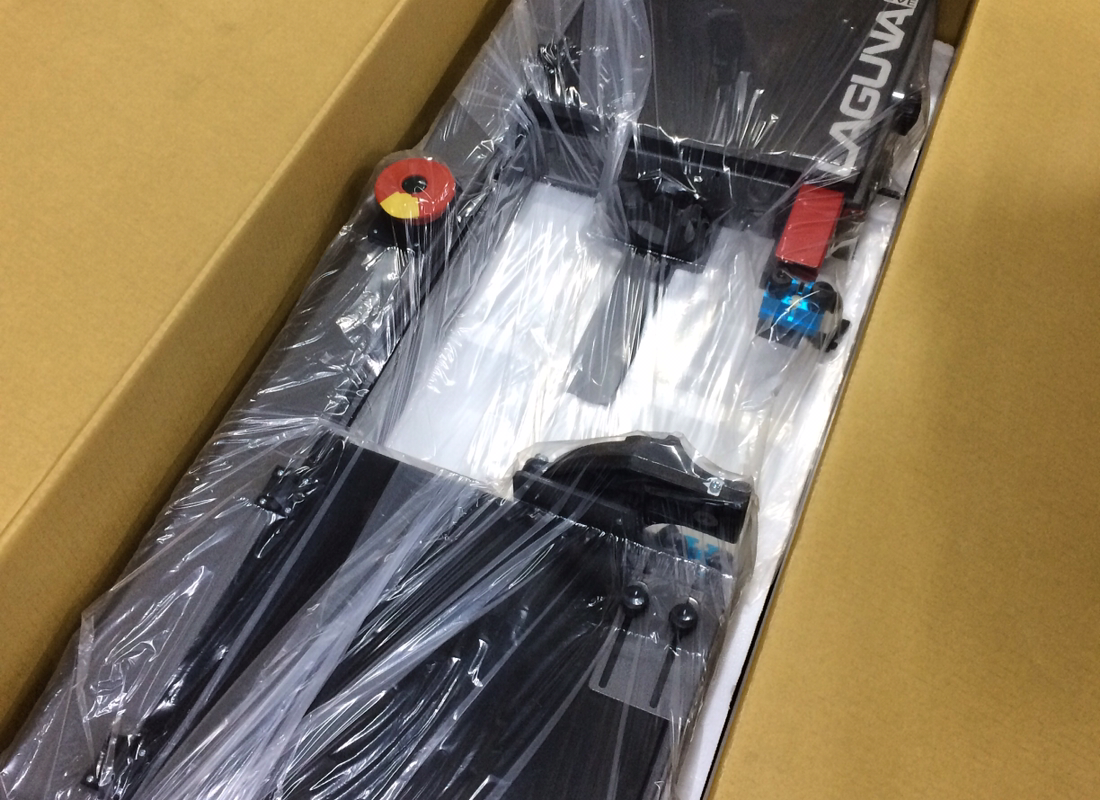 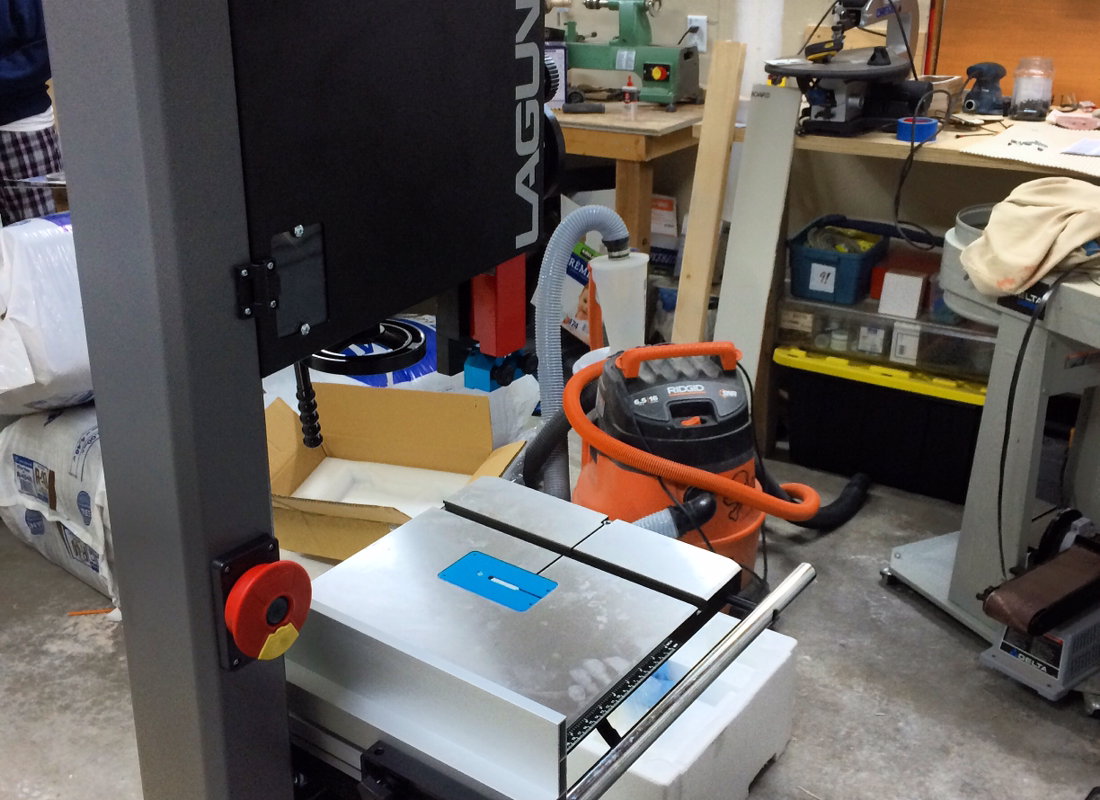 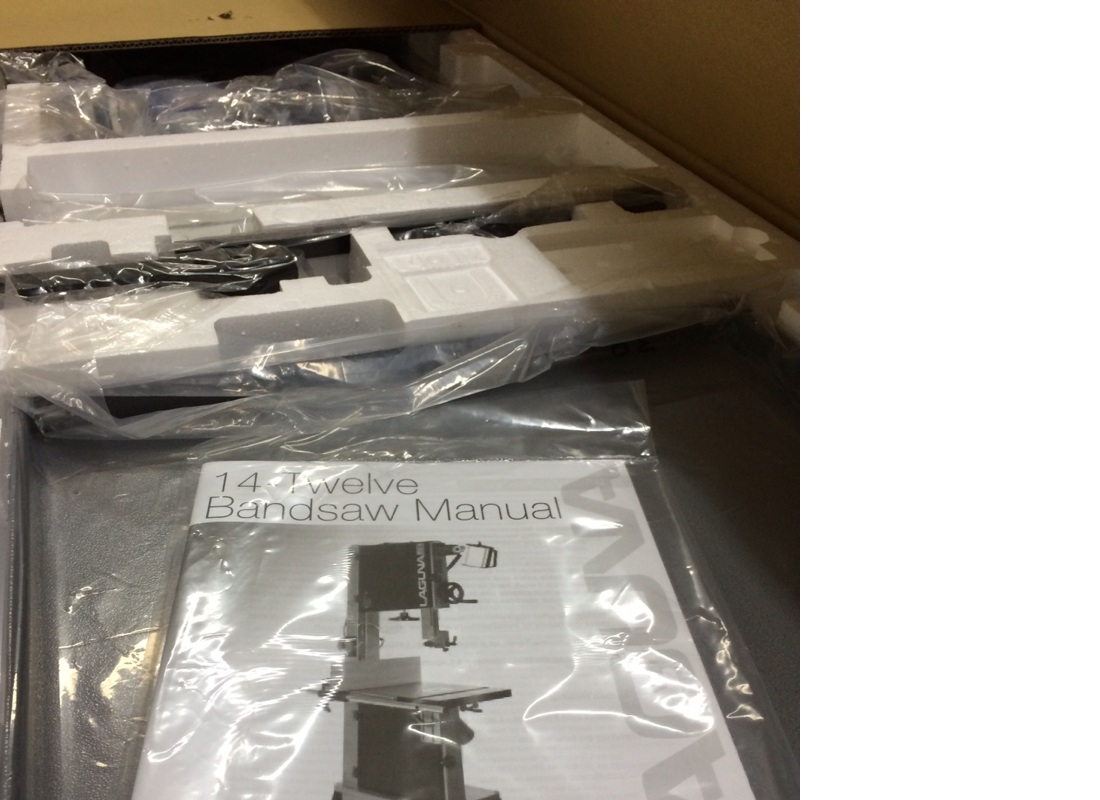 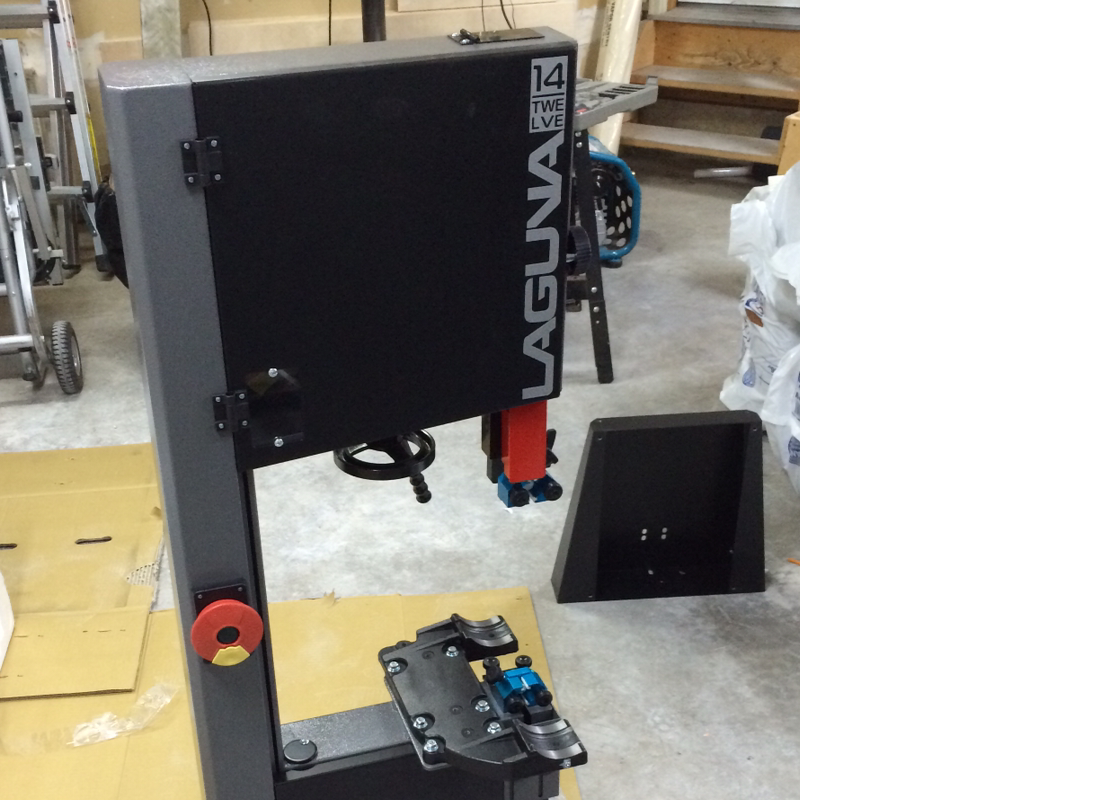 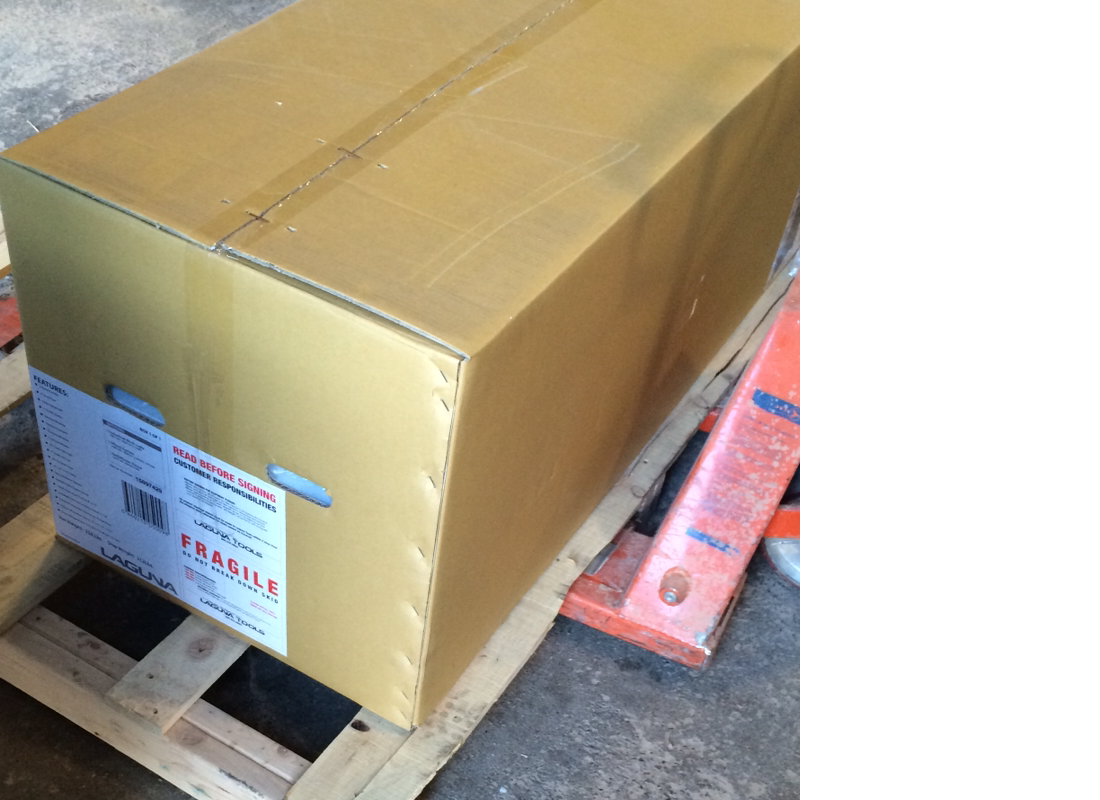  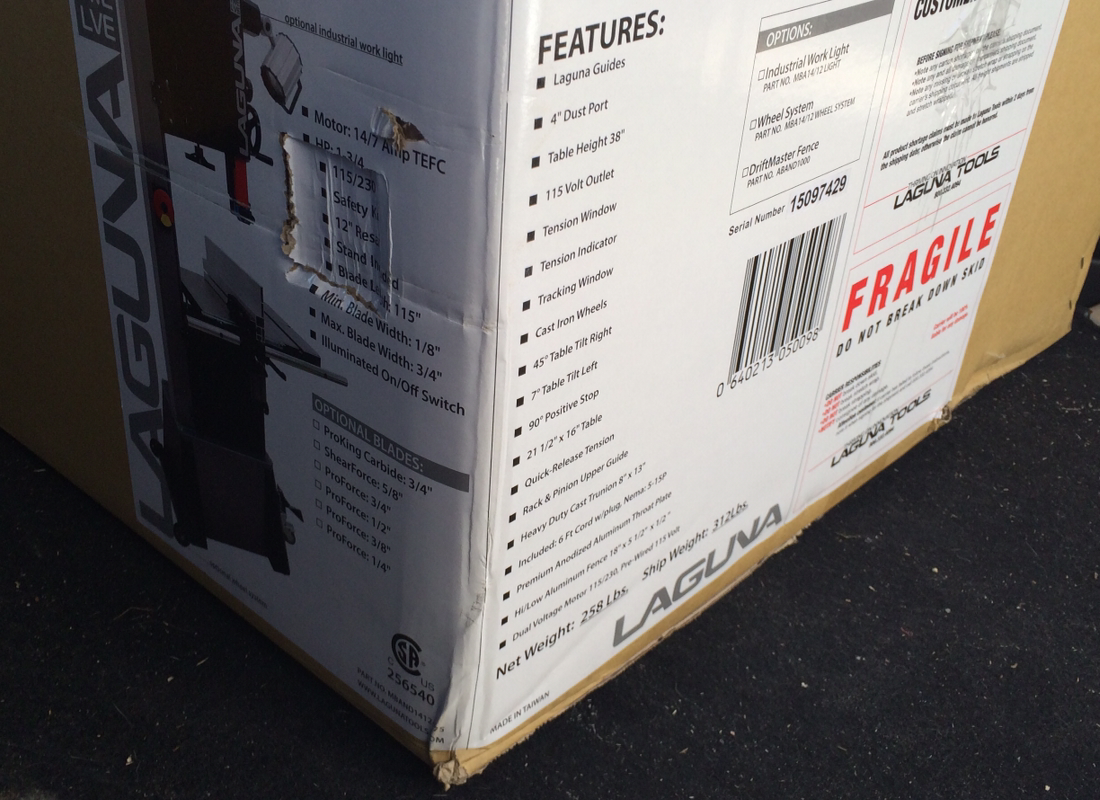 First of all shop updates! It's been a few weeks since I had power upgrades in my garage shop. We installed drywall on the ceiling and my friend Victor reluctantly got up into the rafters to install some hefty r40 Insullation up there so I can work in the garage when the temperature drops below 0 degrees. There are a couple of spots left that need insulation and I need to still build an access door to seal off the attic space and keep the cold out to the best of my ability. Since this work has been done, it's made a HUGE improvement to the space itself and I'm loving working out there more and more.. I just need to set aside some time to dedicate it to building some shop organization projects to get more use of my wall space. I'll do a separate post to review my new bandsaw as this post will get pretty lengthy. I'll just say right now, I love it! It's solid, is easy to set up and super quiet! More on the bandsaw to come! 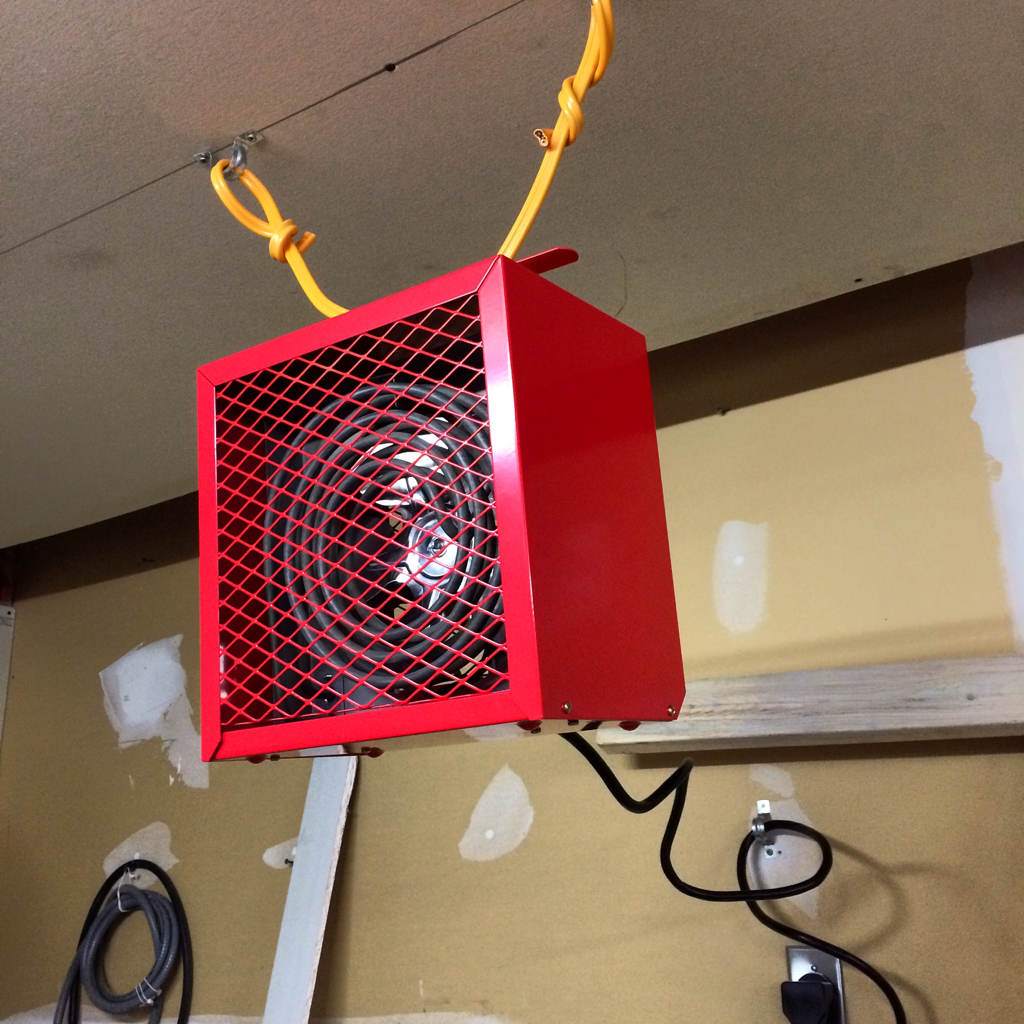 Heat is a big thing. Especially with cast iron tools in the cold. This bad boy makes the cold bearable. I'm interested in the power consumption while running this guy. I only use it to keep the temp above freezing while I'm out in the shop so we'll see how much better it will be in the space once the attic access is sealed. If my prices have to go up, you'll know why haha! Just kidding. Here's a batch of projects I built and delivered recently. The bandsaw boxes are made of walnut, hickory and Baltic birch plywood. I had to test out my new bandsaw of course! The mitred corner box is, as I just learned, a hardwood called ipe, pronounced eeepeyy. Say it slowly haha you'll get it. I was given a large amount of hardwood flooring scraps that will work out great for jewelery box projects. Getting the wood flat was a challenge but you end up with essentially just enough to make these gorgeous boxes. It has a maple top and bottom with the same species splines in the corners to give it a great color contrast! All of the boxes were finished with Tung oil which gives them a smooth soft finish that is really durable. These boxes were donated to the Rotary Club of Calgary for their yearly Christmas Auction! I'm glad I was able to get them to a great cause and I hope they earn a fair amount of money at the auction. I also got a couple of orders for important date block sets which I'm getting more efficient at building in short timeframes which makes customers happy and in turn makes me happy to deliver them! Teal coloring has been the best seller this year out of the block sets but it depends on whether the baby is a boy or girl as I've had all different color requests. This project becomes more interesting as i build each one! I suppose I should wrap this up for now. I'll have a few more things to post before we go on Christmas holiday break. I have a few projects that haven't sold yet. Be sure to check out my for sale section to see what is left for sale if you want a last minute, awesome gift for that special someone who is difficult to shop for! To make space I'll be discounting some of the larger items to get them into your hands! Thanks again for following my work and for supporting my addiction! I'll be writing up some project how-to's in the new year to help others who are interested to learn the process I use for building my projects. Stay frosted! Happy Hollidays! 🎄🍷🍻🍾 Brad Woodprojectsbybagel.com A customer sent me a photo of their bottle opener in use! He told me they are at 23 bottle caps and going strong. Please send me photos of my work in use! I love hearing back from customers to see how their items are working for them! Thanks for sending this to me Mike! 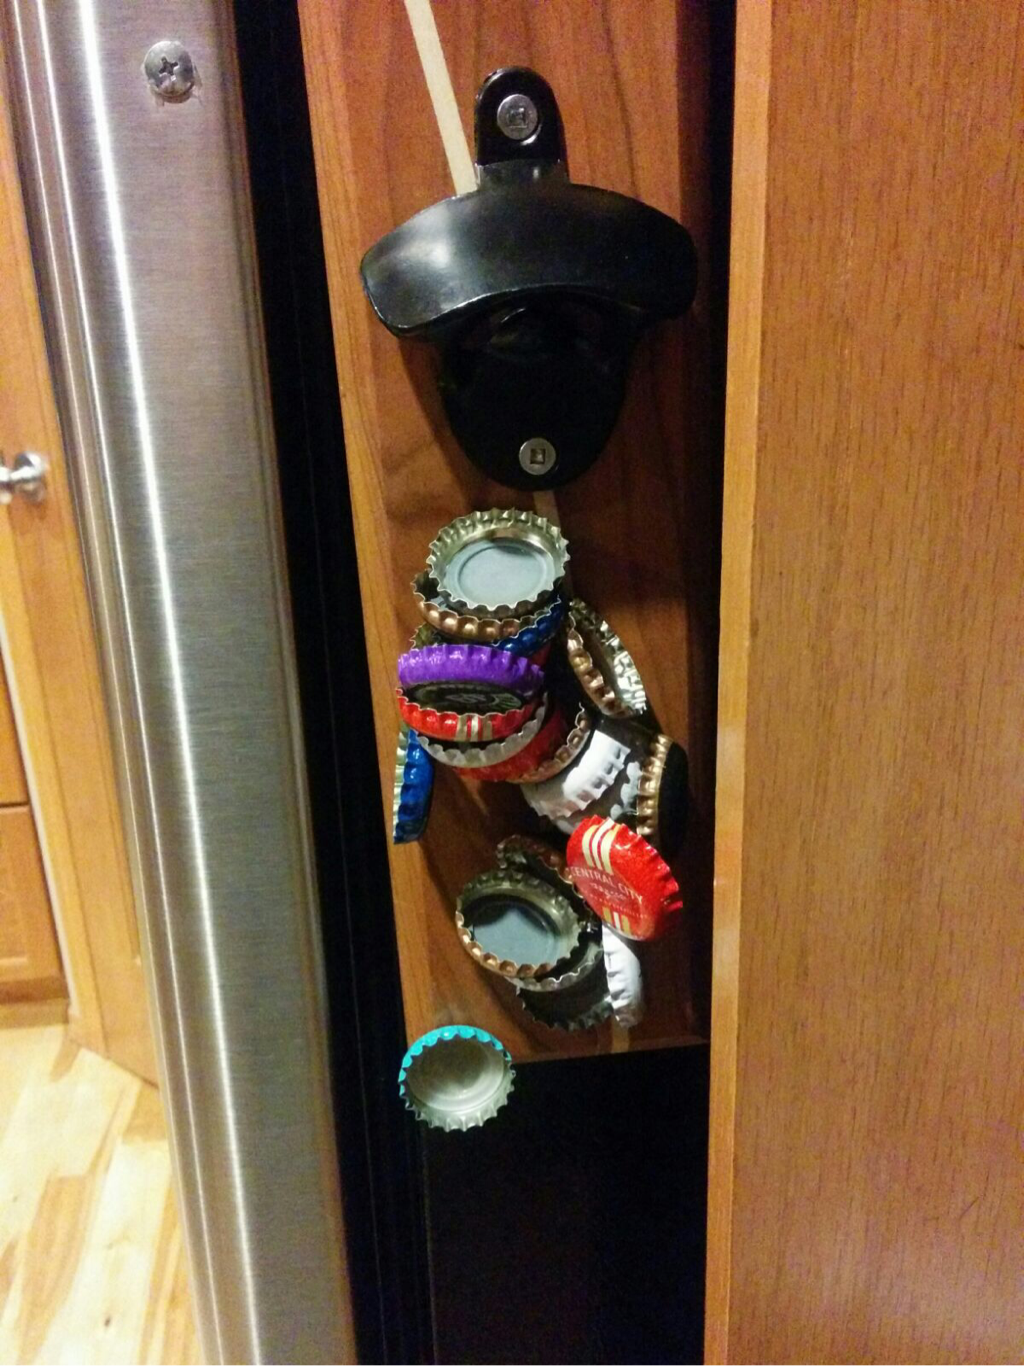 Hi Everyone, There's been lots happening this past week with my home workshop construction. Last Sunday, I had a significant amount of electrical outlets installed so I can finally plug all of my tools into the wall! It's so much nicer not having to worry about blowing my breaker by running the table saw and my shop vac at the same time! 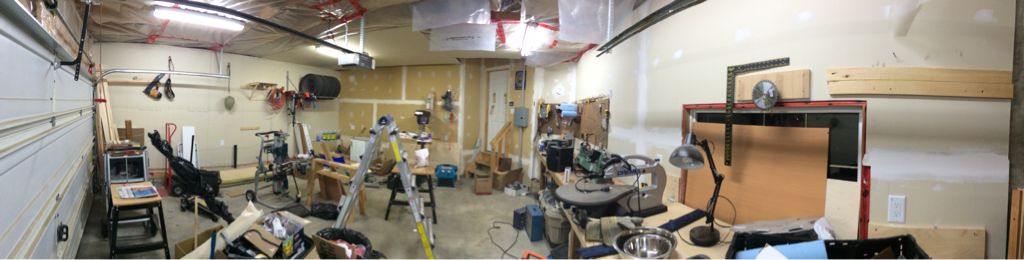 I also had some new lights installed so I can finally see adequately! You can see I had a new breaker panel installed as well so if I do ever blow a breaker I won't have to go into the house and down to the panel in the basement to switch it back on. 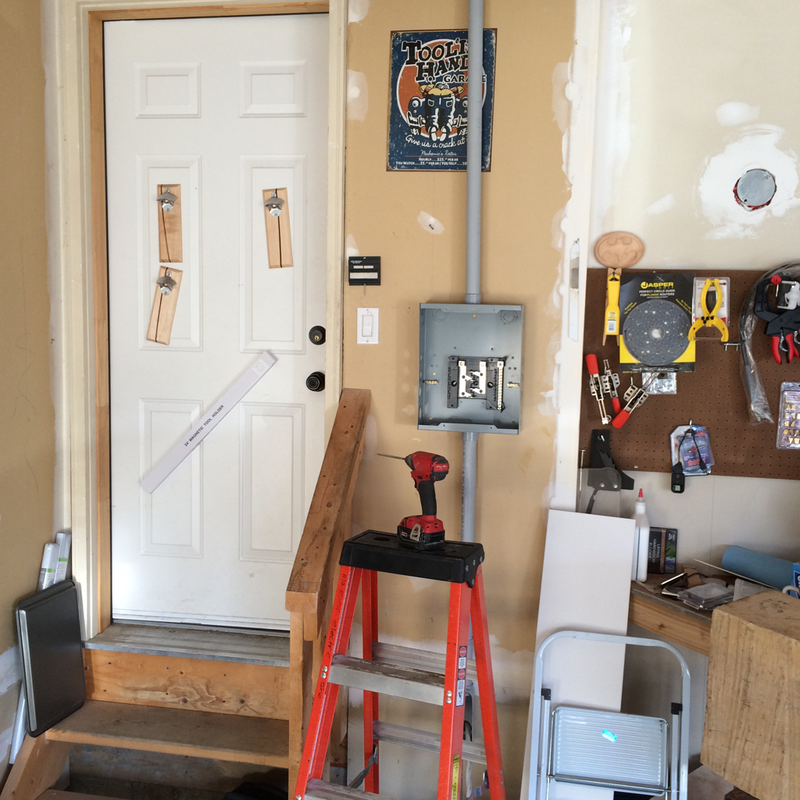 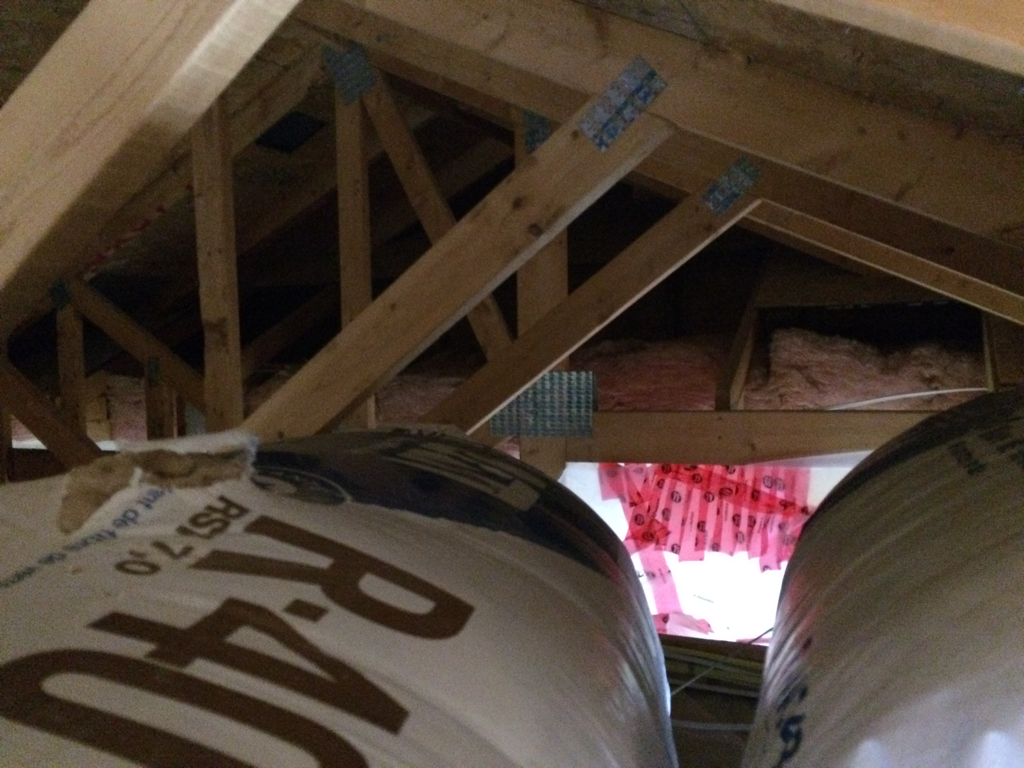 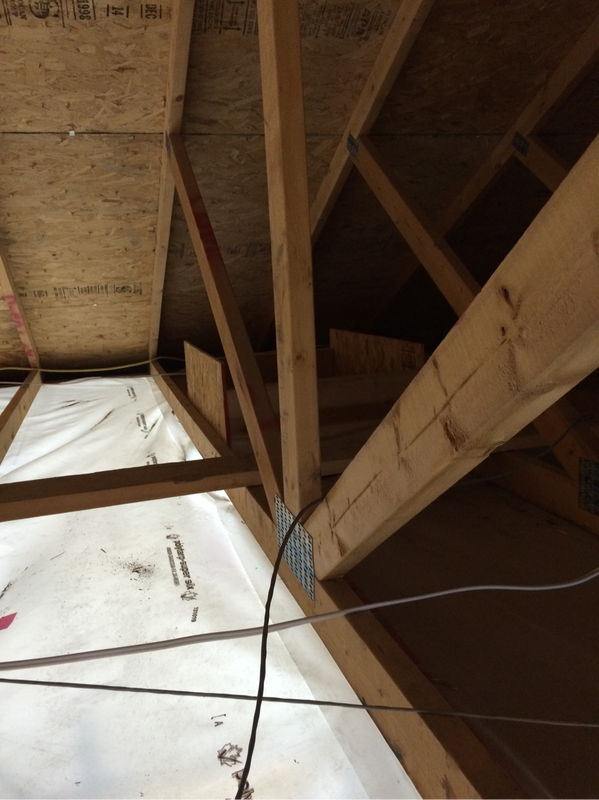   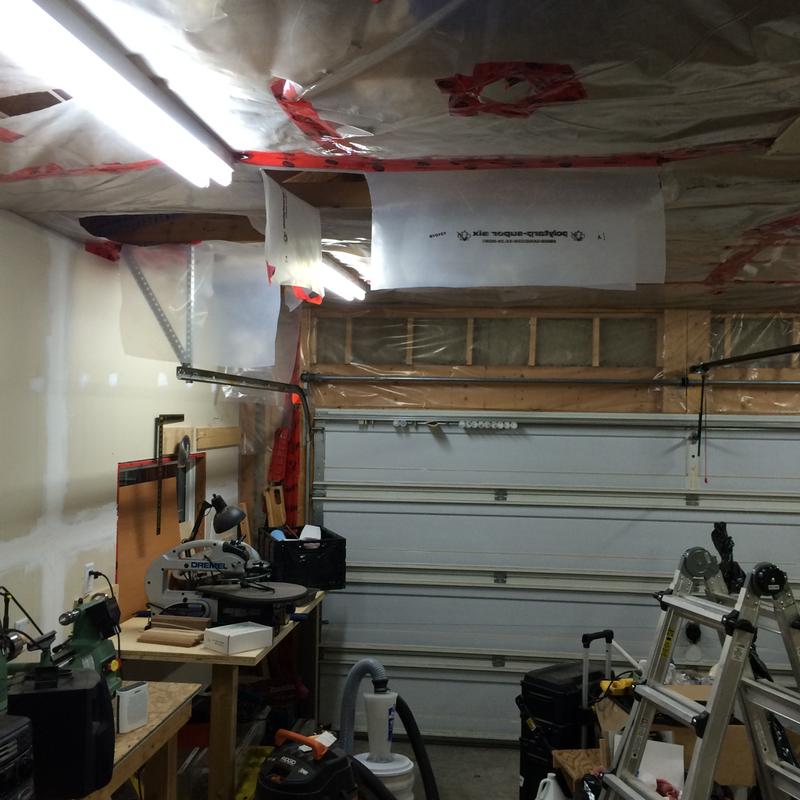 I'm really happy with the work and kind of nervous about investing in my business at home more than I ever have. A few days ago, I put my deposit down for a Laguna 14|twelve bandsaw which will be the first piece of new equipment I've ever owned which should be interesting to put together and essentially fill up my garage shop! Here's some photos of projects I'm working on in preparation for the Turner Valley Legion Ladies Auxillary sale and some custom orders I'm working to finish: thats all for this update for now. My bandsaw is on the way and I'll be taking photos of the assembly of it. Some of the photos of projects won't make sense for a little bit while I finish them. I'll do depart posts for the more complicated ones as soon as they are done! Thanks for checking out my work and continuing to support my addiction! 10/28/2015 0 Comments Finally Back!Hi Everyone! It's been awhile and I'm sorry for the hiatus. It seems my weebly app that I use for regular posts from my phone has been updated and since doing so, it crashes upon opening. Super Frustrating! I was able to solve the problem for the time being using the "weebly classic" app which is letting me write so far without problems but we'll see how it goes. There has been so much going on for me with WoodProjectsbyBagel and at my regular job lately. Here are some updates and projects i am working on and have finished. 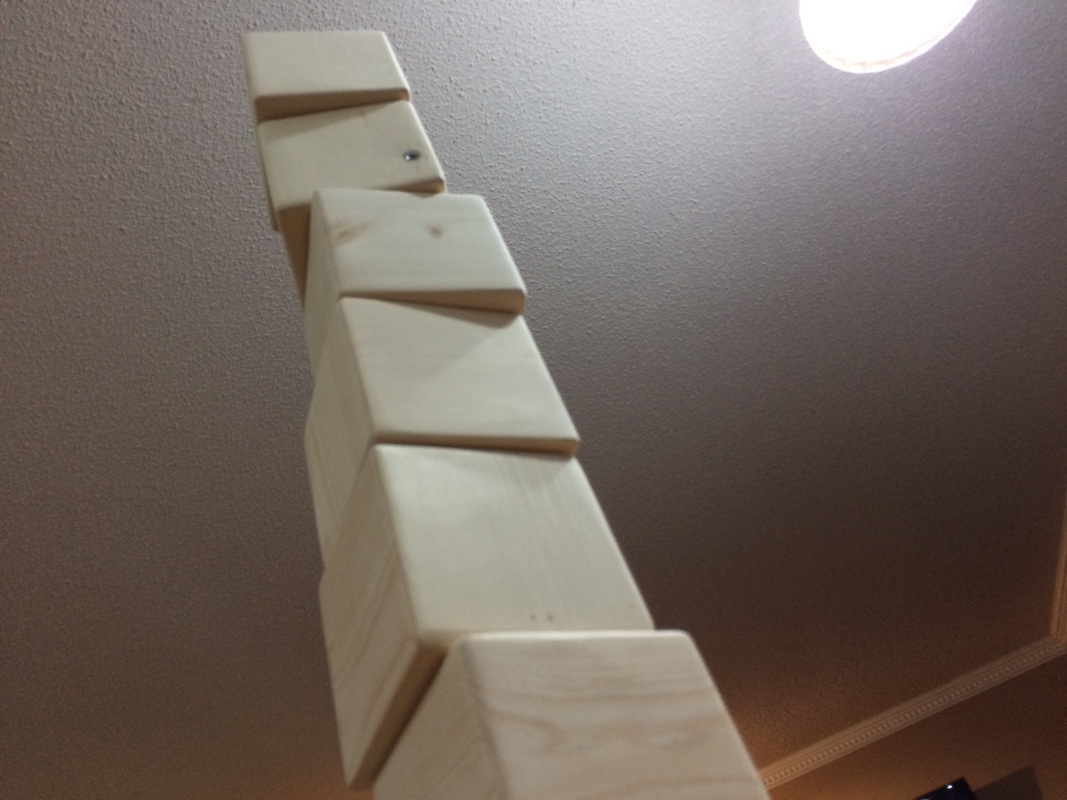 Important Date Block Sets! These have been selling really well. At Kayben Farms Pumpkin Days a few weeks ago, I sold a bunch of sets and have had many orders for sets coming up which I'm working on to fulfill the orders. They look awesome particularly with newbourn babies next to them! 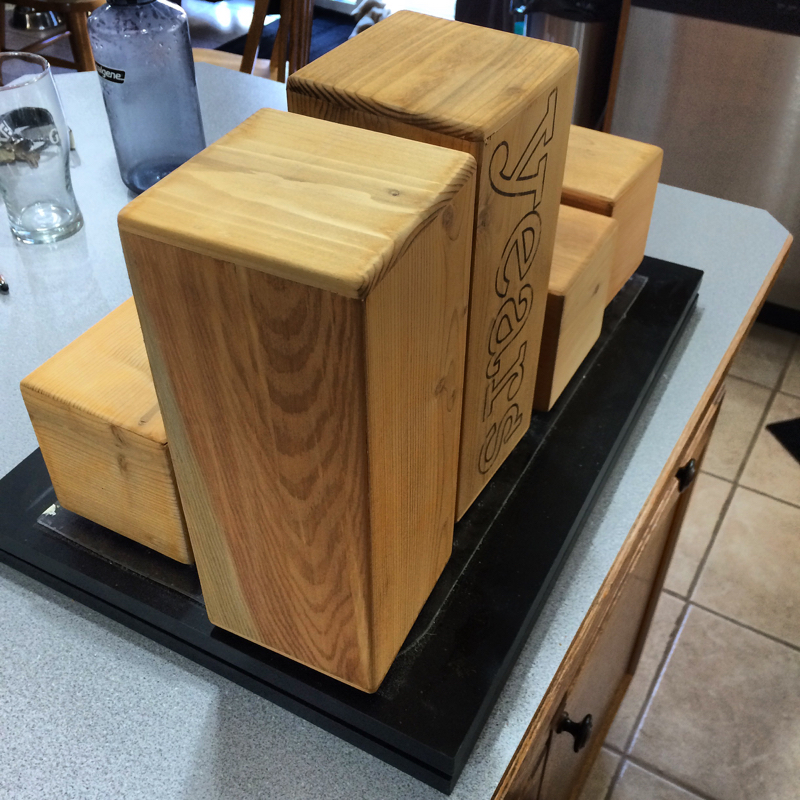 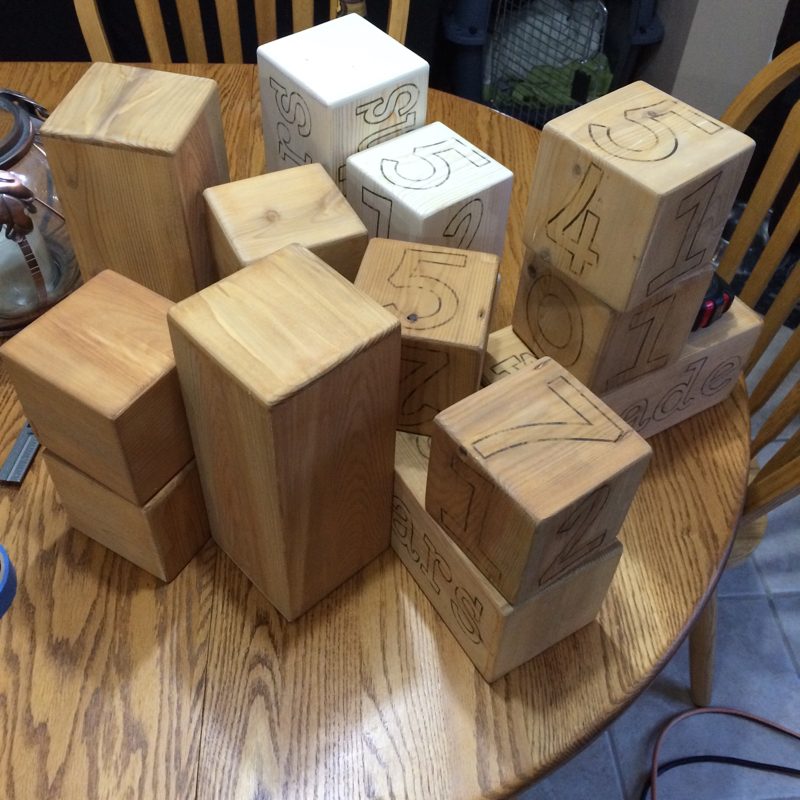 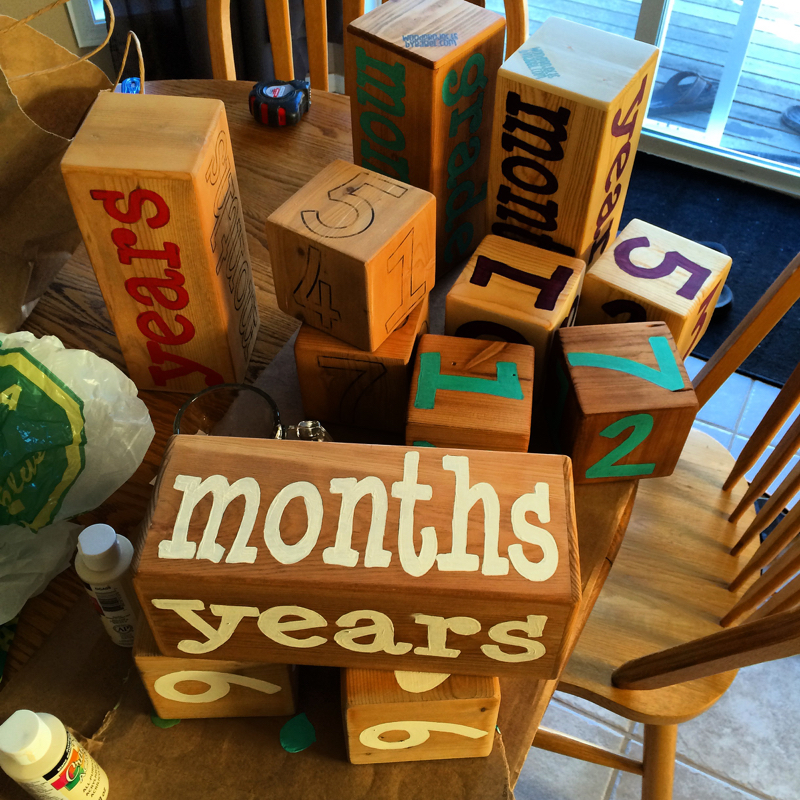 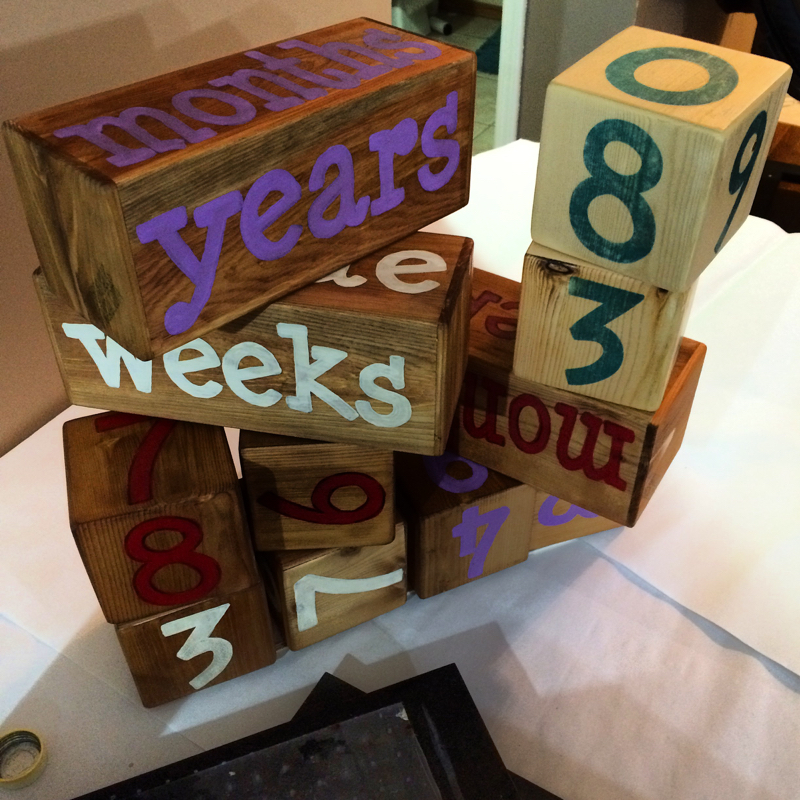 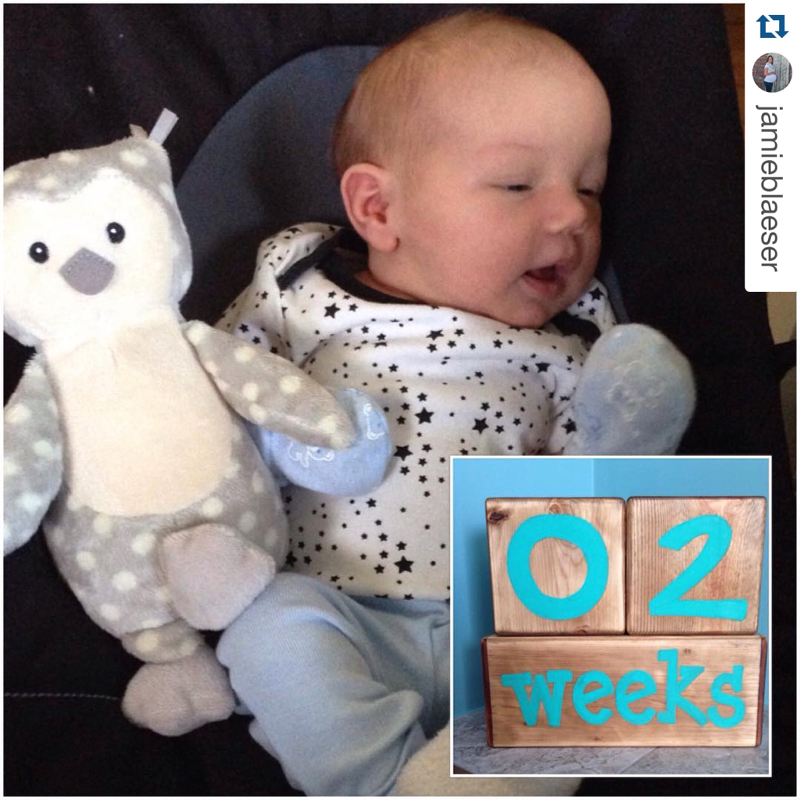 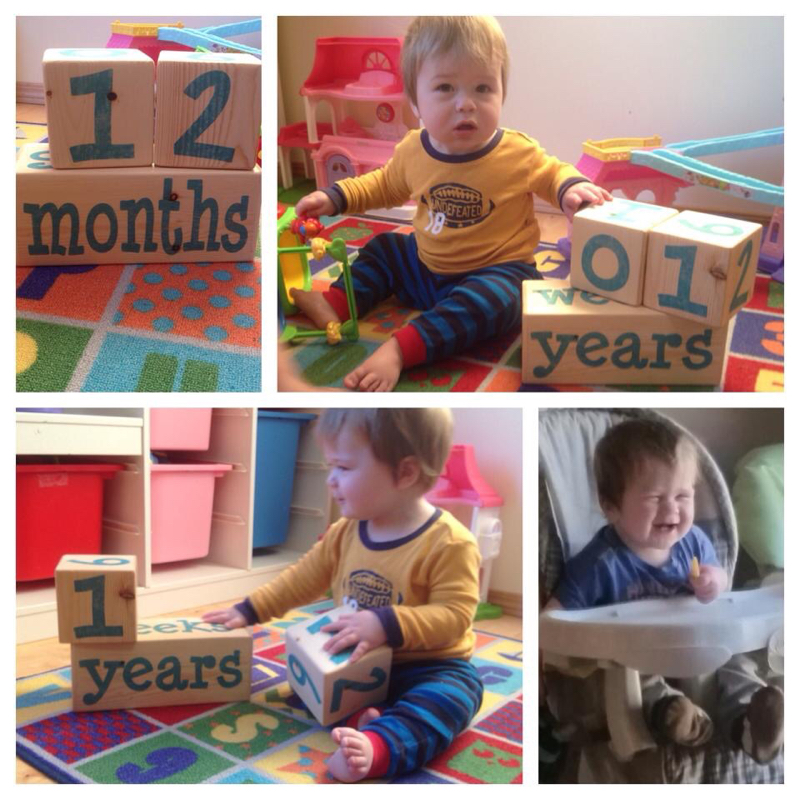 I love the feedback from customers and I'm so happy they blocks help to make their memorable photos even more awesome! 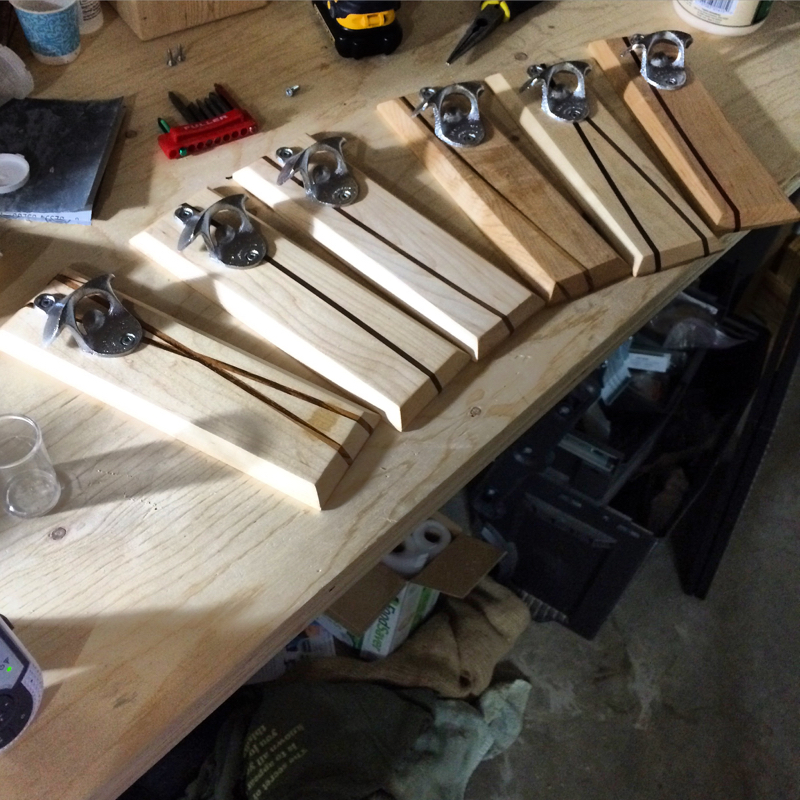 Bottle Openers! These have been a hot item this fall. Are you having trouble trying to buy something for that special person in your life who already has everything? Then order a magnetic bottle opener from me! These openers have super strong rare earth magnets in them that allow the openers to stick to your fridge and will catch the caps as they fall from the opener. I have received many questions about how strong the magnets are so i thought it'd be best to just show you: 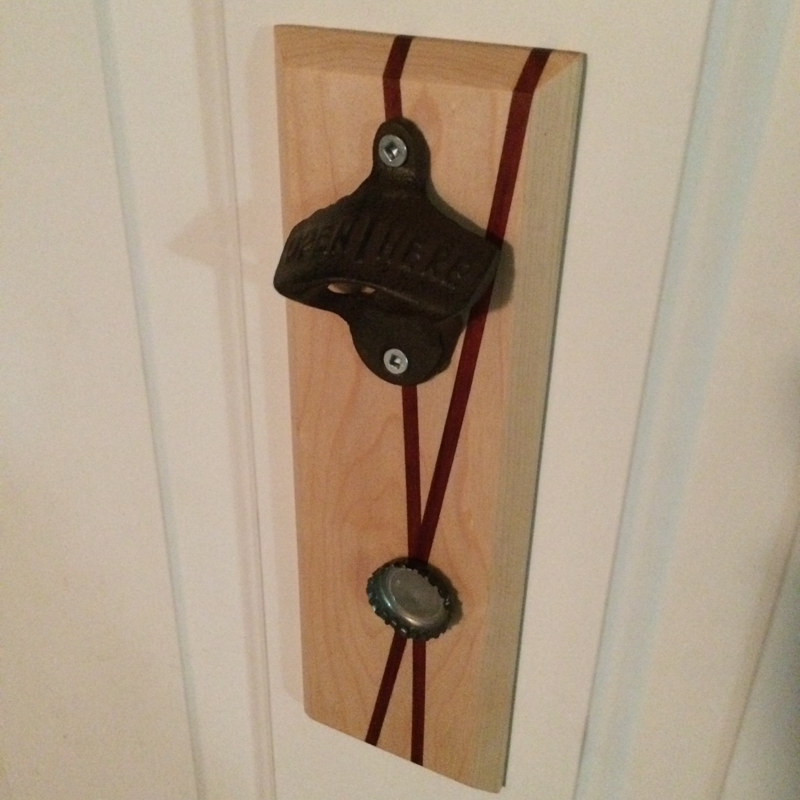 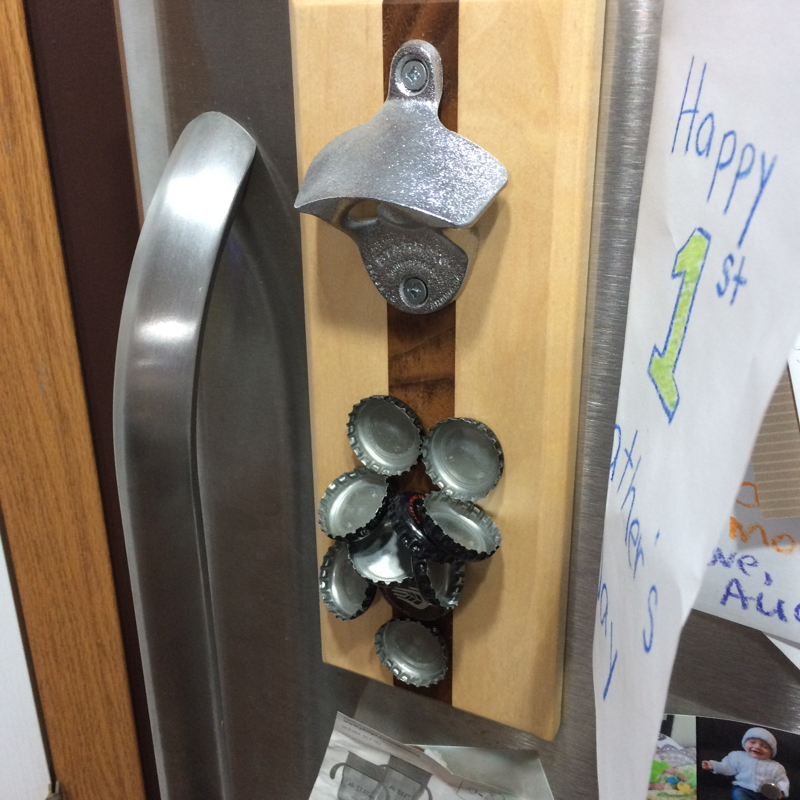 I have had many orders for these and I'm trying to build up stock. I received a few custom opener orders where I will be personalizing them for the owners which I think will look really cool! 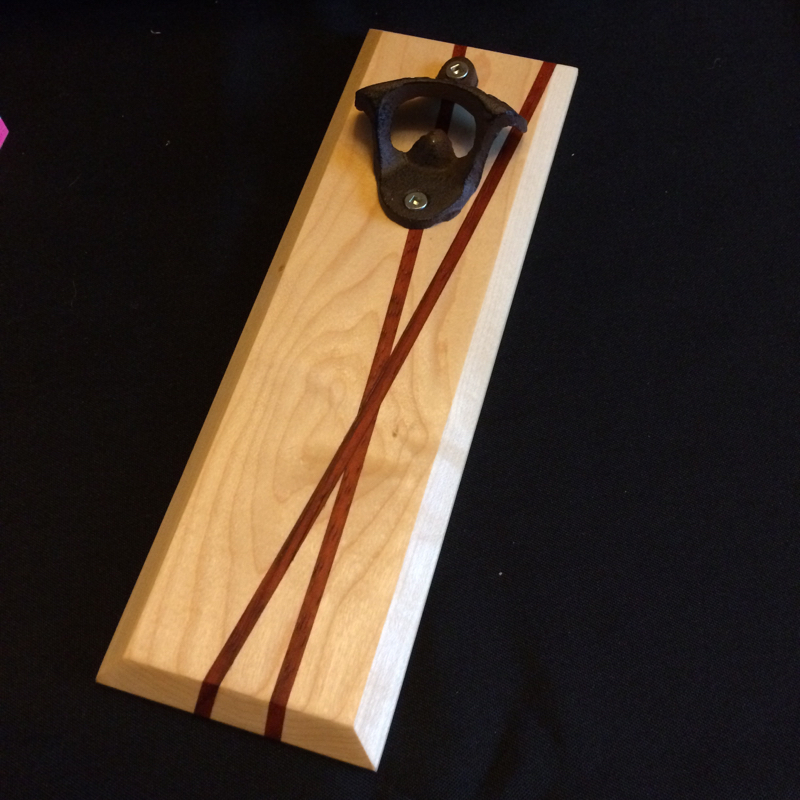 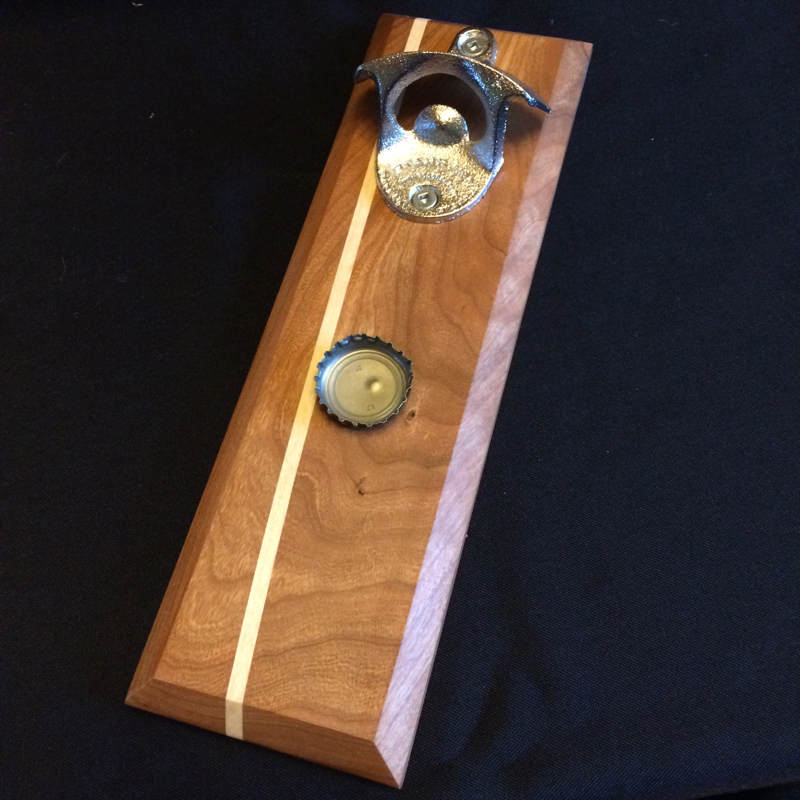 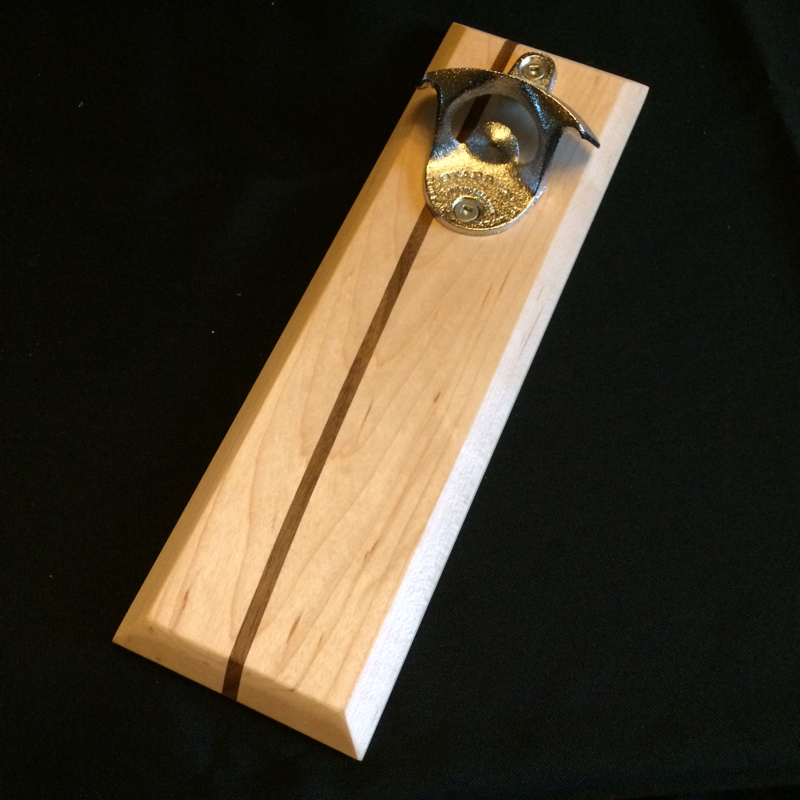 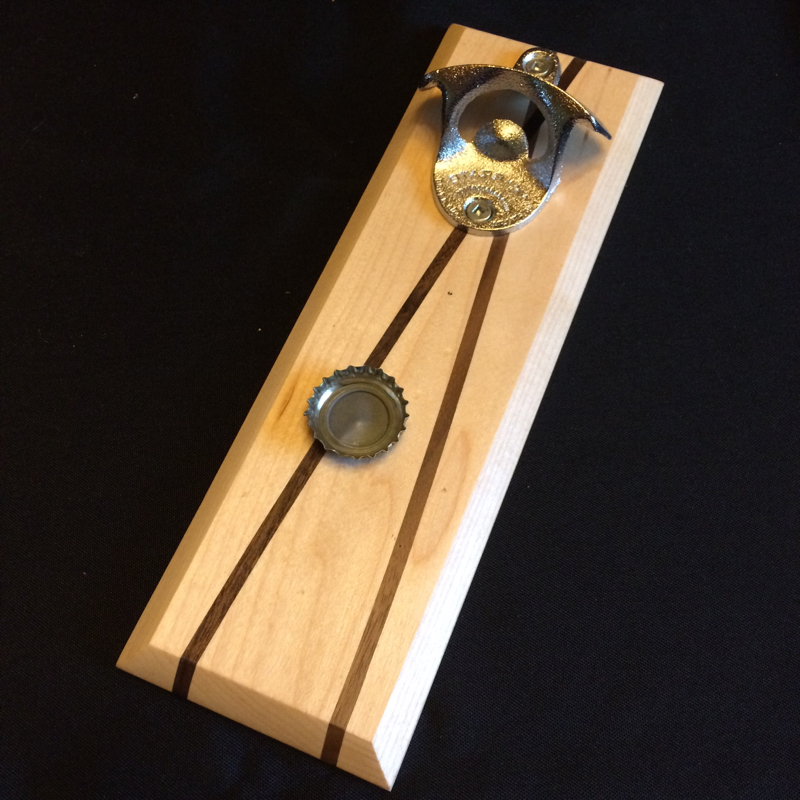 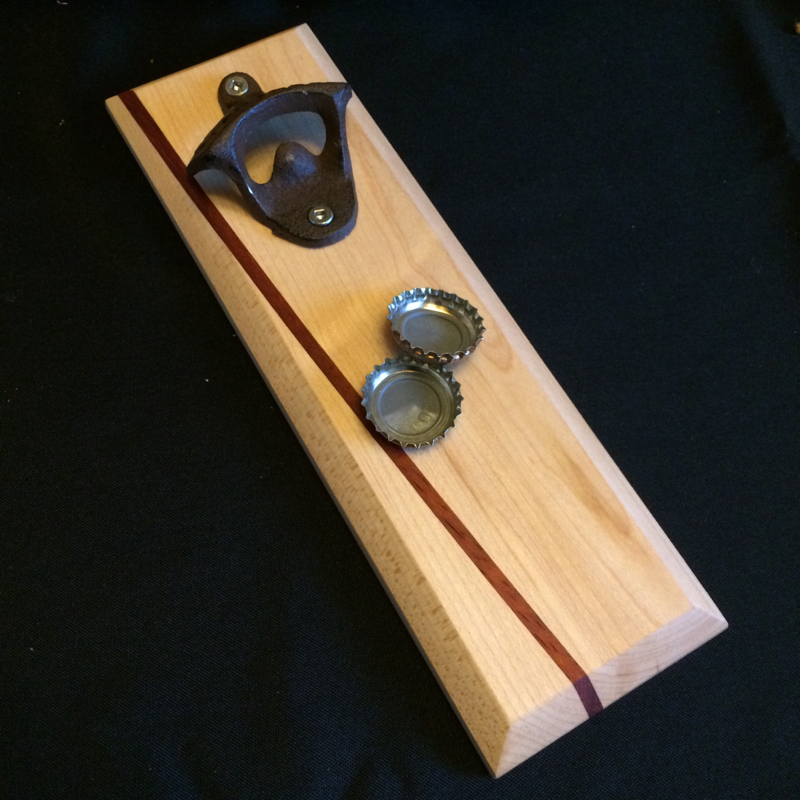 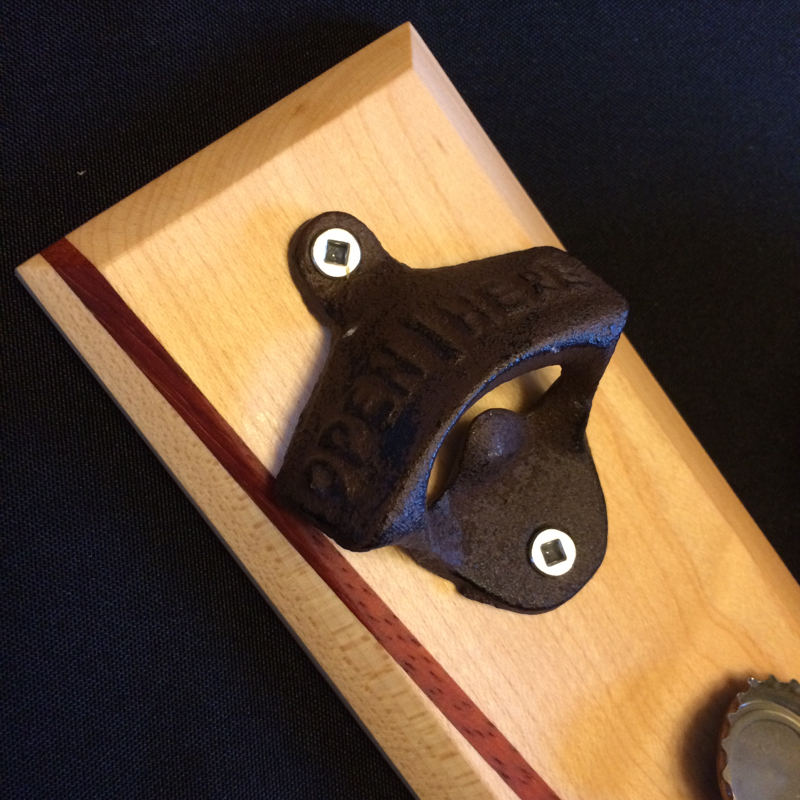 I found a few different styles of openers which I'll be installing in the new batch I'm working on. Kayben Farms Pumpkin Days market was an awesome experience! I met so many great people and had awesome woodworking conversations with them. My best seller was business cards which was really cool. I loved the feedback from the people who were drawn to my work. I'm definitely going to try and sell my stuff there again next year! Below are some of the projects I took with me and sold at the market. 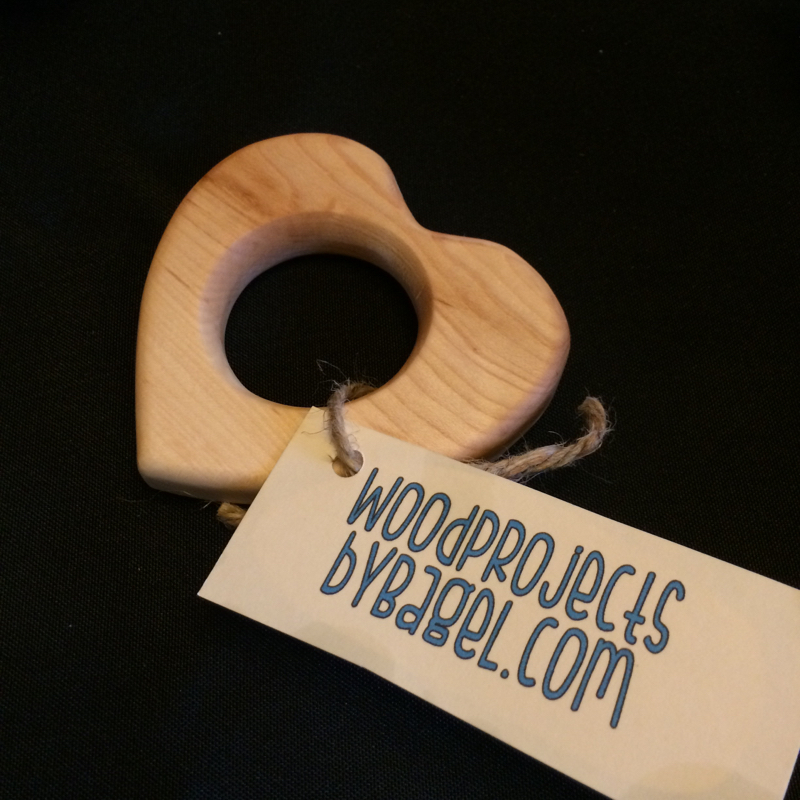 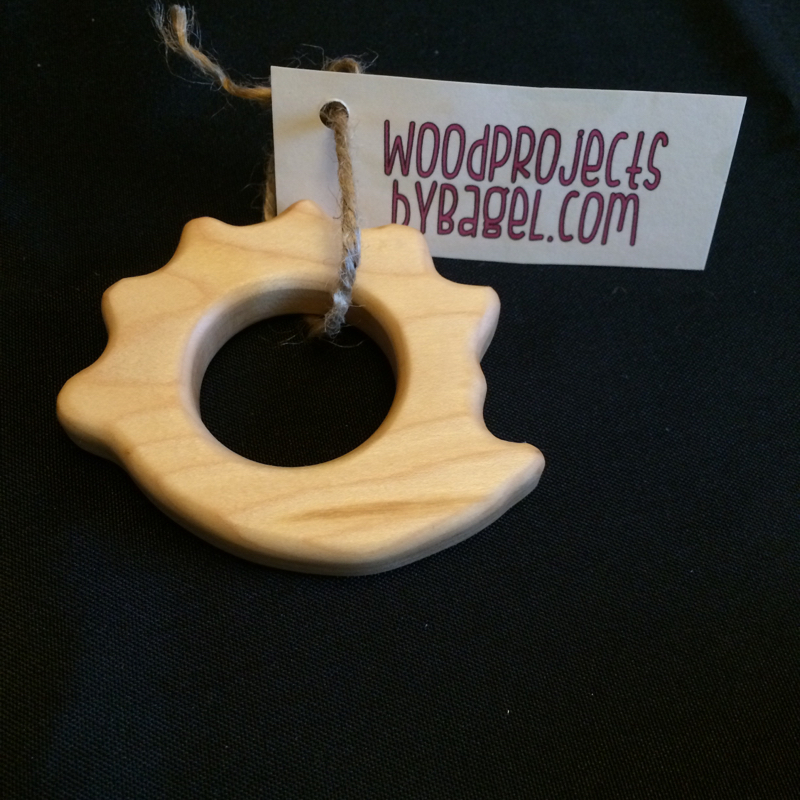 Teething rings were a great item! 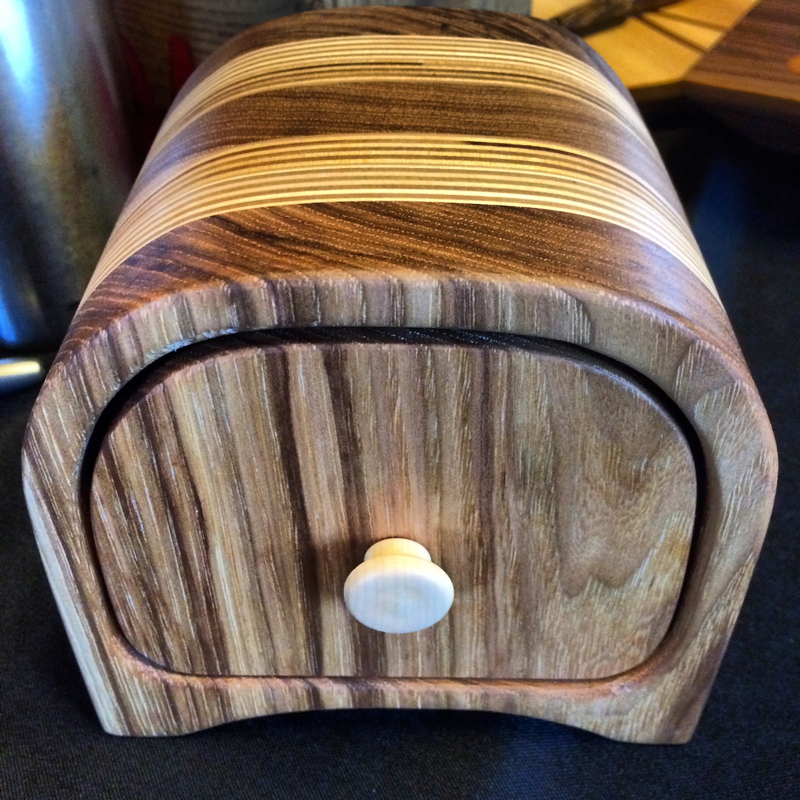 Hickory bandsaw box. This smells so awesome! I love working with this wood. 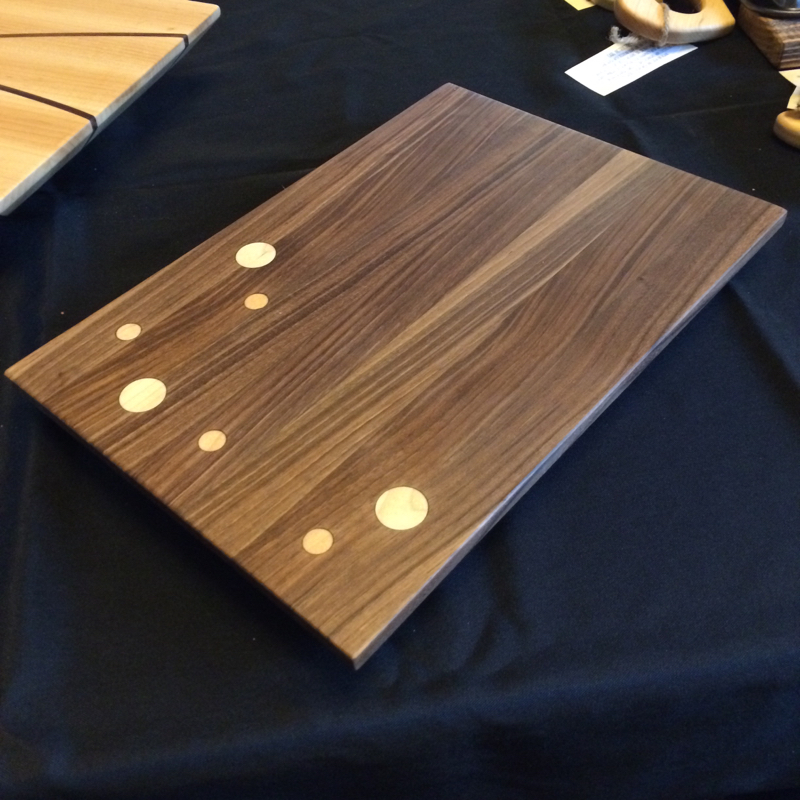 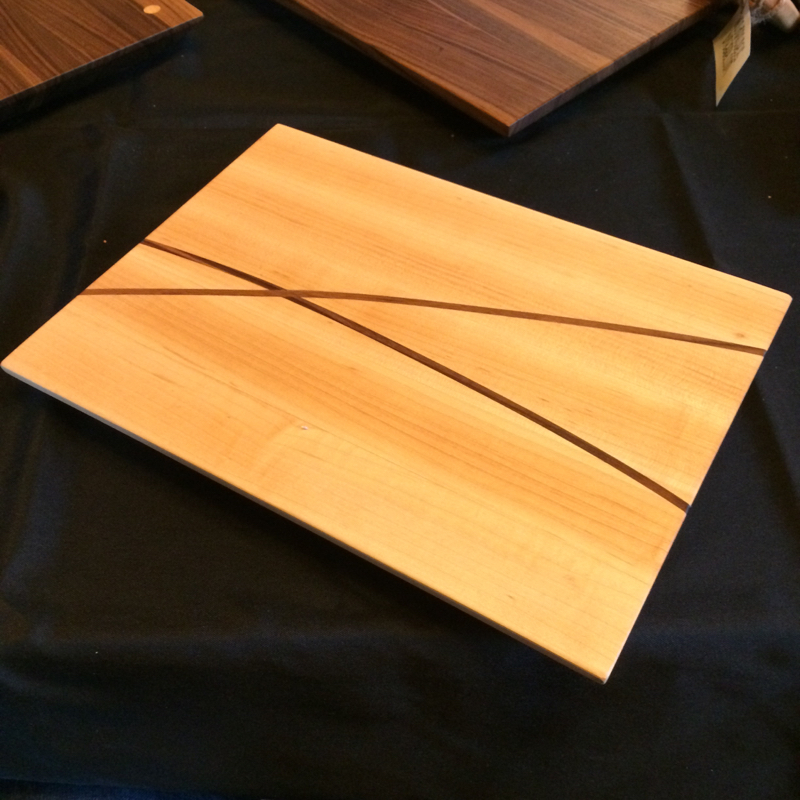 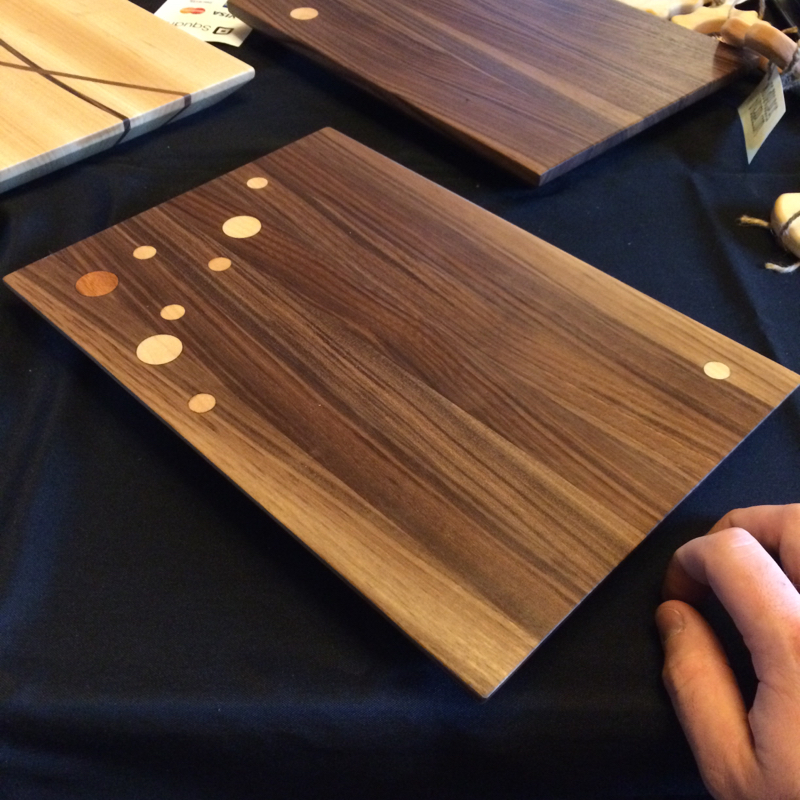 Cutting boards/cheese trays/food platters haha. People told me that these looked too nice to use with knives. I have a couple left to sell. So they could be whatever you'd like them to be! The dark wood is walnut and the plugs are maple with a few mahogany plugs in there. The stripe inlays are walnut with maple. 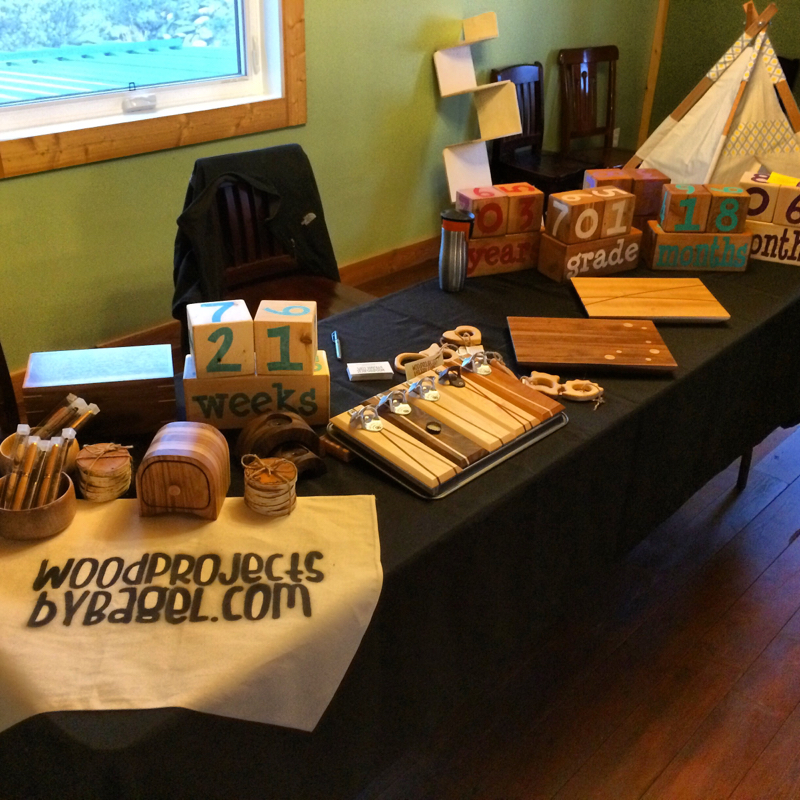 Whew! Long post but I'm glad to finally be posting again. So much is going on and I'll be posting more about new developments soon. Thanks for checking out my work! 9/6/2015 0 Comments Saskatoon DeckHi Everyone, A couple of weeks ago, my family and I went to Saskatoon to help a great friend build a beefy deck! Below are some photos of the process. We used pressure treated 2x6 decking which added a lot of weight and ridgidity to the structure. I'm really happy with the way it turned out and am excited to have a few beverages out on Candace's deck next summer! 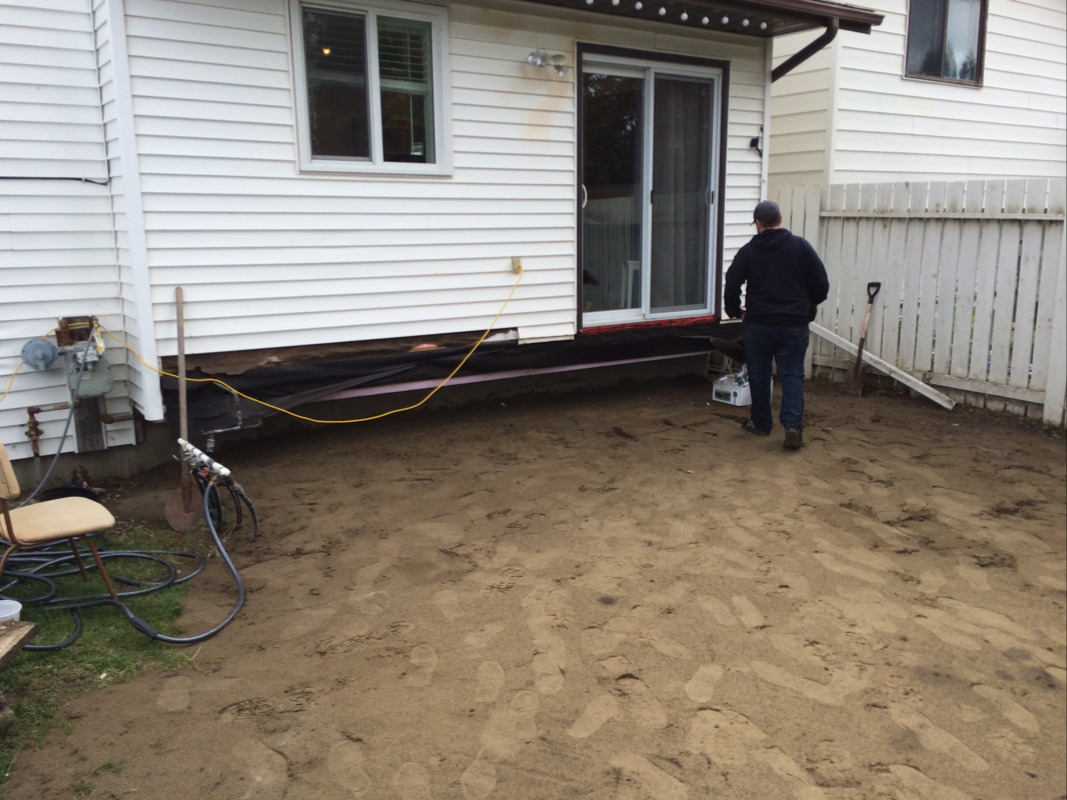 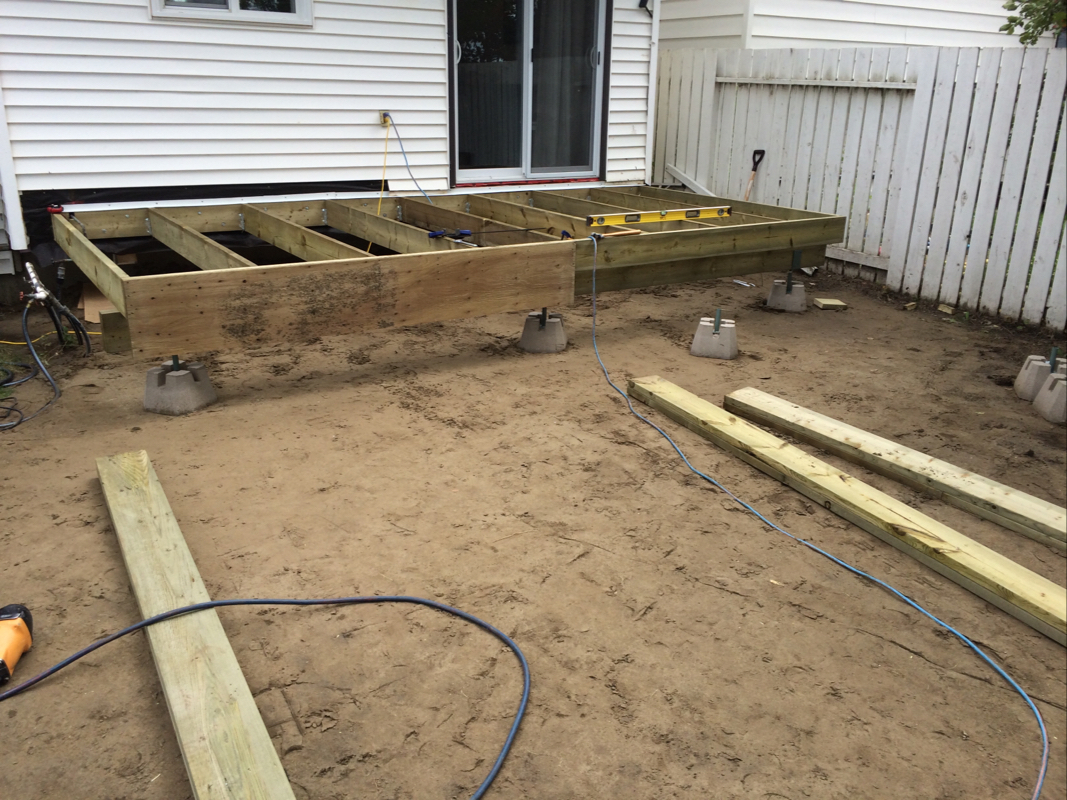 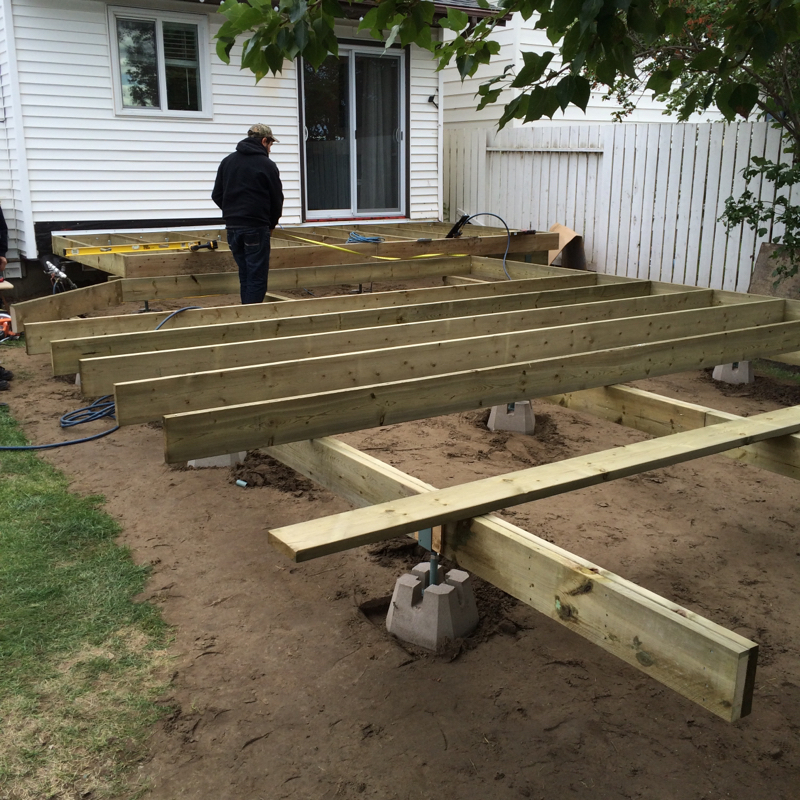 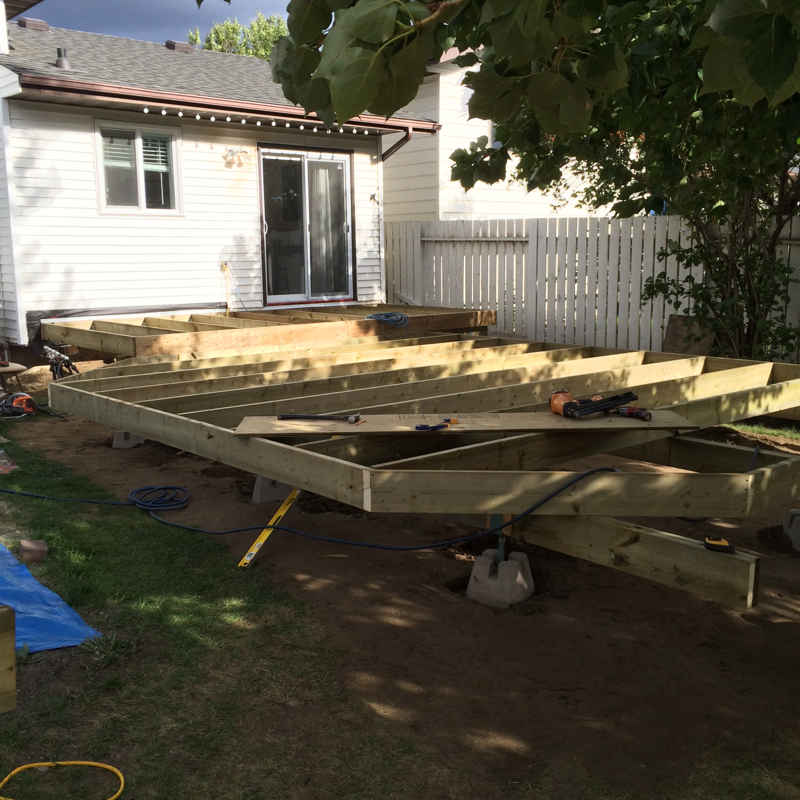 This is the end of day one! We made great progress! I think I'm starting to get the hang of it. 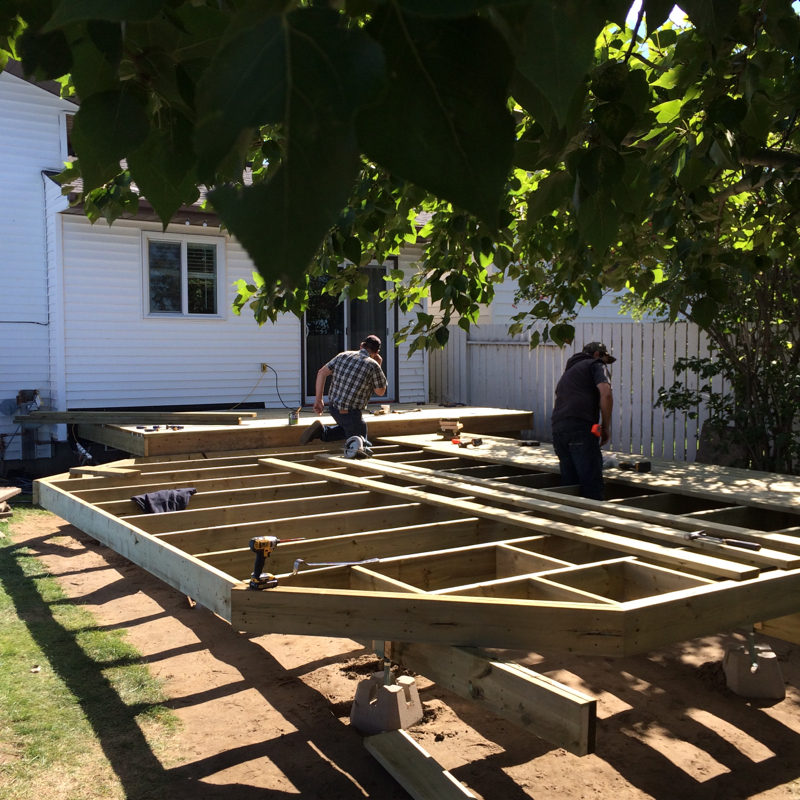 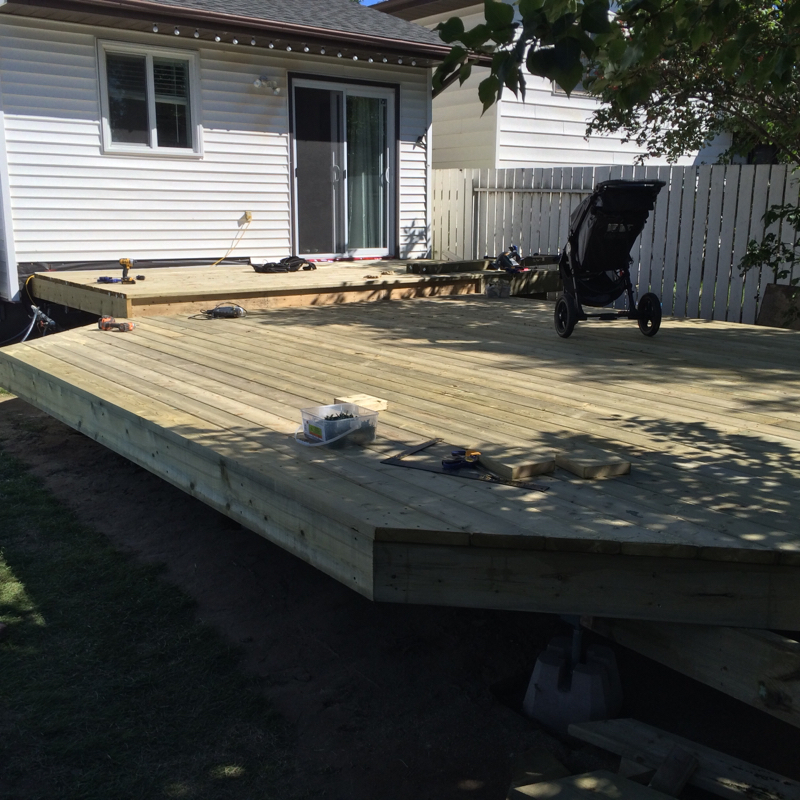 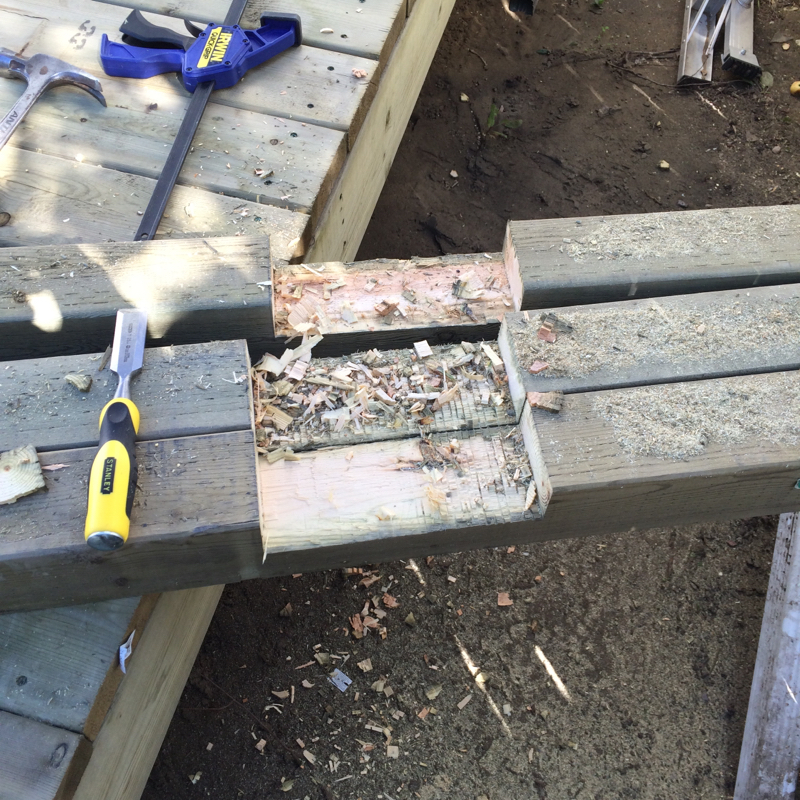 These dados were cut to secure these beams to the deck just outside of the door to make a privacy wall. 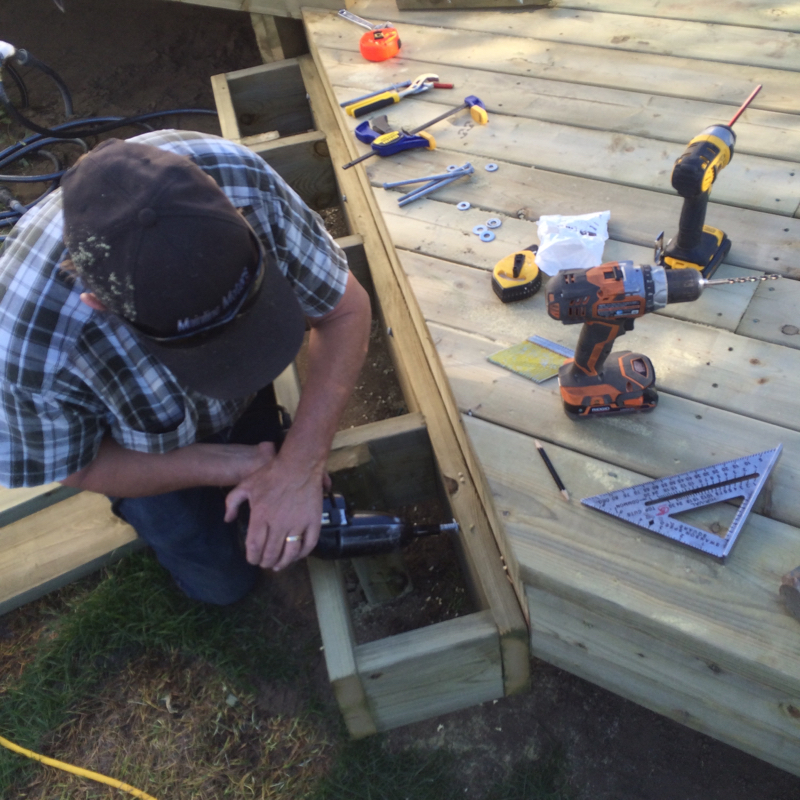 Building the stairs using mini decks! 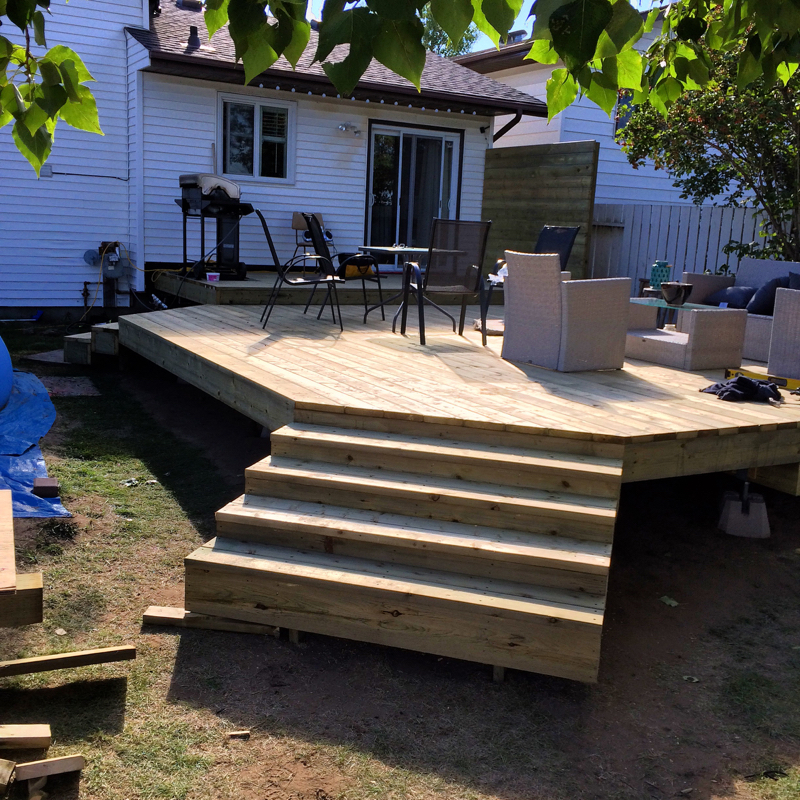 Steps on both ends are installed and the privacy wall is up and secured! 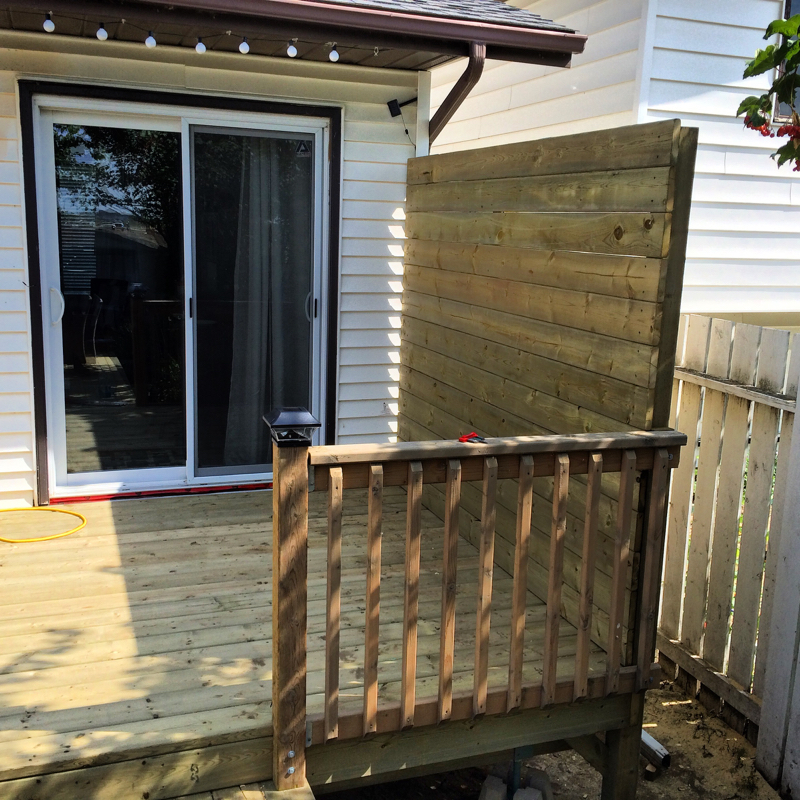 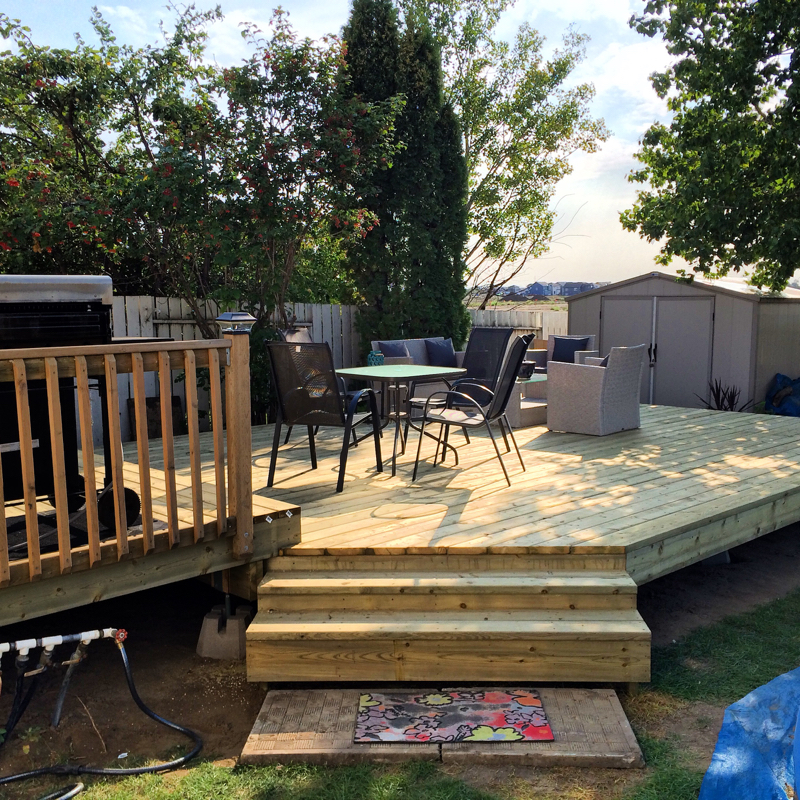 Reclaimed railings installed and deck is ready for some very large bbq shindigs! This deck build went very smoothly seeing as we were able to get done in just over 2 days! Thanks for checking out my work! I'm working on building up stock for my sale at Kayben Farms Pumpkin Days on October 3 & 4! More photos are coming! Hi Everyone, Here's my video on how to cut circles using a circle cutting jig I built for the table saw. Enjoy! Please share! I have another video i'm working on too i hope to post it soon. Thanks so much for checking out my work and supporting my woodworking addiction! 8/18/2015 0 Comments Mother's Day Box - Finally!Hi Everyone! It been a really long time coming and I finally solved my problem with this box which I'll tell you about. I built my wife a first Mother's Day box with a poem and a photo of our daughter's feet transferred to the inside top and bottom of the box. The box is made of Baltic birch plywood with Walnut and curly maple veneer. Around the top and bottom is birds eye maple trim. The corners are mitred with maple spline joints in the corners for strength.  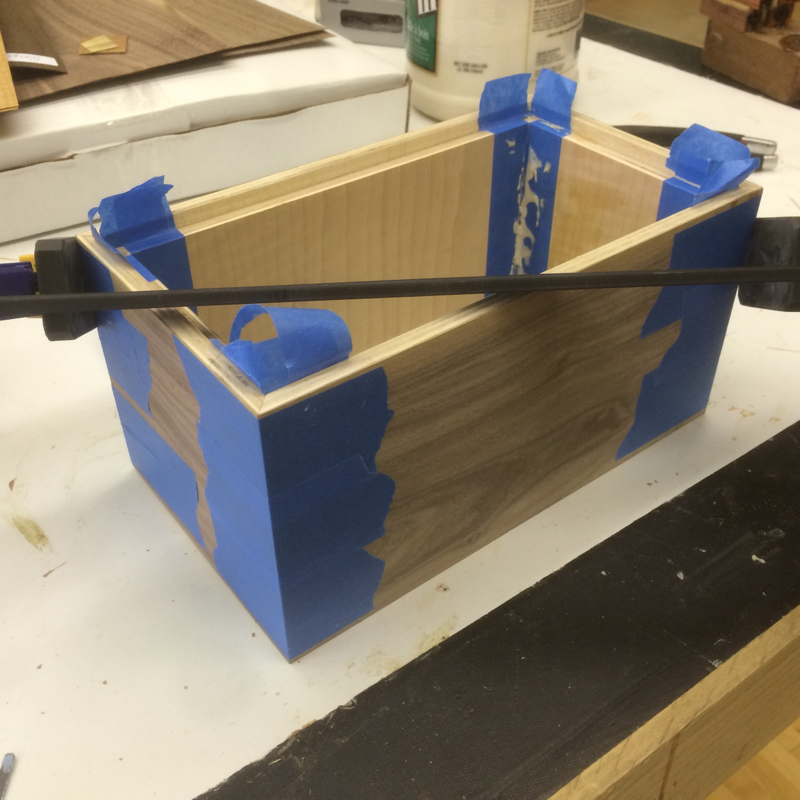 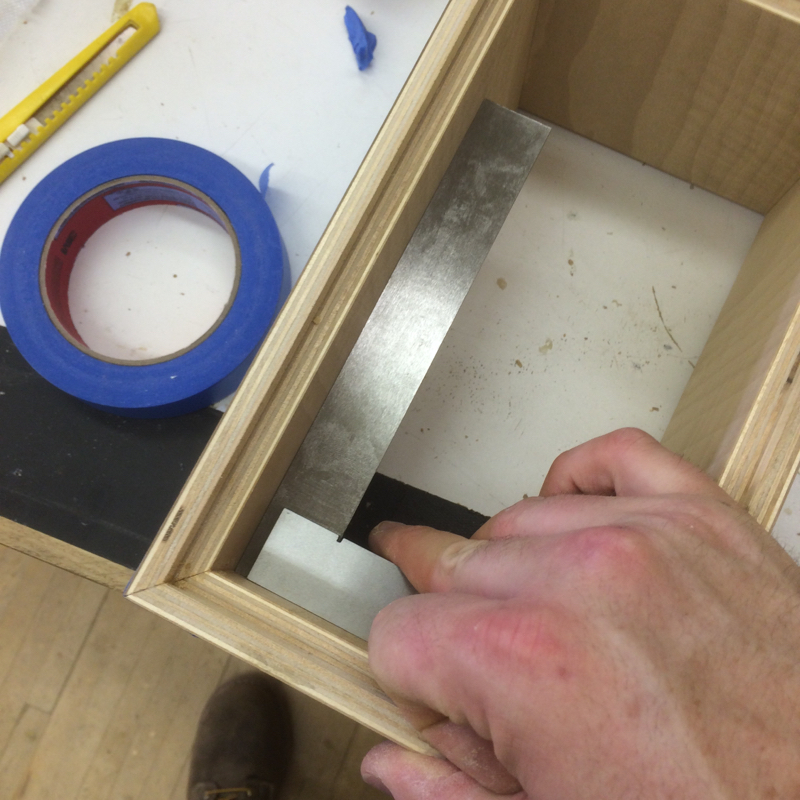 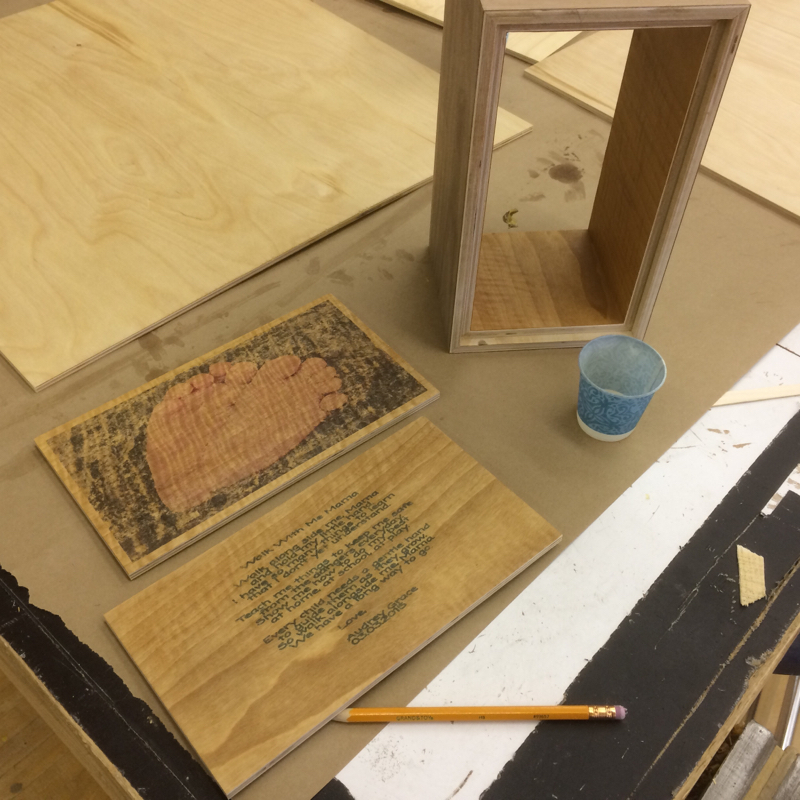 I veneered the outer and inner surfaces of the box and sanded the inside surfaces smooth. Then transferred the images to the inner surfaces and applied a couple of coats of satin wipe on polyurethane to protect and seal the images. 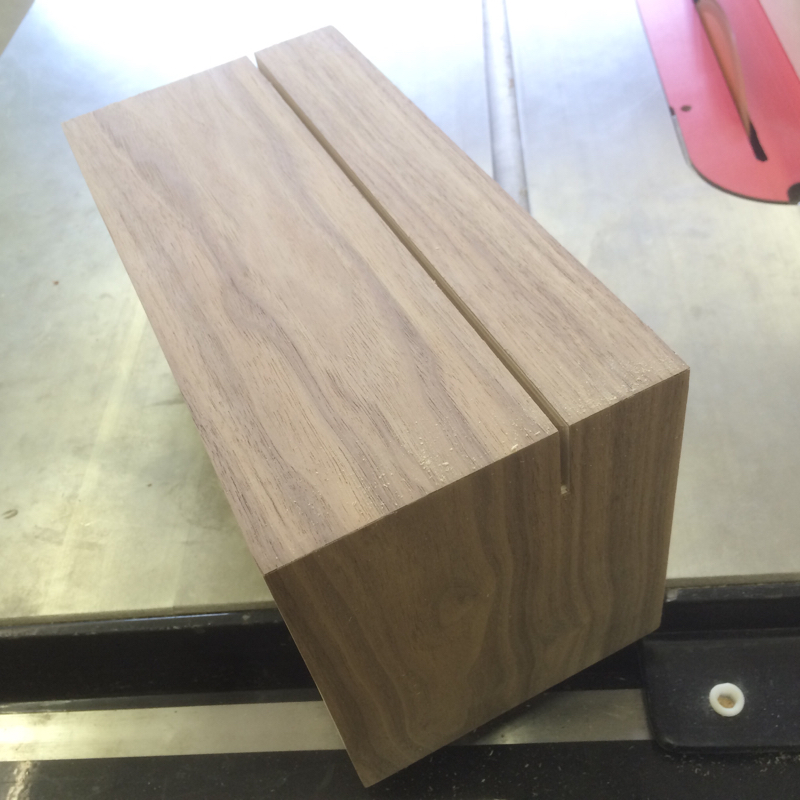 After gluing the top and bottom of the box in, I cut the lid off to allow me to begin work on the outer surfaces. I should have cut my splines into the box while it was still one big block but it didn't cause an issue. 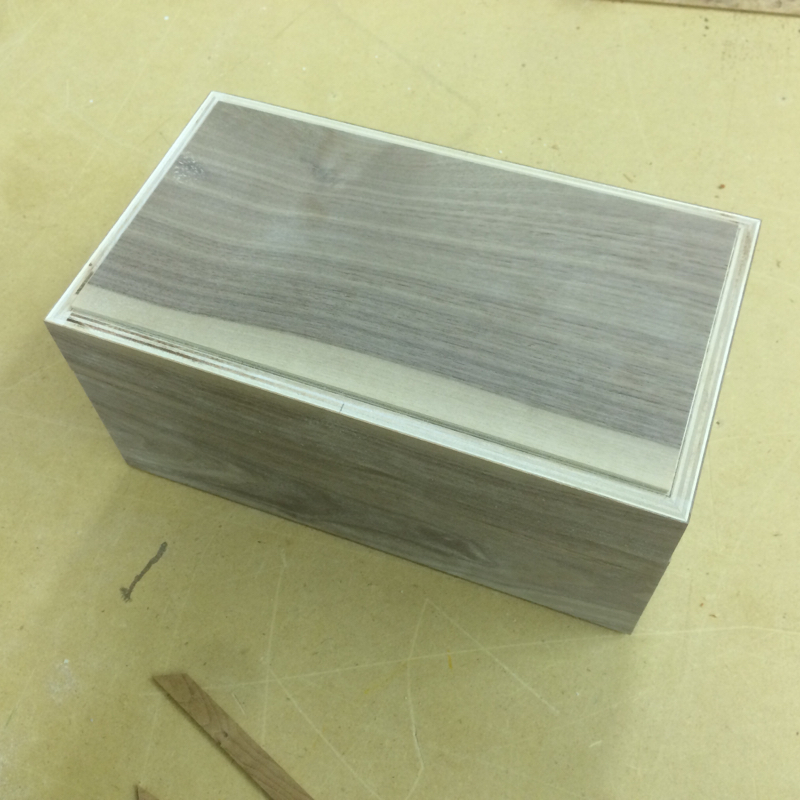 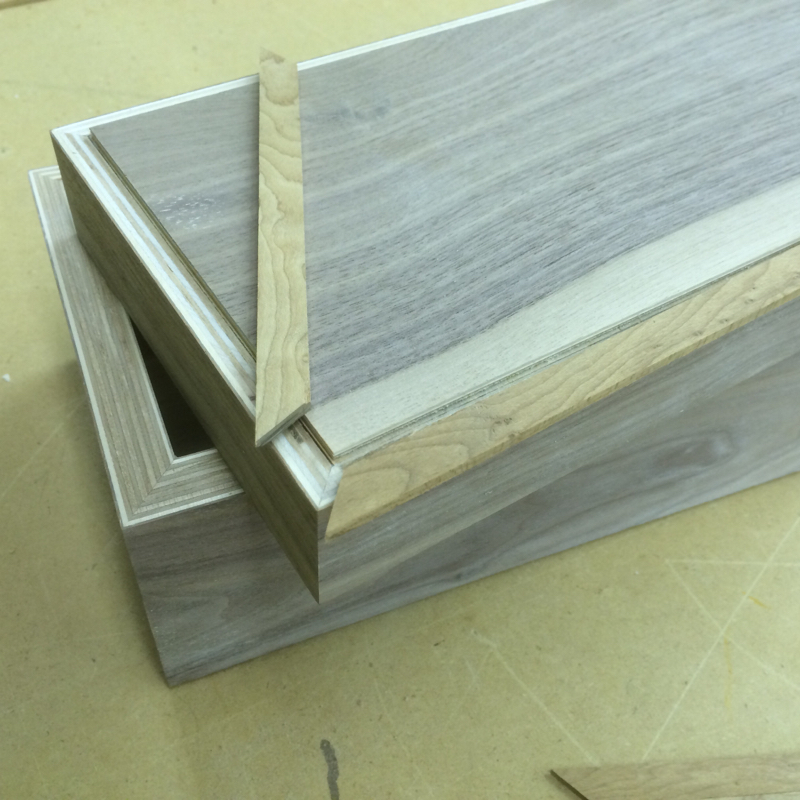 I then smoothed the edges around the box lid and base making a channel for some edge trim. I used birds eye maple to contrast with the walnut and because I had just enough scraps to finish this off nicely. After cutting the grooves, I mitred the Birdseye maple to fit the box lid and bottom then epoxied the trim into place. After smoothing and removing the excess epoxy, I moved onto the spline joints. 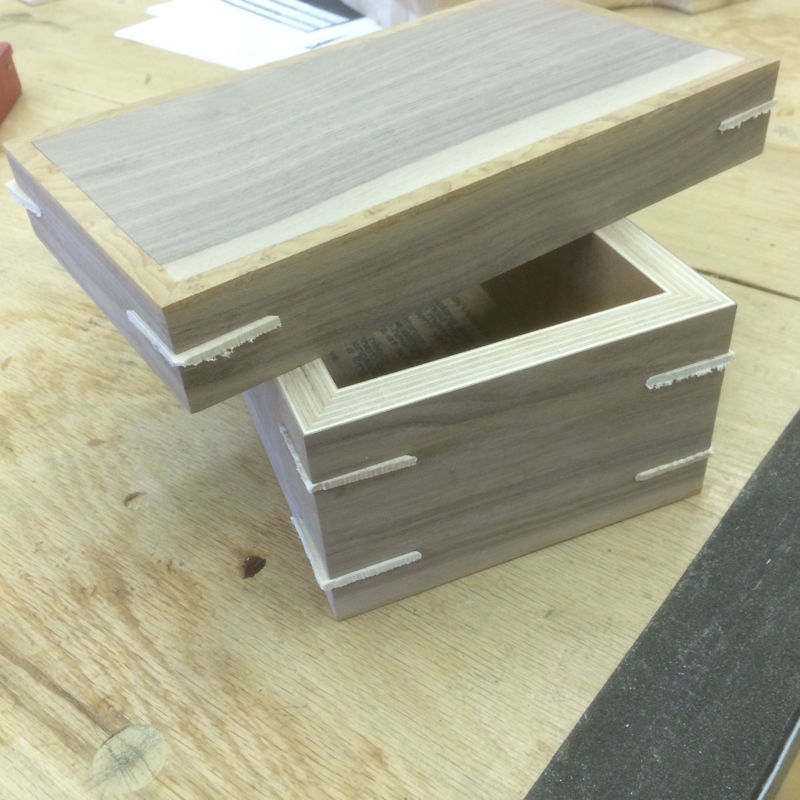 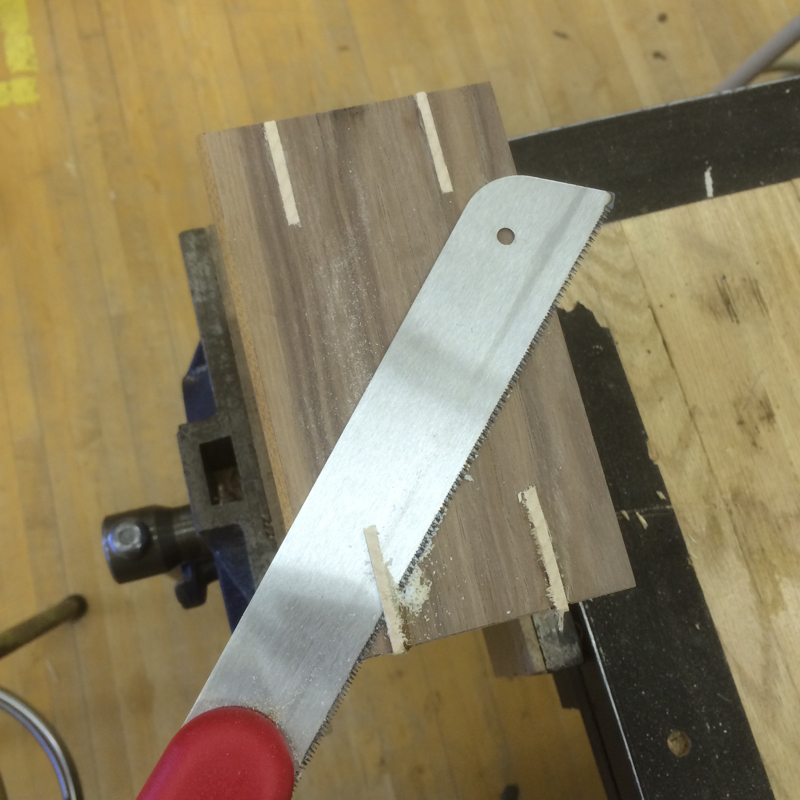 Using my spline jig, I cut three evenly spaced spline joints and epoxied the maple keys into each slot. After the epoxy dried, I used a flush trim saw to remove most of the excess and then sanded the surfaces smooth using 220 grit sandpaper and a soft hand. 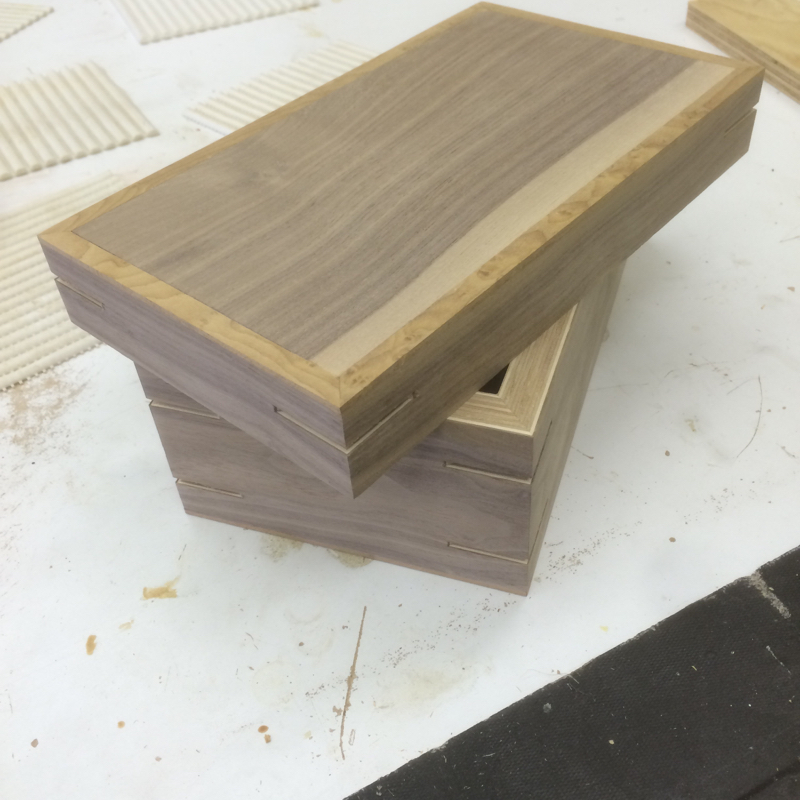 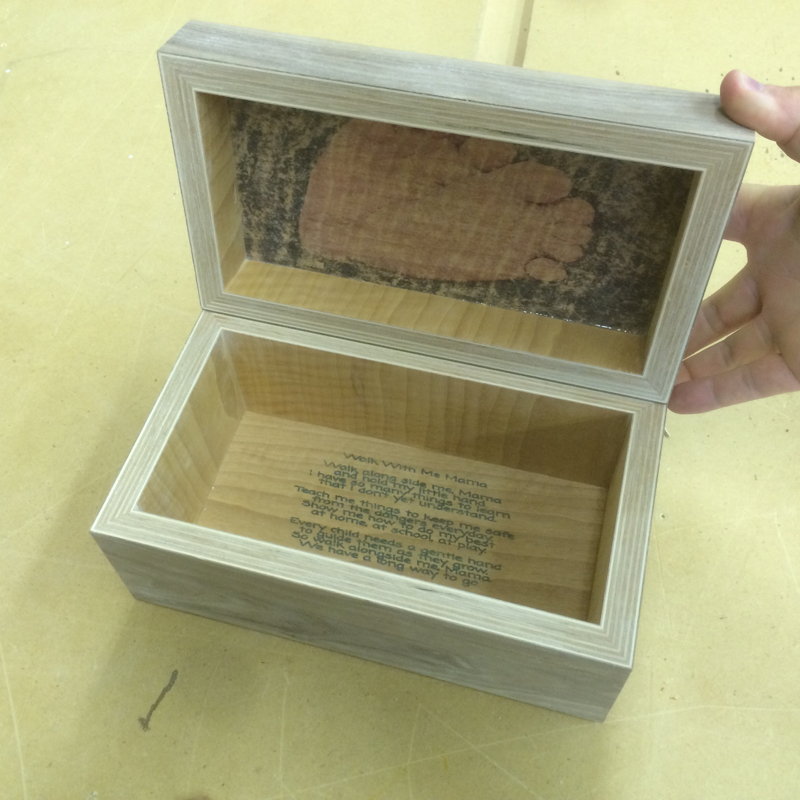 After sanding was finished, it was finally time to finish the outer surfaces. I applied about 5-6 coats of satin wipe on polyurethane and sanded between coats with 320 grit sandpaper to smooth any dust particles in the finish. This REALLY made the figure in the wood grain pop! 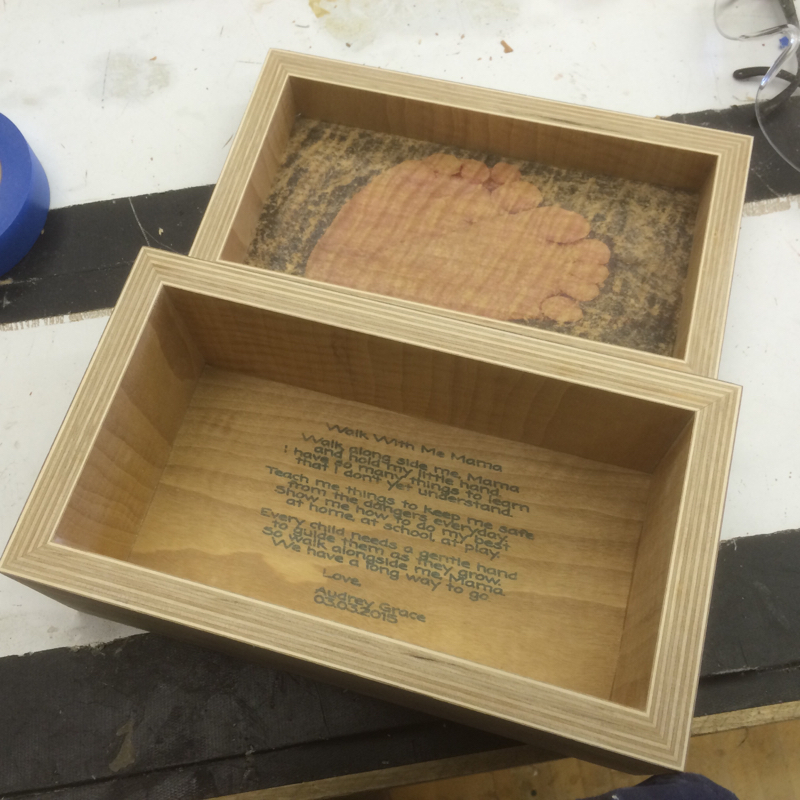 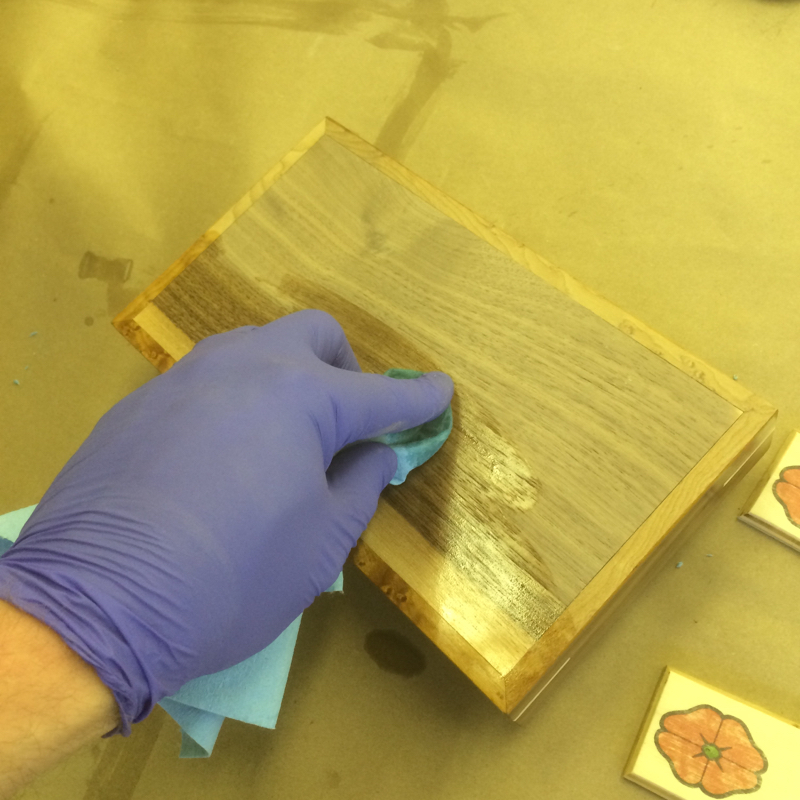 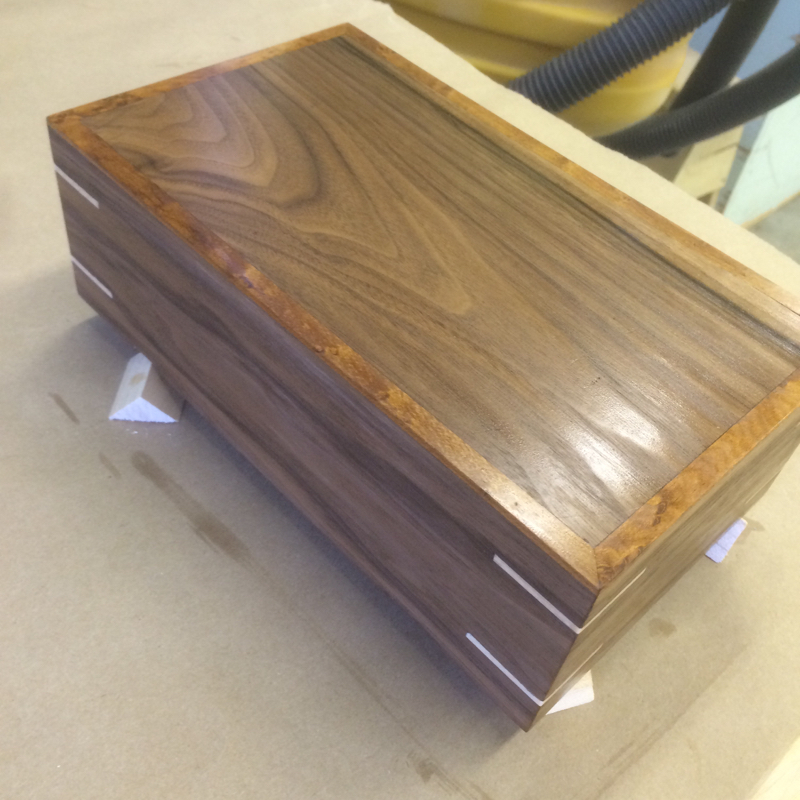 Coat 1  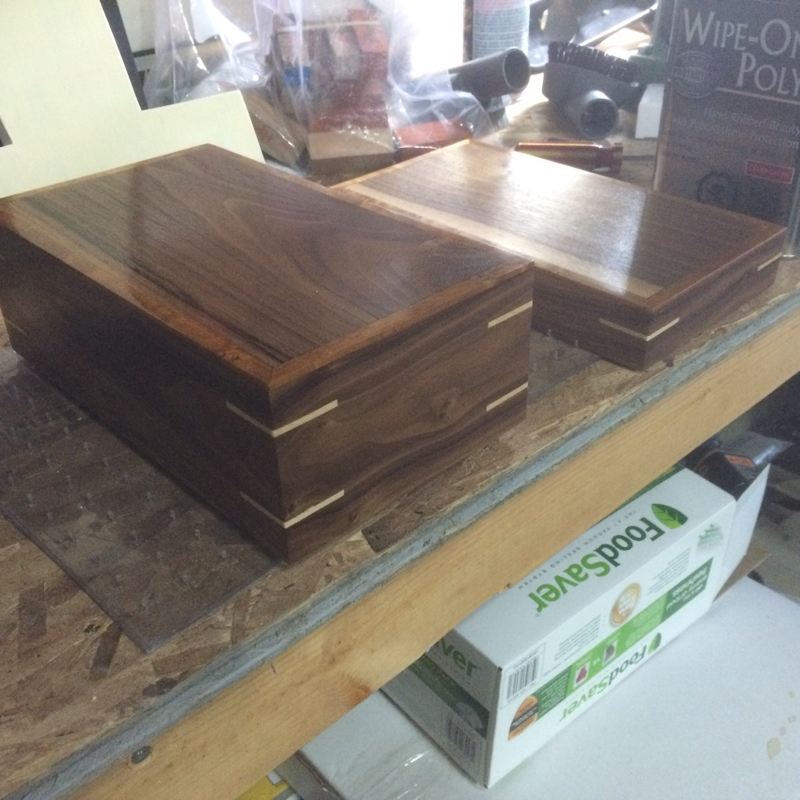 Coat 4! 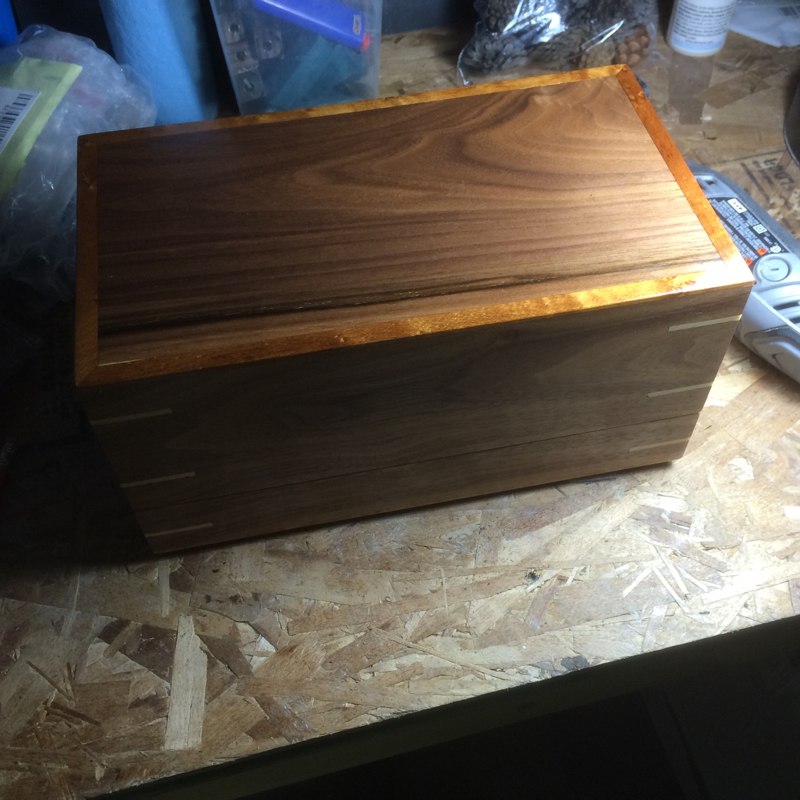 Now onto the mistake part... I purchased a really expensive set of hinge hardware for this box to learn to install them. This ended up being a disaster because the hinges I purchased weren't heavy enough to handle the weight of the lid when opened. 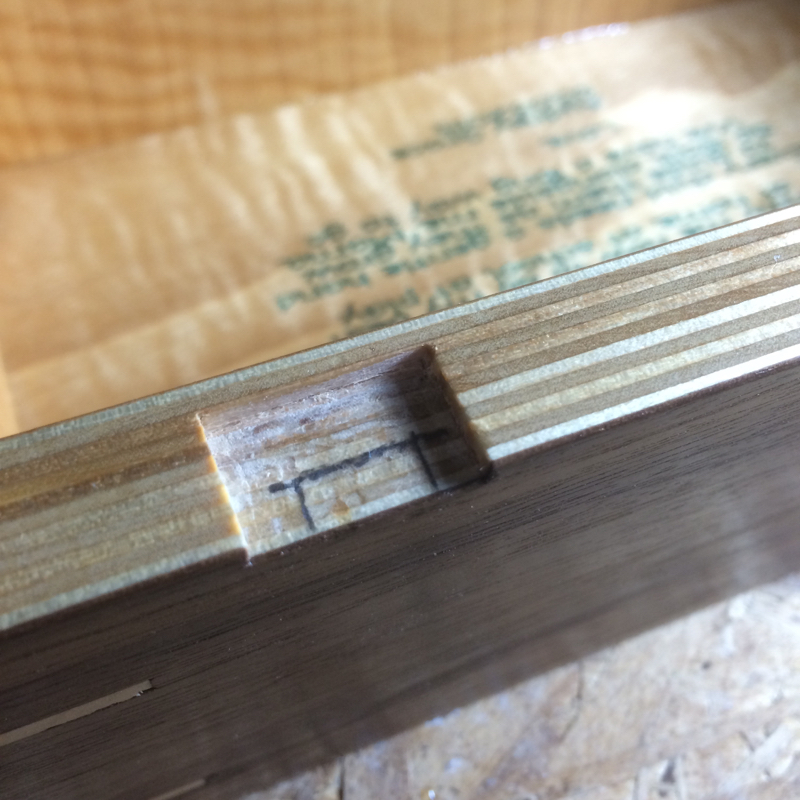 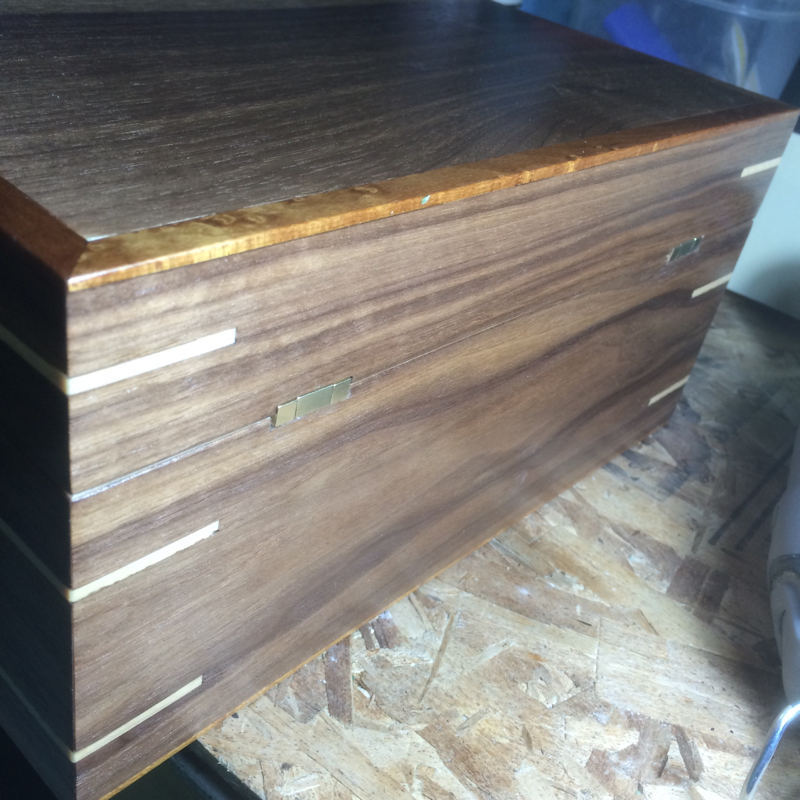 Doh! So, I had to cut the lid and box frames a bit shorter to accomodate a different hinge set. By that time I gave the unfinished box to my wife and told her my woes. She came to the store with me and picked out a different set she liked and would be hefty enough to handle the lid. Also, the hinges mounted from the outside of the box so booya! Here's the finished Mother's Day box: 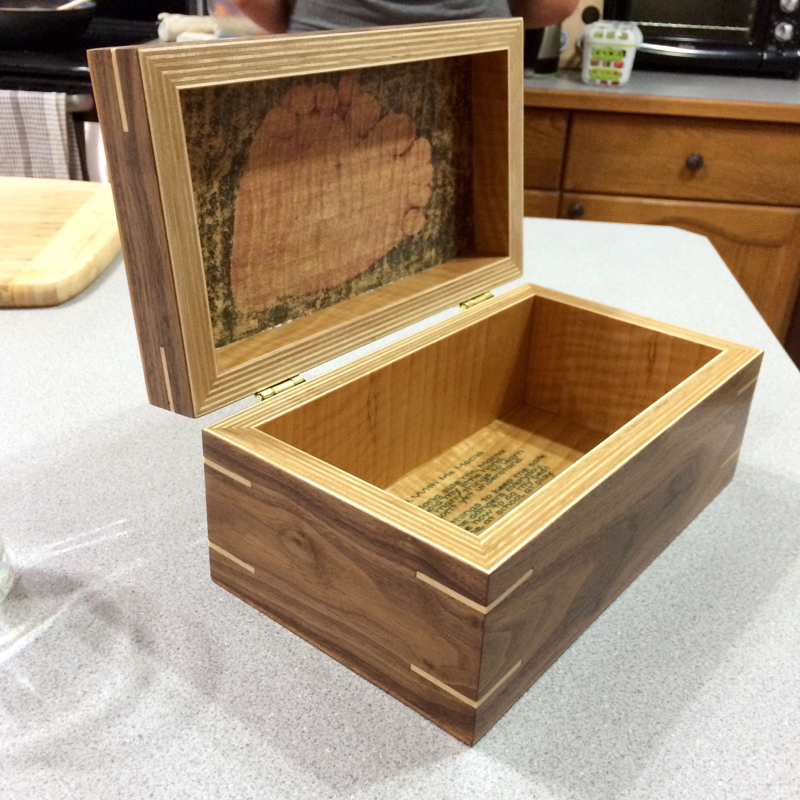 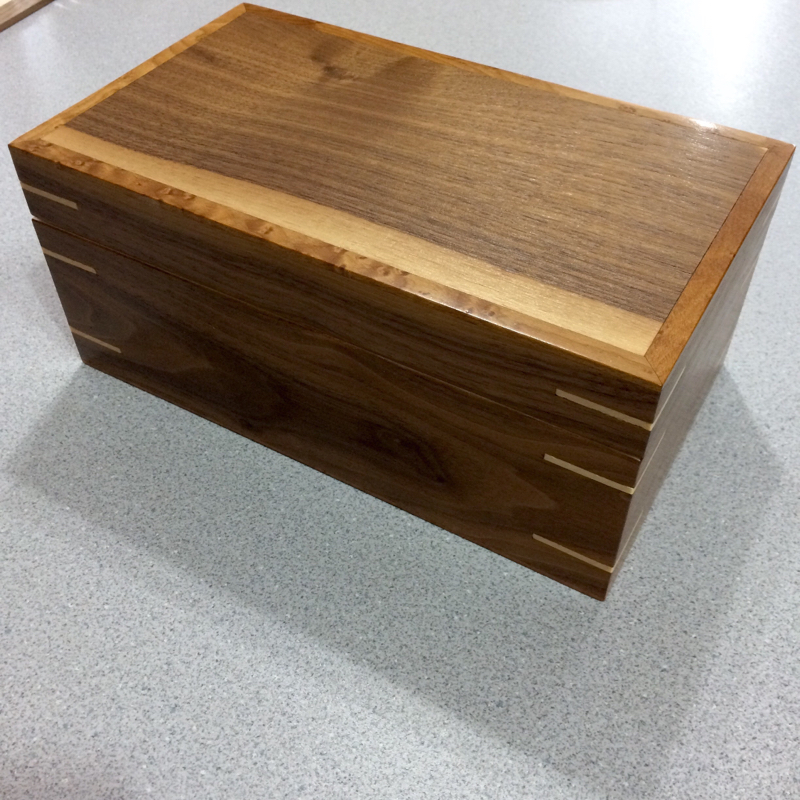 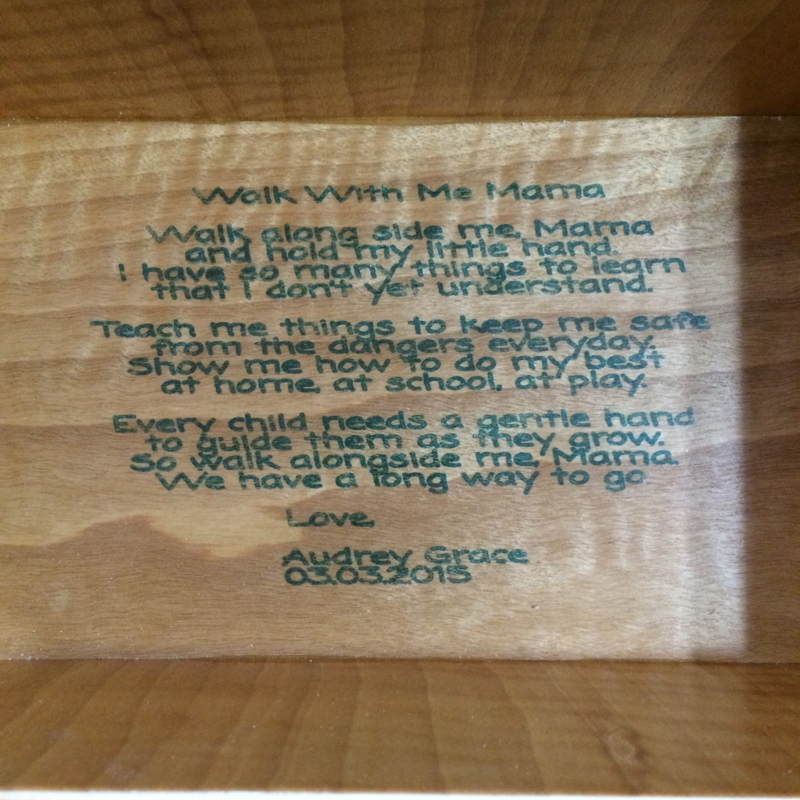 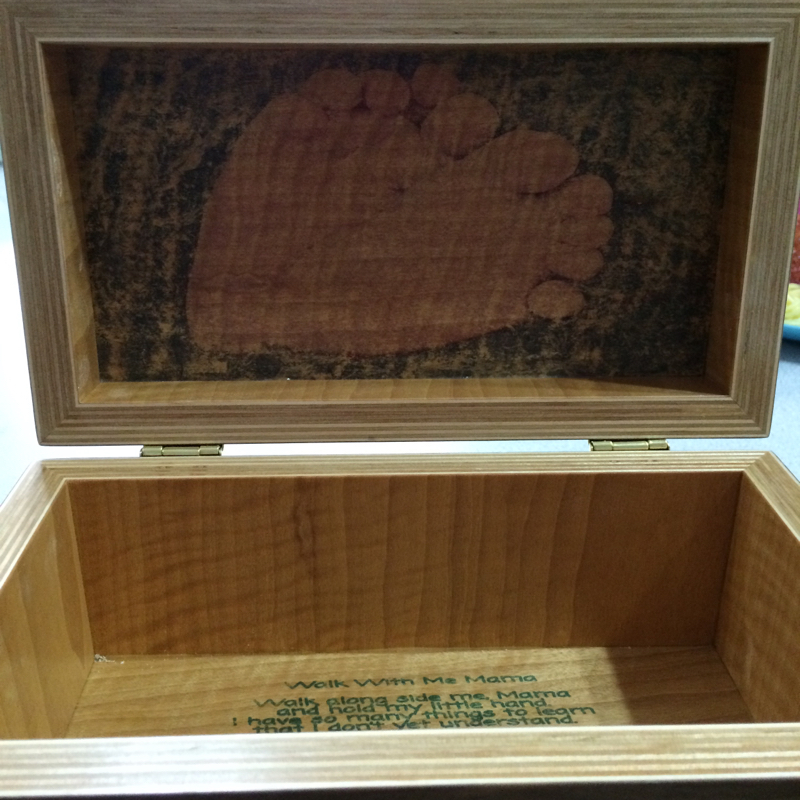 Thanks for checking out my work! I'll be taking orders for boxes similar to this one at Kayben Farms' Pumpkin Days! Read my previous post for details or contact me directly to order. There's a lot of project work coming! Stay frosted for updates. I've already sold some of the projects being built - whew! This is a lot of work but lots of fun.  Hi Everyone! It's been confirmed! I'll be hosting a table at the Kayben Farms Pumpkin Days! It'll be at Kayben Farms in Okotoks, Alberta from 10:00am - 5:00pm. I'm super excited to announce this as it'll be my first time selling my project work at a market that isn't through third party vendor! Come on down and say hi! Bring your kids! Buy some of my cool woodworking and continue to support my Woodworking addiction! I will also be taking orders until the end of August so that I have time to complete them before the market so you could pick up the orders while you're there! I will also be taking orders at the market for items that you would like for Christmas as well. I will be able to accept payment in Cash and Credit as well. I will be posting project work that I will be bringing with me to the market here and on my instagram! Be sure to follow me and make suggestions/requests if you would like something specific! I'm really excited! See you there!! -Brad 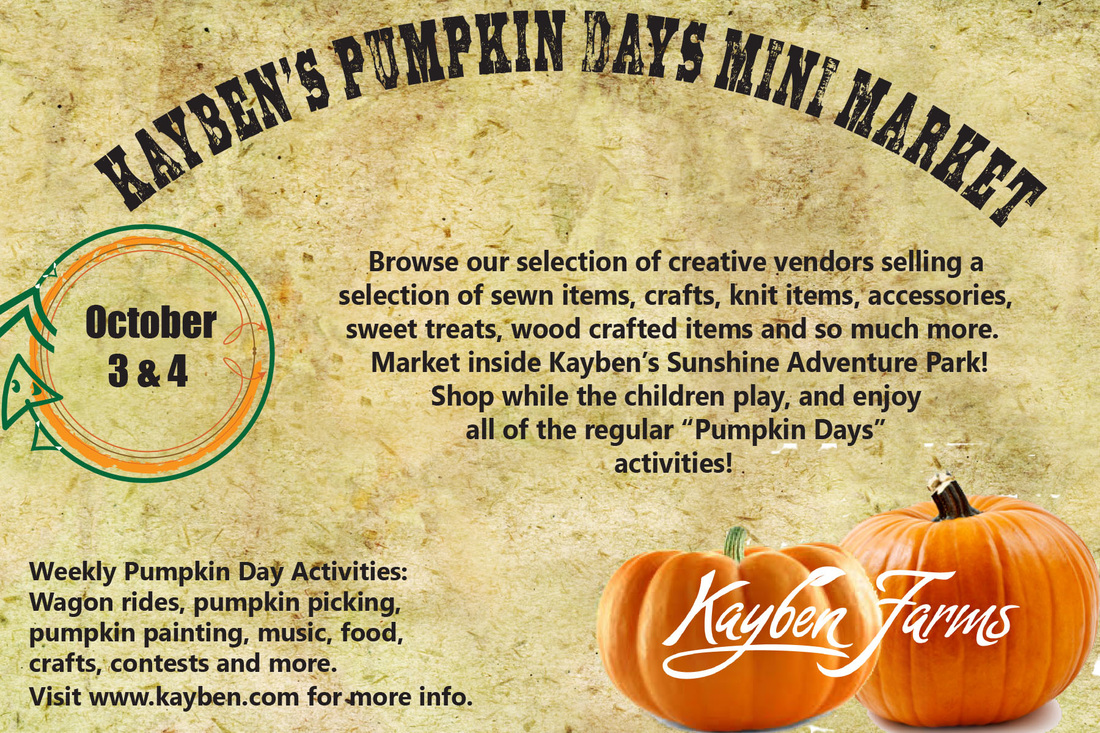 |
AuthorWelcome to WoodProjectsbyBagel! Archives
March 2018
|


 RSS Feed
