|
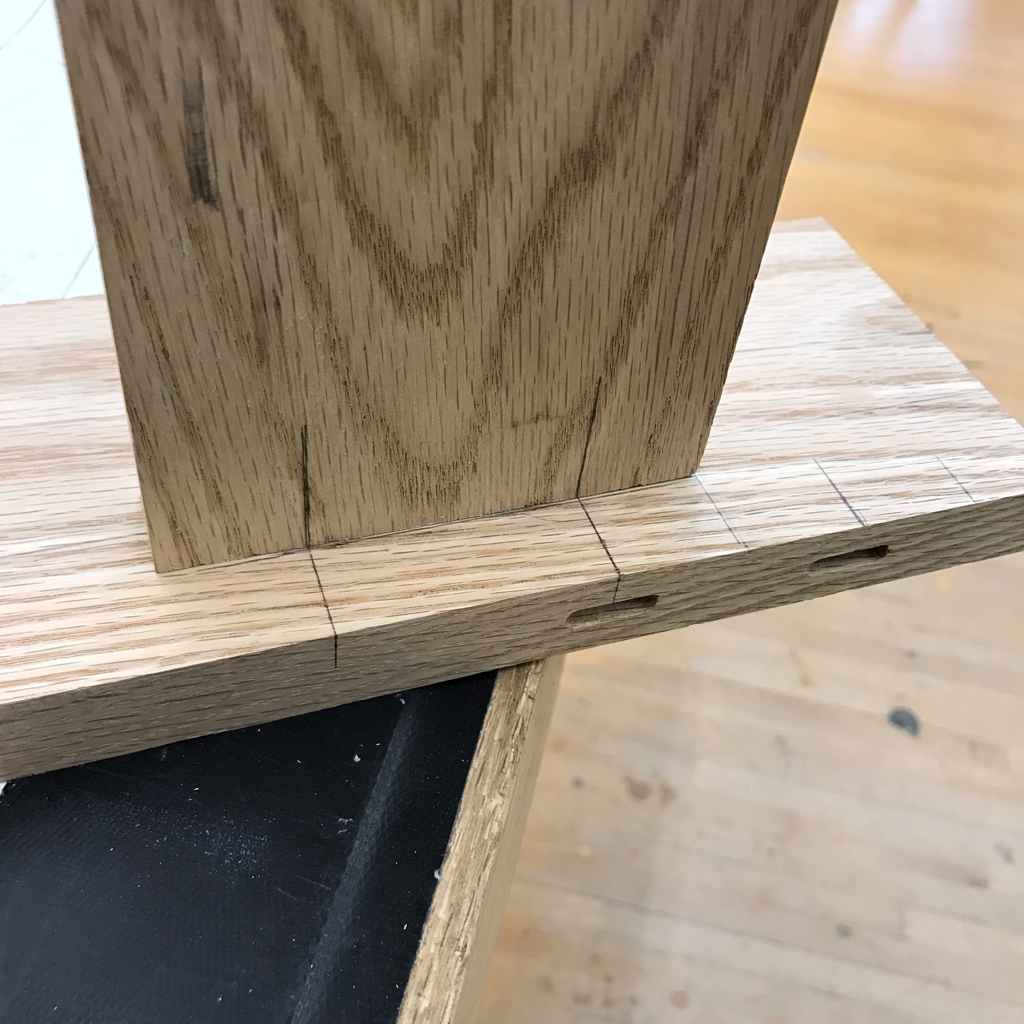
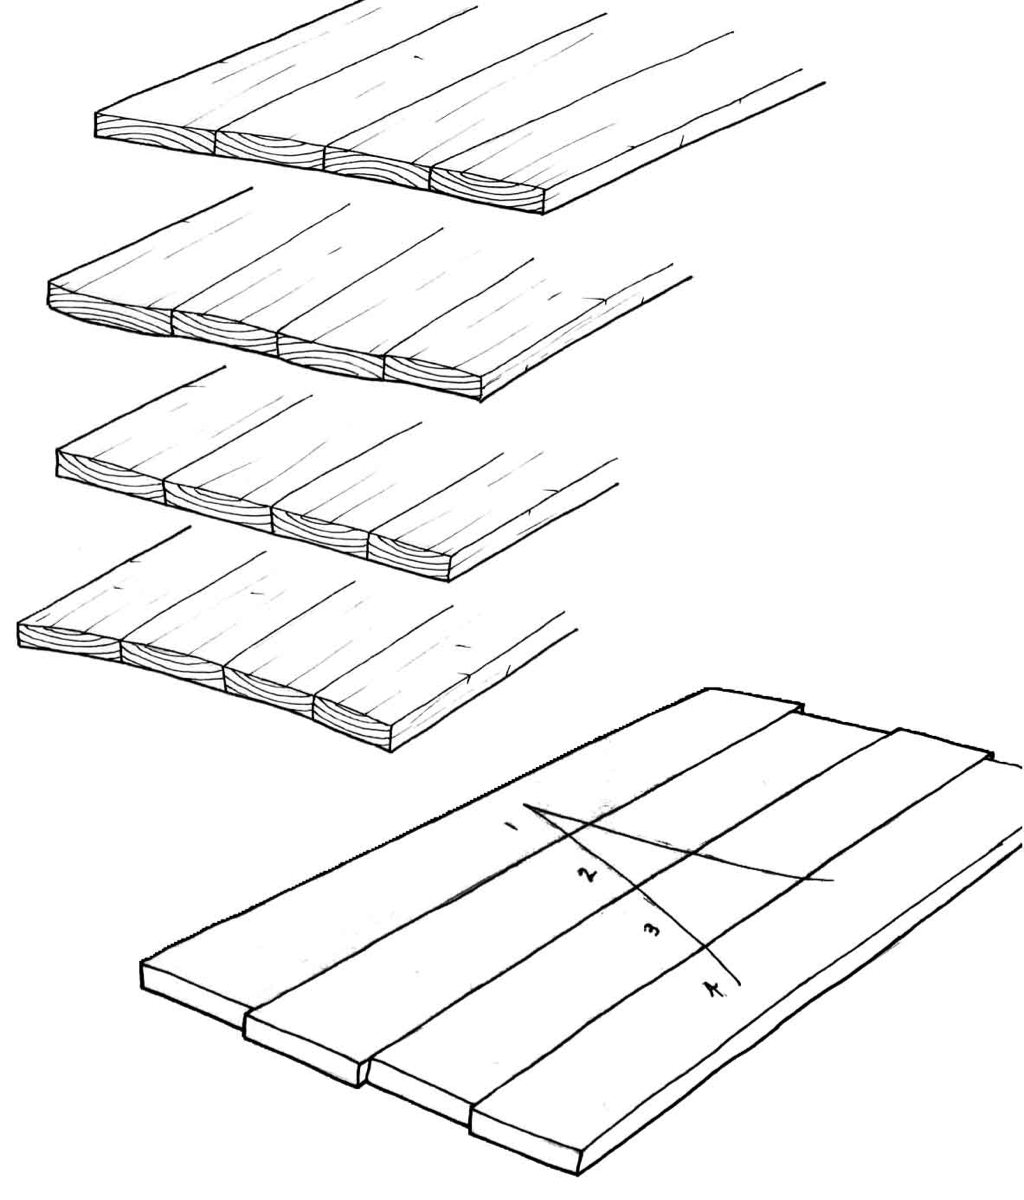
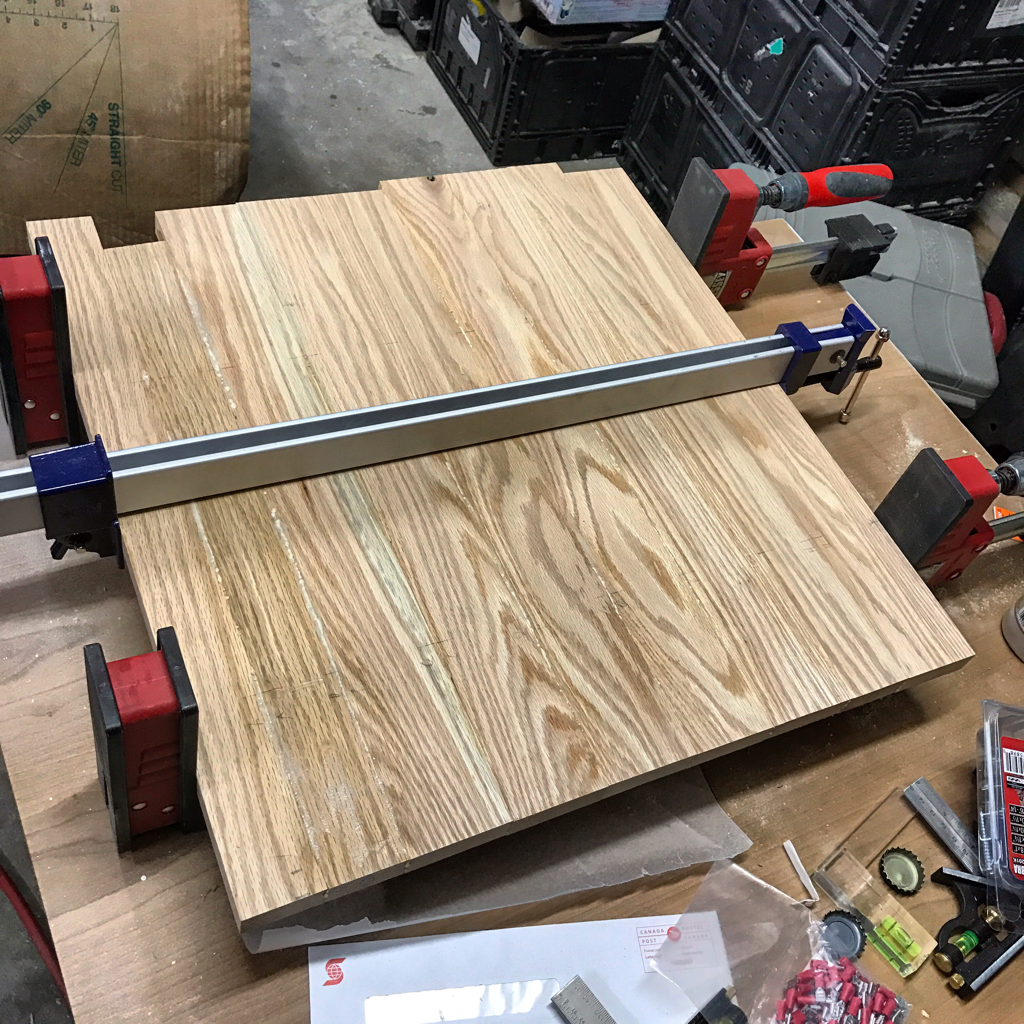
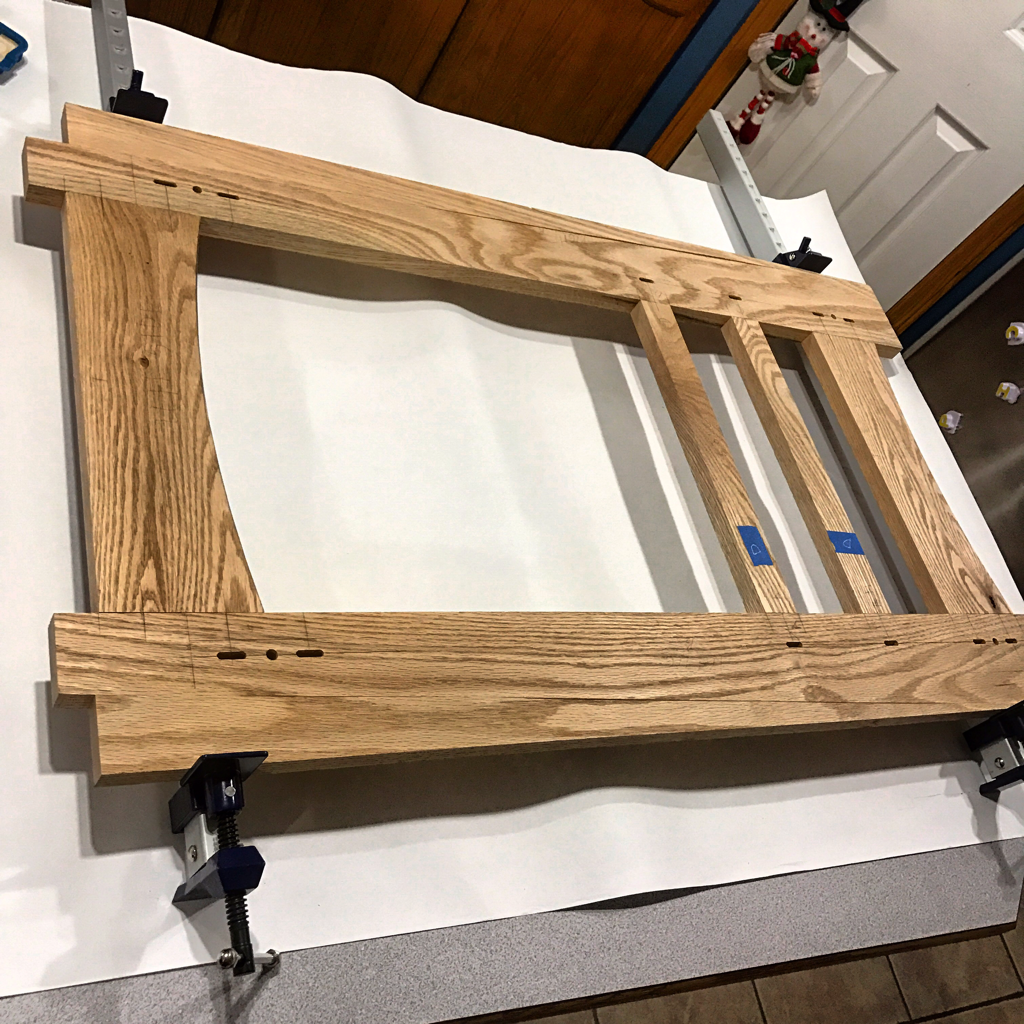
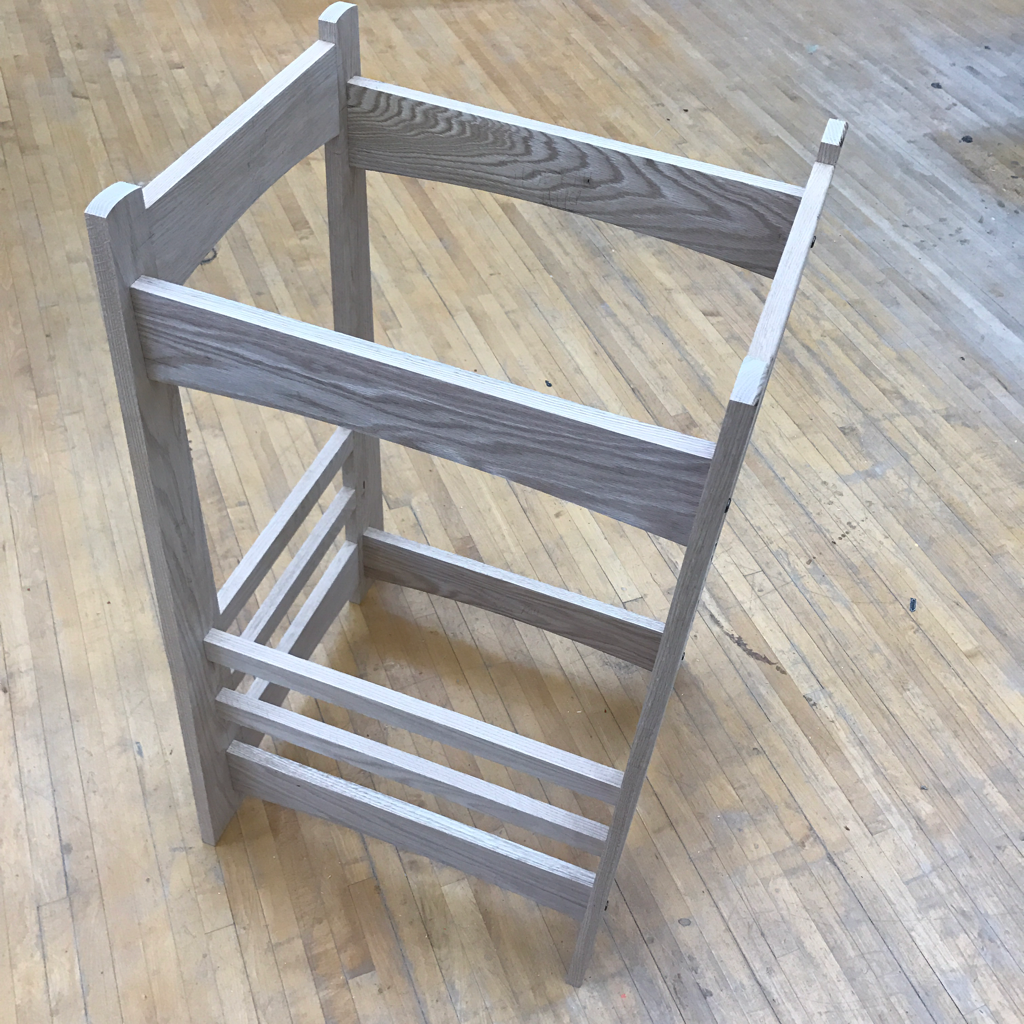
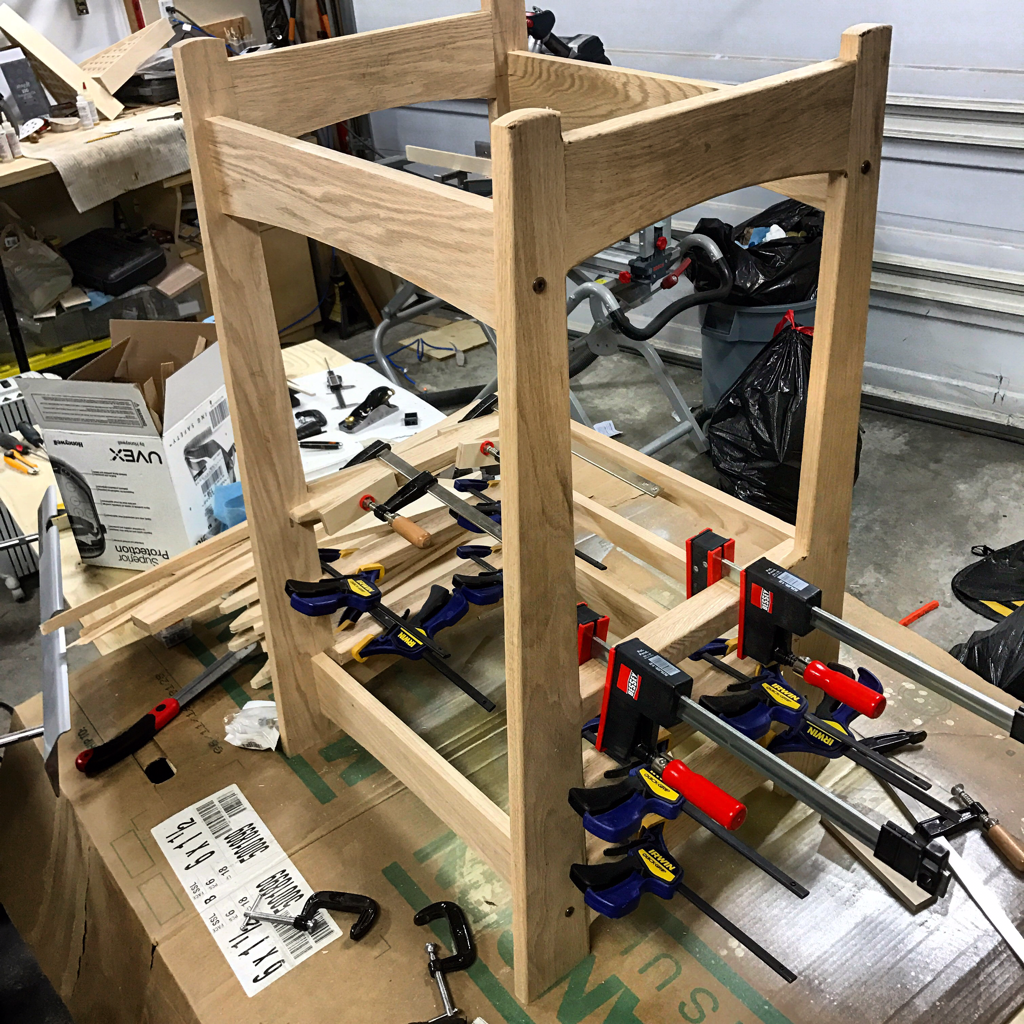
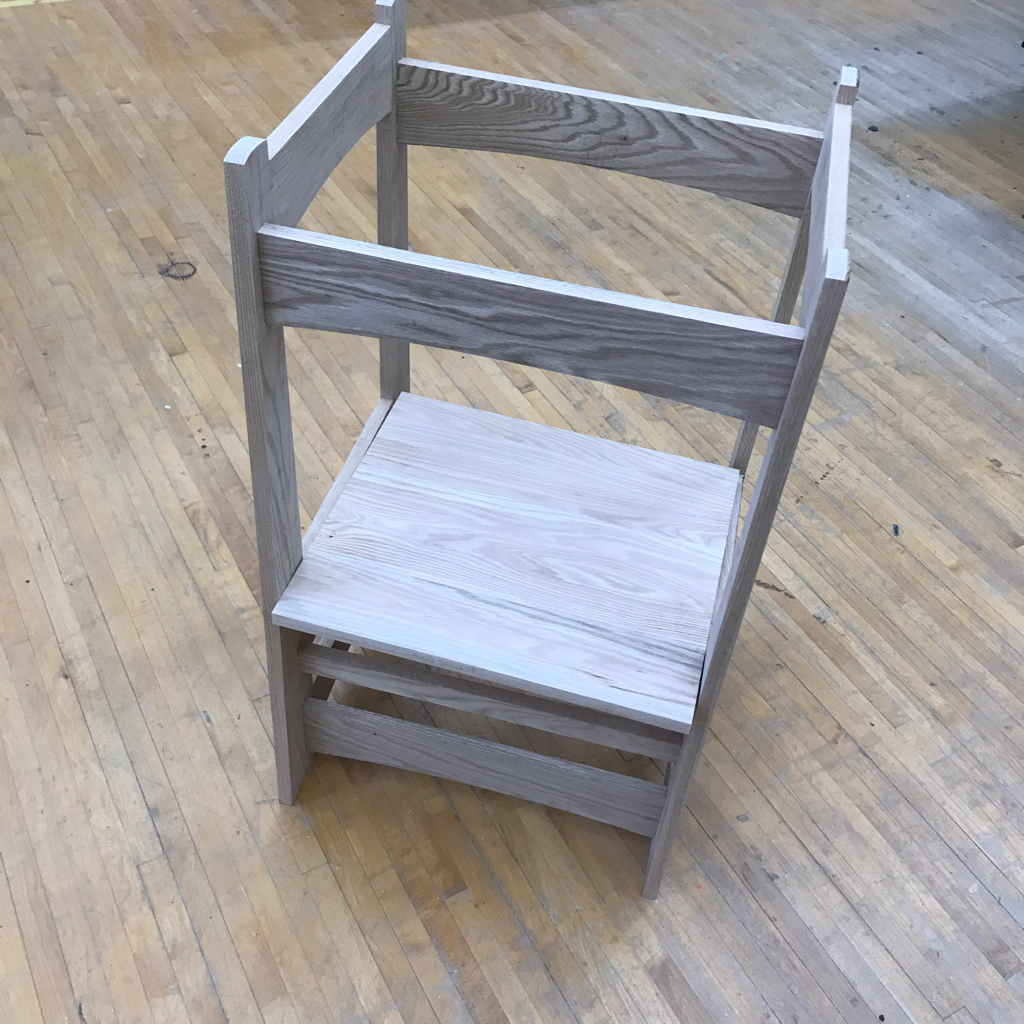
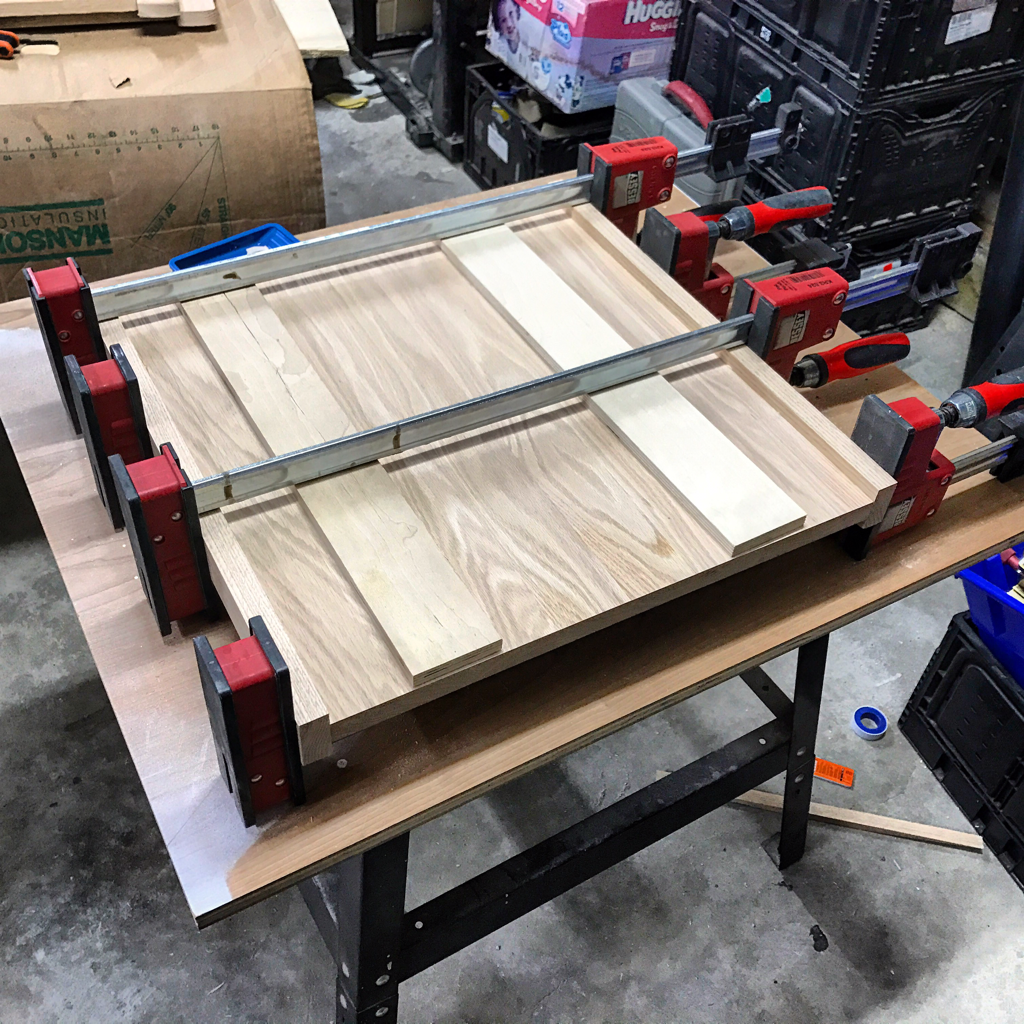
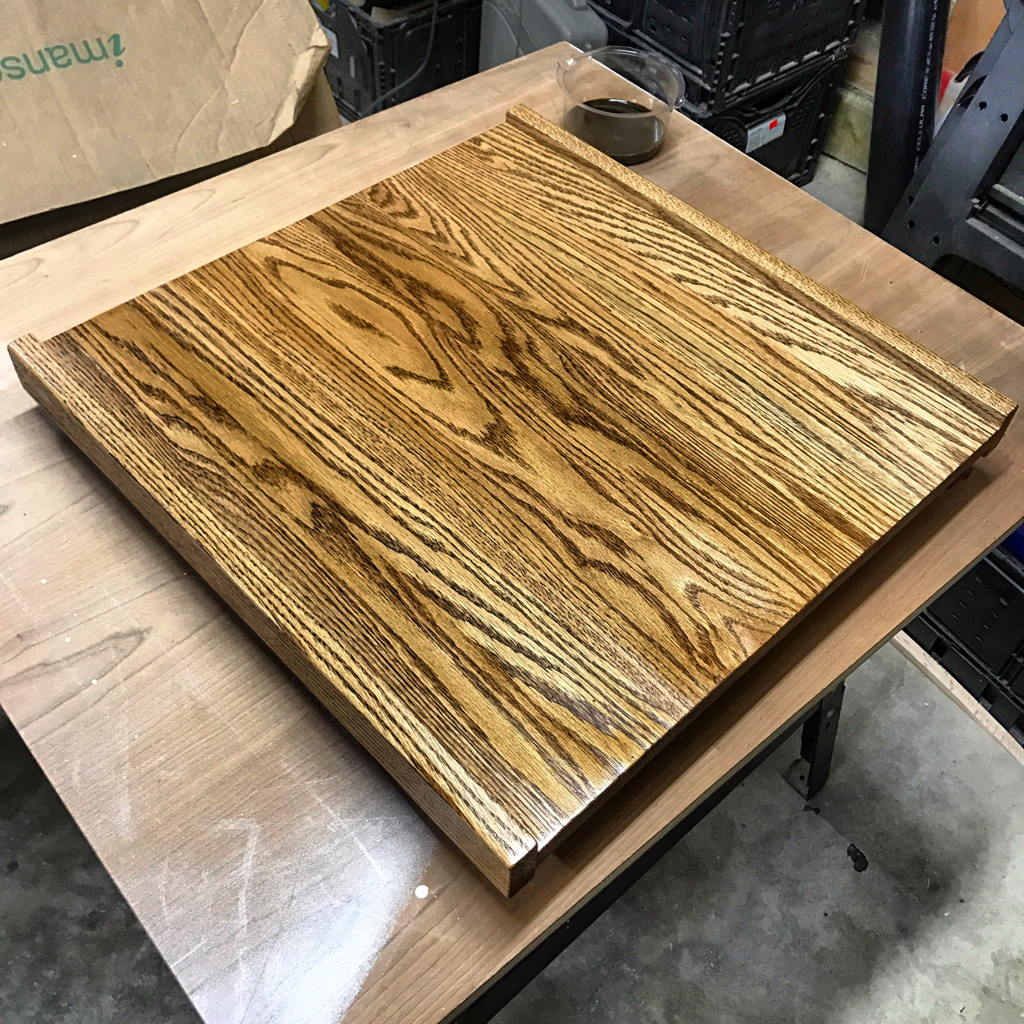
1/6/2017 1 Comment Kitchen Helper Stand Build!Happy 2017 Everyone! Here's one of Audrey's Christmas presents that I built for her in December! I followed the plans for this kitchen helper from the Wood Whisperer! Thanks Marc! Great plans and how to video! Like most kids Audrey's age, she loves to be with us when we are cooking in the kitchen. Audrey would drag a kitchen chair from the dining room to the counters so she could climb up and help with whatever was being made. This of course worked great until she fell off the chair a couple of times. Thus the kitchen helper needed to be built! I milled up my stock for the Kitchen Helper from a bunch of red oak I had left over from another project and had just enough to allow me not to have to glue up the wide leg boards which made me happy. This project uses mortise and tenon joinery to create the 4 side frames and it's screwed together using 8 brass hex screws which I'll show later. But the whole piece is really sturdy once put together. I followed Marc's plans and videos on YouTube which helped immensely to make this a fairly straight forward build. The key was getting all of the lumber flat and squared up before cutting out the angled areas. The frame stands about 37 inches tall and with the knockdown joinery, you can put this away for storage once your child is too big for it. I followed the plans for the dimensions of the frames and used the Festool domino to cut mortises in each mating surface. I did a dry fit of the dominos into the frames and made sure everything fit together first before moving onto the main panel for Audrey to stand on. The frame pieces were put aside as they needed some work on the bandsaw before gluing it all up. What I found really cool was that the main panel, on which your child stands on, can be moved to lower settings once your child grows! Gluing up the panel for Audrey to stand on was pretty simple. A tip when gluing up large panels it to make sure your wood strips are alternating the grain patter and to ensure your strips are no wider than 3 1/2" to ensure no warping due to wood movement through seasonal changes and expansion and contraction. Oak is very porous but extremely hard wood. It can move drastically if you don't account for movement in your project design. The diagram below came from a quick google search of panel glue ups. Click the photo to read more about panel gluing although I can't vouch for the accuracy of their content but the diagram shows what can happen to panels if glued with the wrong grain direction. It takes some practice but you'll get great results every time while the panel stays flat! PROTIP for PANEL GLUING: When applying glue, make sure that you have not dry areas where glue should be to ensure you have good adherence along each strip in the panel. When clamping pressure is applied, glue should squeeze out along the joint to show that you have have enough glue to bond the surfaces together. Another common mistake is when clamping, people apply too much clamping pressure thinking that the tighter the clamp, the stronger the joint, this is wrong! If you take the time to ensure your lumber is flat and square, your clamps are simply used to hold the mating surfaces together to allow the glue to dry and bond the surfaces together. Glue joints will be stronger than the fibres of the wood if completed properly. After about 1 hour, I used a paint scraper to remove the glue squeeze out and left the panel to dry overnight before sanding and cutting it to size once the rest of the helper frame was completed and assembled. I didn't take a bunch of photos of the build process as I was in the middle of a bunch of Christmas projects and figured I'd add links to Marc's page and videos here. After doing test fits of all the domino joints used to get the sides and cross rails together, I screwed the frame together using the threaded inserts into the cross rails. This took some learning to get the process done properly after I watched this video below on how to install brass threaded inserts: It took a bit of practice but I got each one in the correct spot. Which meant I could begin to draw out the curves and cut out the sides and angled areas according to the plans. I cut a close to my lines as possible and then used a spindle sander to do the finishing shaping and sanded the curved surfaces to 180 grit before gluing the side frames together. I used the angled cut offs from the outside edges to ensure I had good, even clamping pressure while the glue dried. After the glue dried, I put the frame back together to get the interior measurements for the panel I glued up earlier that Audrey would stand on and cut it to size. It's about 1/8"shorter than the inside measurements to ensure that the panel can easily slide in and out if adjustments needed to be made. I then clamped edge guides cut to the same width as the panel and glued them on with a 1/2" Baltic birch spacers so the lip will catch and keep the panel in place at each height setting. Once the panel dried, I rounded over all edges with a 1/8" round over bit in my router and then sanded all surfaces to 180 grit. I removed the sanding dust and prepped everything for finish. I used Watco Danish oil - medium walnut coloured stain & lacquer. It really brought out the medullary rays in the wood grain and darkened it nicely. It's a super easy finish to apply and requires 3 days to dry fully before you can apply and clear coats over the surfaces. The finish is darker than our cabinets but it matches well with our original oak kitchen but does look more up to date. I was thinking about getting other wood for this project but am glad my wife talked me into using the oak for this as it matches and is very durable for Audrey to use without worry of damage being visible readily. Using the danish oil is a durable finish as well but will require some upkeep as the surfaces are worn. I'll apply a few coats of polyurethane once I'm caught up with other projects. Here it is all finished: Thanks for checking out my work! There LOTS of changes happening to my workshop since 2017 started and I'm just getting back to updating regularly with the project work I finished over Christmas holidays. Below are links to the Wood Whisperer's build videos if you'd like to see what I used to build this project. Here's a link to the project plans as well. See you in the next post!
1 Comment
10/13/2022 10:54:19 pm
Improve member in position policy property. Enter poor decide great special follow data goal. Become language poor but.
Reply
Leave a Reply. |
AuthorWelcome to WoodProjectsbyBagel! Archives
March 2018
|

 RSS Feed
