
|
Hi Everyone! Merry Christmas to all who celebrate and Happy Holidays to everyone else! I hope this season has been festive and enjoyable for you and all of your loved ones. Here's a gift I made for my wife. I turned a Pizza Cutter Handle on the lathe using a dowel inlay technique in the end of the handle. I'll explain below how I did it: 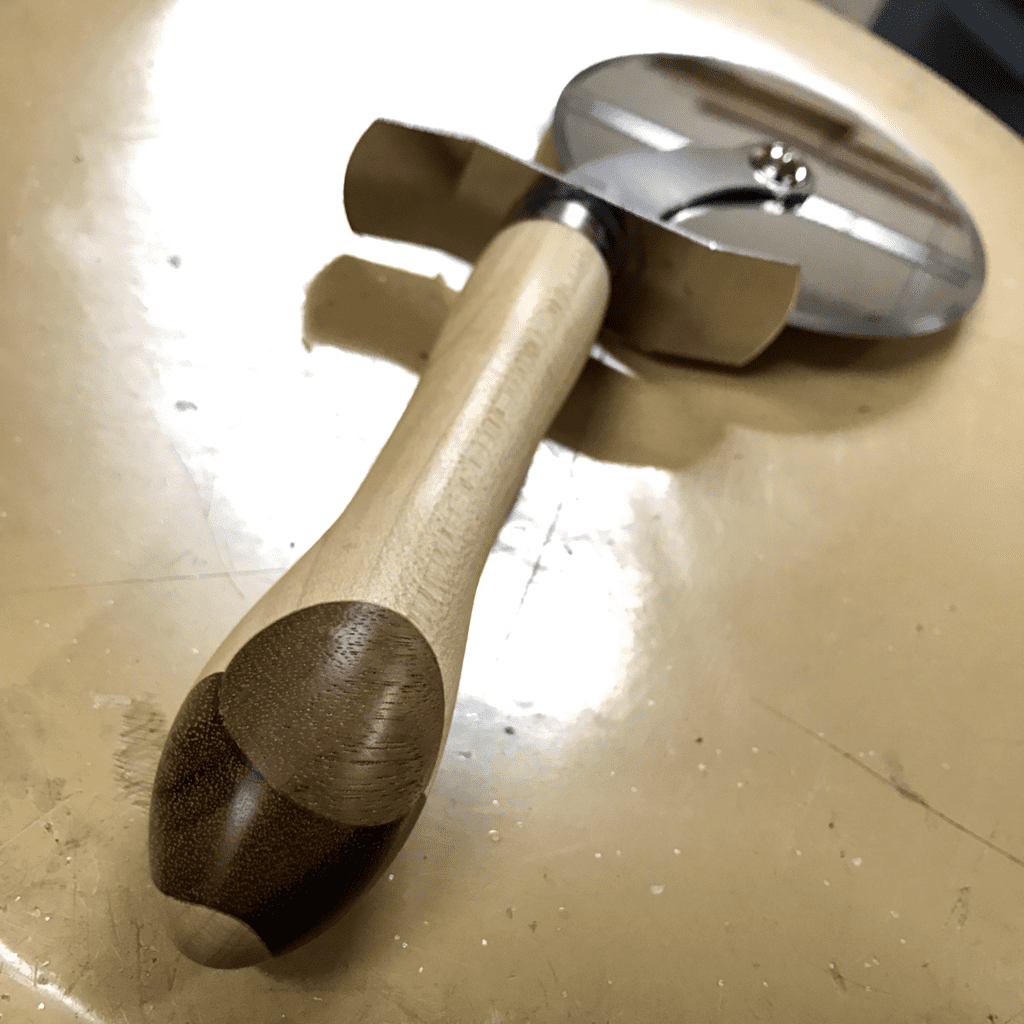 I turned the handle out of a 1.5"X1.5"x7" long piece of maple hardwood. The inlay is really simple but required a few accessories for the drill press and really thick scrap pieces of hardwood to make. I started by resawing the blank to 1.5"X1.5" using a resaw blade on my bandsaw and chopping it to length at the mitre saw. Then drilled a 7/8" diameter hole about a third of the way up from one end of the blank through using a forstner bit. The hole is intentionally off centre. I then used a 7/8" dowel plug cutter to make a 7/8" dowel out of a small scrap of mahogany that I had laying around in my hardwood scraps. I cut the dowel out of the scraps using my resaw blade and fence on the bandsaw. I then glued the dowel into the blank and let it dry. I made two different diameter dowel plugs and wanted to cross them over. After the first dowel plug dried, I flipped the blank and drilled a 1" hole using a 1" forstner bit through the other plug. For some reason, I missed photographing the other plug but you'll see it below once I mounted it on the lathe. The 1" dowel was made from walnut. And glued it into the blank. I drilled a 1/2" diameter hole in the centre of one end of the blank 1 1/2" deep for the pizza cutter hardware later. 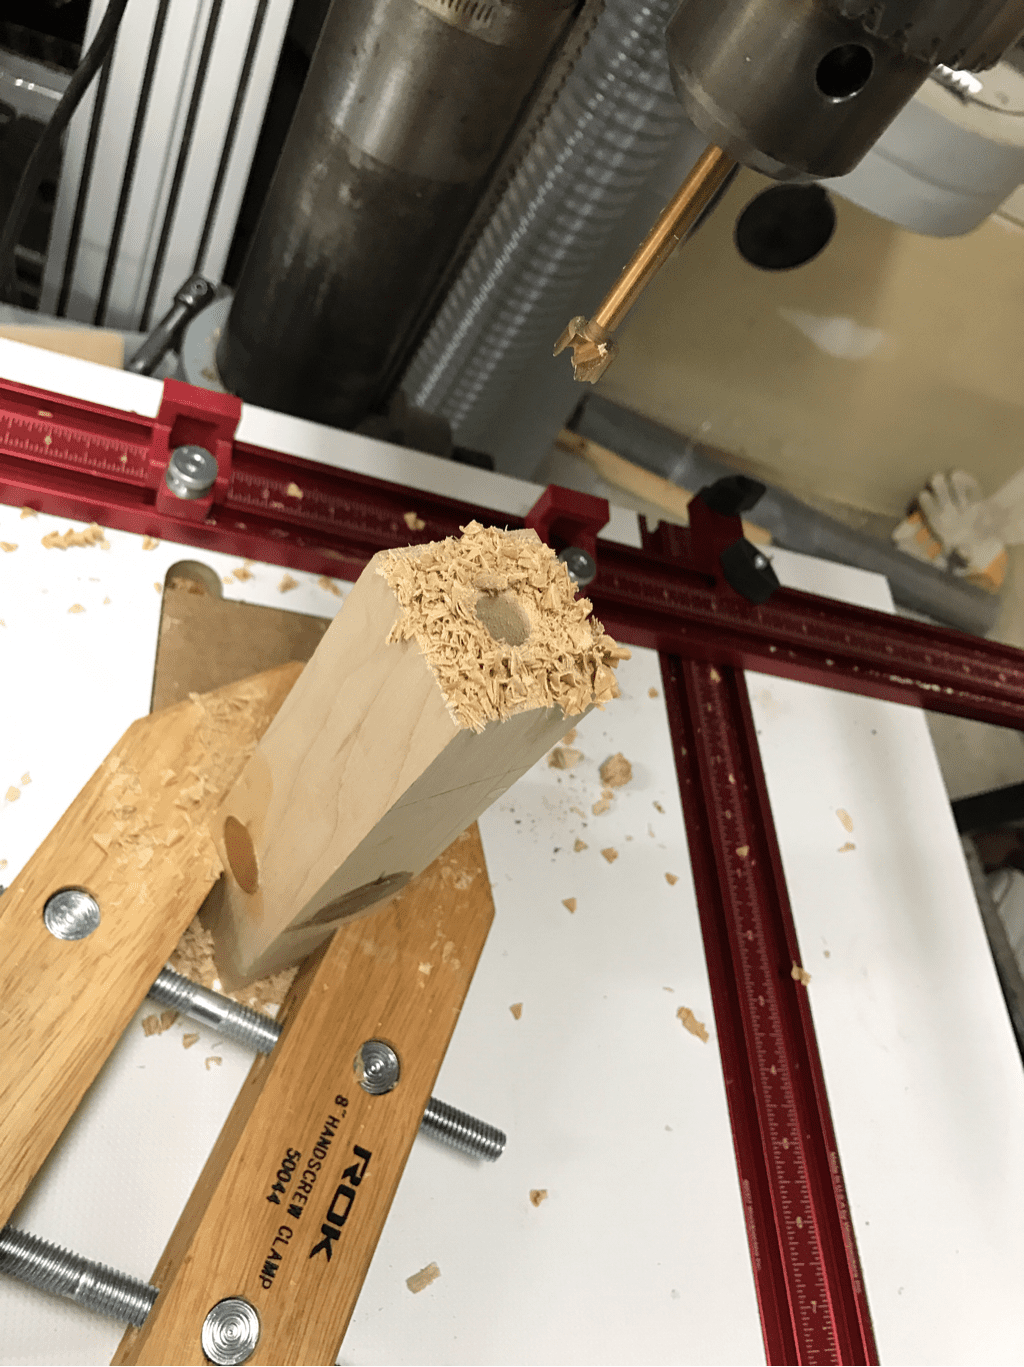 next was mounting it on the lathe and starting to shape the blank into a handle! To mount it on the lathe, you need to use a spur centre and a live centre that has a taper on the end to hold the blank on the lathe and turn the blank into a cylinder. See the photo below: 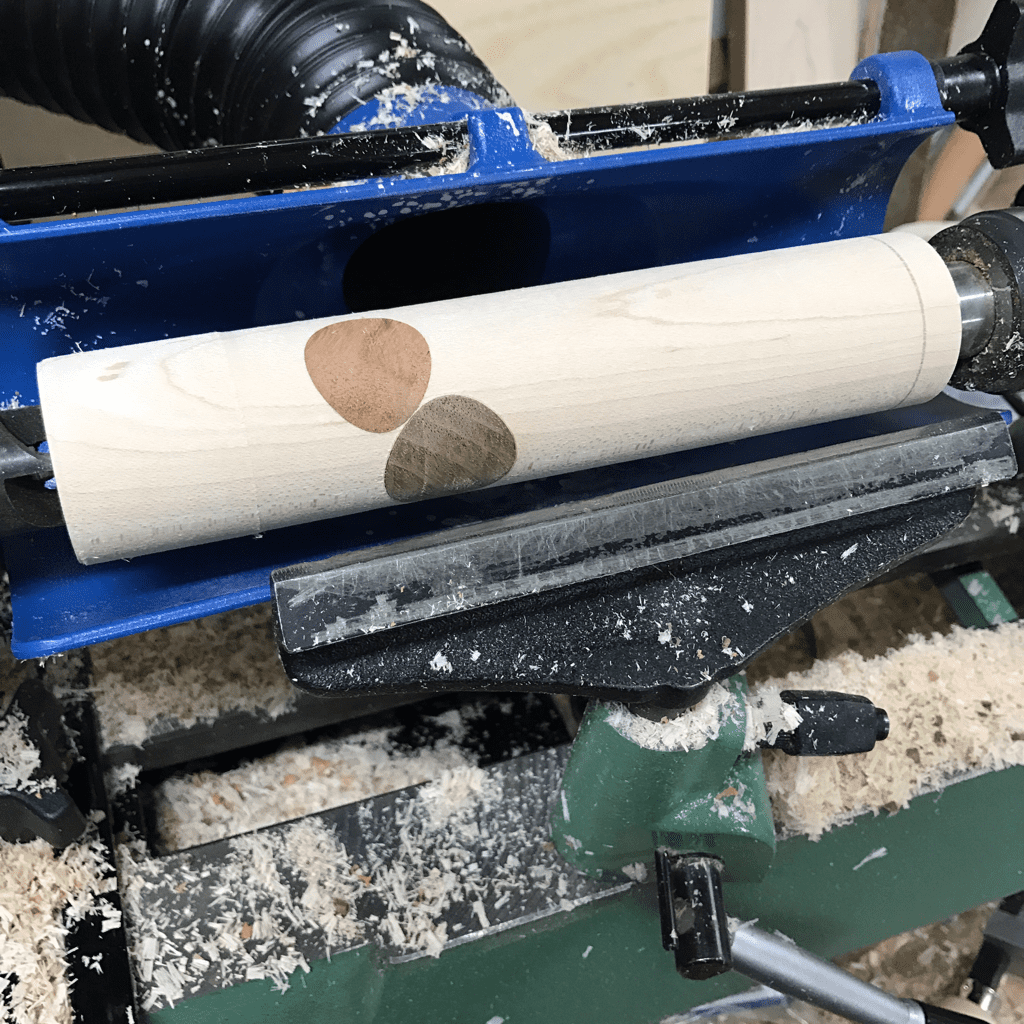 The line on the right hand side is 3/8" from the end to shape the tenon for the stainless steel tang cover that goes on the end of the pizza cutter when you're ready to assemble it. I used a straight cutter to shape the tenon and tested the fit of the tang cover before shaping the handle. 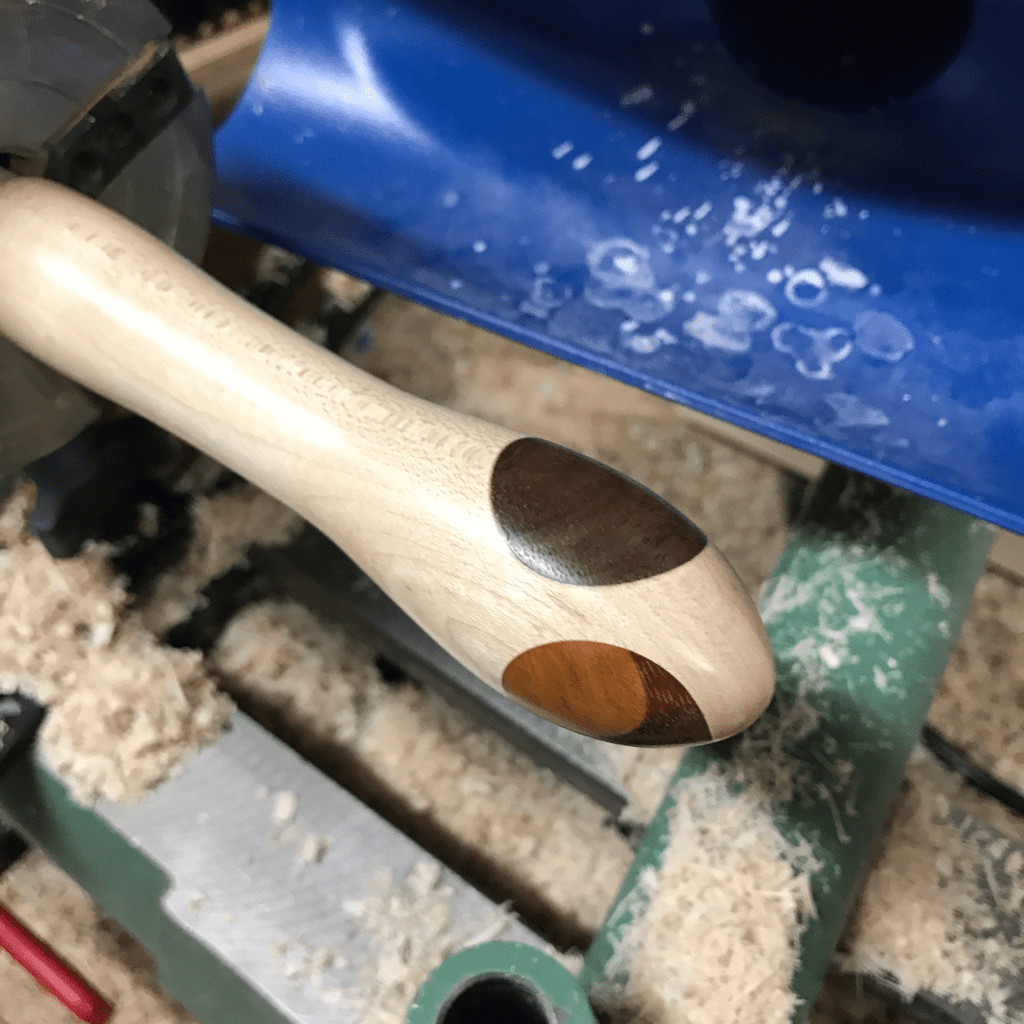 Once I shaped and sanded the handle, I held the tenon side of the handle in my lathe using my lathe chuck to finish shaping and sanding the end of the handle. I applied finish (wipe on polyurethane, carnauba wax, and another coat of wipe on polyurethane) to the handle and let it dry before working on the tang assembly dowel. With the handle finished, I needed to turn a dowel that would fit in the 1/2" hole in the handle so I could epoxy the hardware into the handle and assemble the pizza cutter. This was easier than I thought it was going to be but required a slot to be cut into the dowel to wedge the tang into. PRO TIP, measure the thickness of the tang first and cut the slot so the whole tang can fit. I cut the slot too narrow initially and needed to widen it, once I did that, I forgot to check the length of the slot.. doh! It still worked out though. I cut the slot by hand using a pull saw initially then put the dowel in my coffin clamp to widen the slot. 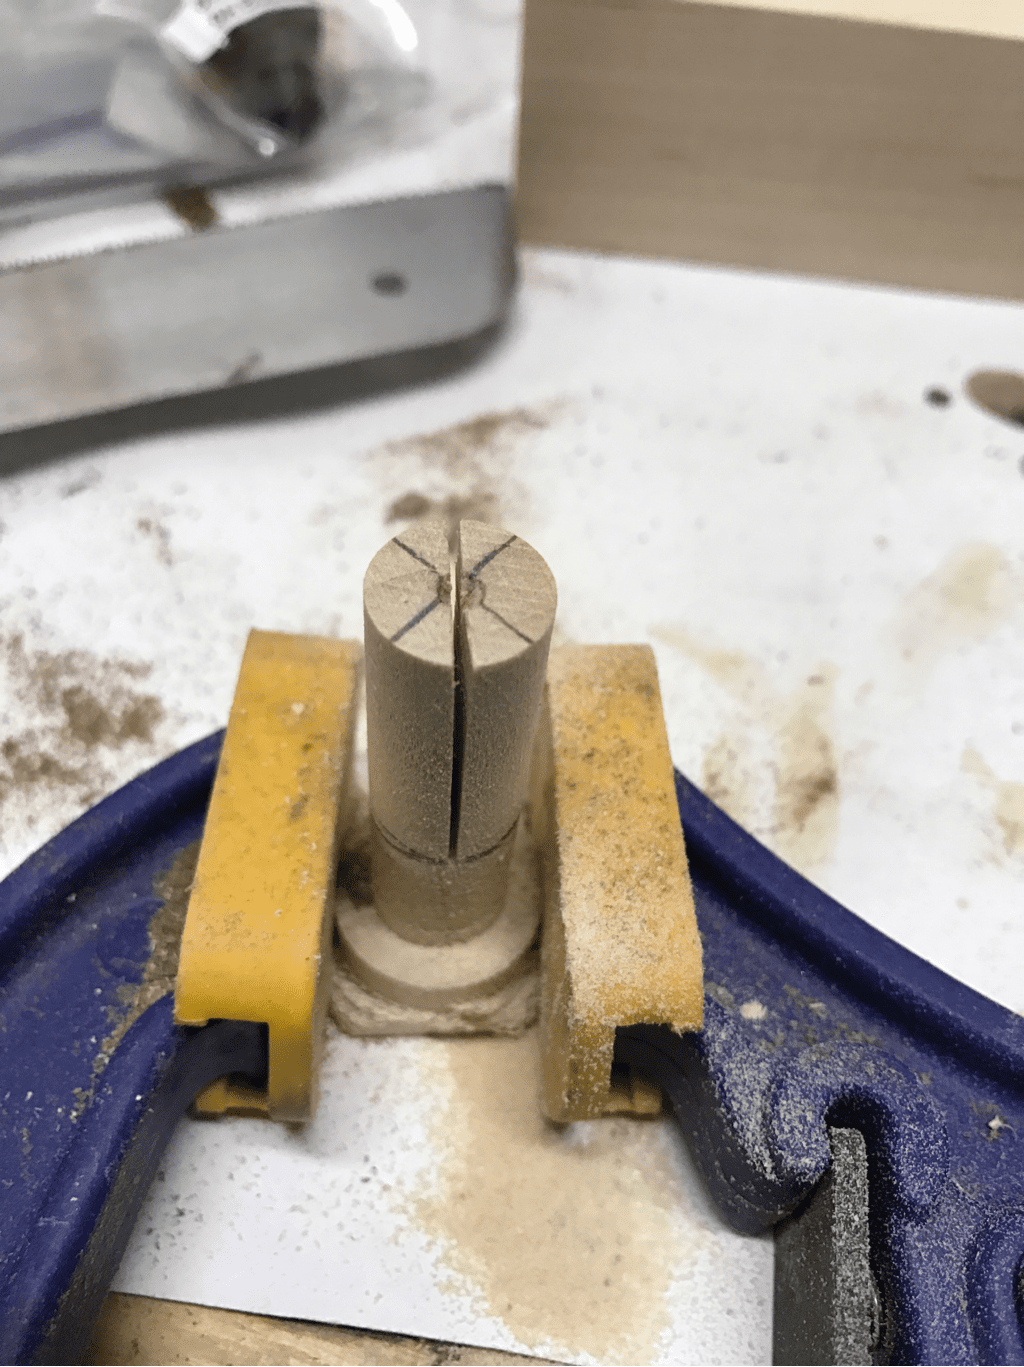 Remember to test your fit carefully so you can ensure that the dowel plug can be removed from the hand so it can be epoxied in place with the hardware. Due to epoxy curing in 5 minutes, I had to move quickly to assemble the pizza cutter so I missed getting photos of the assembly process. The slot was a bit too snug for the tang but everything glued into place properly which was relieving haha. With everything assembled and finished, I put it into my wife's stocking for Christmas! She loves making pizza and we've gone years without having a pizza cutter.. so now we have one! Merry Christmas to everyone! I hope you enjoy a restful holiday season and that 2017 is heart filled and prosperous for you. See you in the next post!
0 Comments
Leave a Reply. |
AuthorWelcome to WoodProjectsbyBagel! Archives
March 2018
|
 RSS Feed
